The Seal Engine Project Build Team
Note that the list below does not include photos of every component built by each respective craftsman. Full documentation of the Seal engine build can be found at the link at the bottom of this page.
Builder:
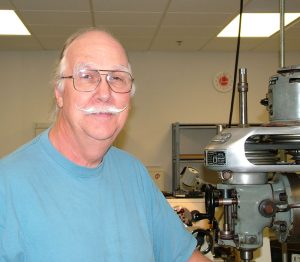
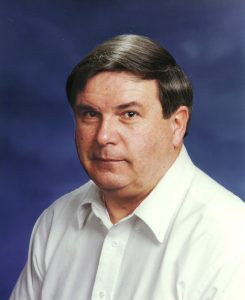
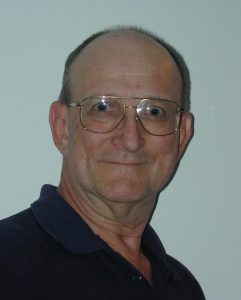
Tom Boyer, Escondido, CA
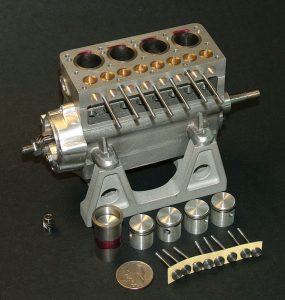
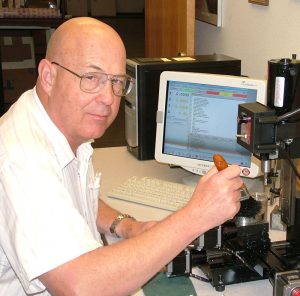
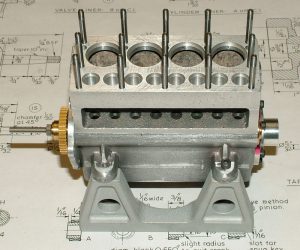
During the build, Tom was working as the museum shop foreman and resident craftsman. He machined all the castings and did the final assembly. Tom also made the aluminum engine display base, piston sleeves, exhaust pipe, fuel tank, and many small fittings and parts as needed.
Builder:
Joe Martin, Oceanside, CA
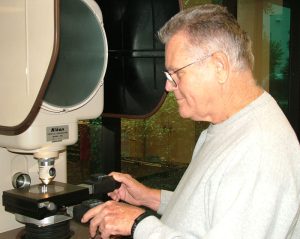
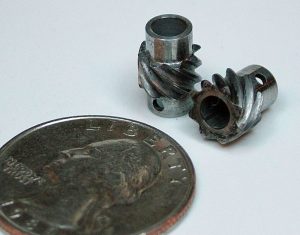
Craftsmanship Museum founder, Joe Martin created a machine and program to grind the camshaft on a specially modified Sherline CNC mill. Joe also made the crankshaft and helical gears for the distributor.
Builder:
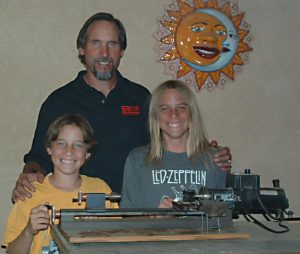
Karl Rohlin (center), with sons Taylor (left) and Dakota, Wildomar, CA
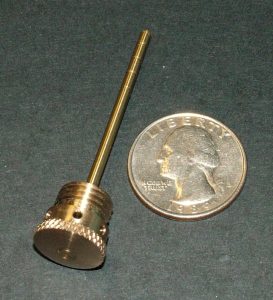
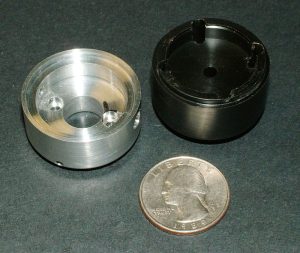
Karl’s sons, Taylor and Dakota, made the brass oil dipstick with verbal instruction from their father. Karl is the VP of manufacturing at Sherline’s production facility. He also honed the cylinder sleeves to size.
Builder:
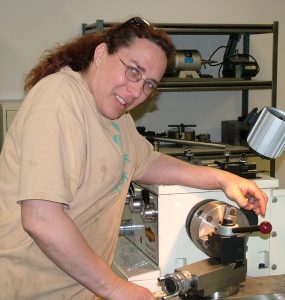
Pam Weiss, Vista, CA
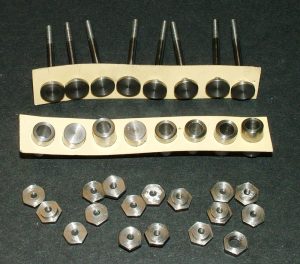
Pam is the lead toolmaker and machine repair technician at the Sherline factory. Pam made the camshaft blank, timing gear, camshaft bushings, valves, valve liners, and adjusting nuts. Pam also completed a running Silver Angel hit-n-miss engine designed by Bob Shores. Some of her other projects include a Bill Smith clock, a 1/2 scale Gattling gun, a Snow IC engine, and a 1/4 scale Offenhauser engine.
Builder:
Fred Smittle, Oceanside, CA
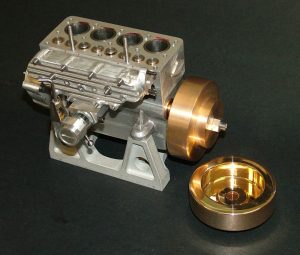
Fred made the brass flywheel, and also a special brass 12-sided nut to hold it onto the crankshaft. Fred is a former tool and die maker and CNC instructor. He was also a technical representative for Sherline.
Builder:
Jim Clark, Billings, MT
A former high school shop teacher, Jim founded Clark Precision Machine, a business that buys and sells a range of new and used machine tools. Jim was tasked with building the main body of the carburetor, as drawn on the Seal plans.
Builder:
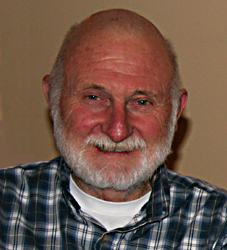
Jerry Kieffer, DeForest, WI
Jerry is our resident expert on building small IC engines, and acted as consultant for the Seal engine build. In particular, Jerry helped out with the distributor and carburetor—two of the most difficult parts of a small engine to get right.
Builder:
Ralph Cooney, Forest Grove, OR
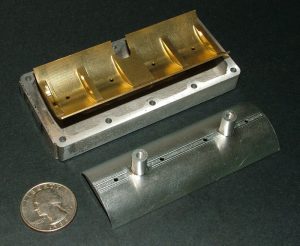
Ralph Cooney, a long time friend of Joe Martin, is a superb craftsman when it comes to small parts. For the Seal engine, the splash shield inside the pan was designed to be bent from sheet metal. Ralph used EDM to machine an aluminum test piece, and then the final part from solid brass. It seems a shame to hide it inside the engine.
Builder:
Ron Chernich, Brisbane, Australia
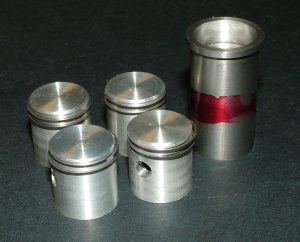
Ron had a long history of building small engines, and hosted a wonderful website on the subject. He built the pistons and rings for the Seal engine, and fitted them to the piston sleeves.
Builder:
Frank Hoffman, Heflin, Alberta
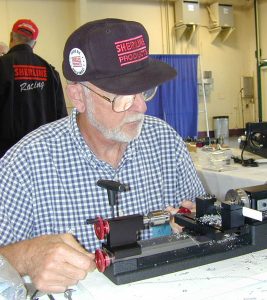
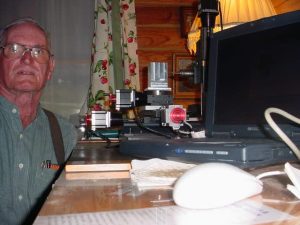
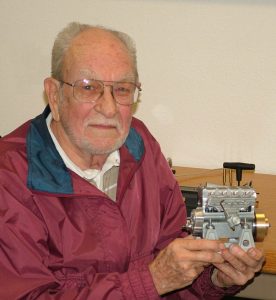
Frank was a long-time machinist before retirement, and a CNC expert. He built the distributor body and cap using Joe Martin’s updated design. Frank also made the gudgeon pins and pad ends. The photo of Frank shows him with a Sherline CNC machine, for which he developed a 4-sided “tombstone” to make multiple parts.
Builder:
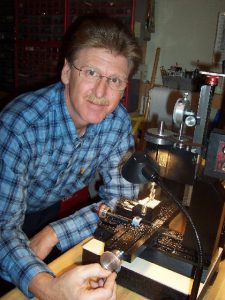
Steven Lang, Columbus, MI
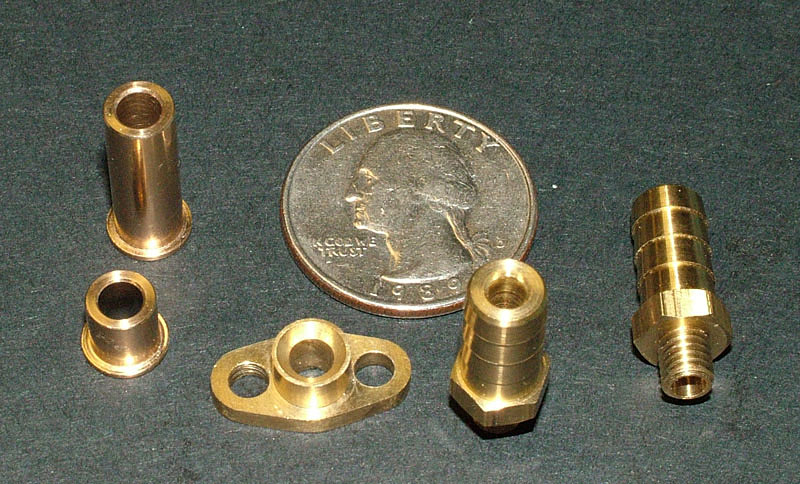
An employee for GM, Steven has been interested in model engineering for years. He joined the project late, but wanted to become involved. Steven built brass flanges (glands), bushings, and barbed water line fittings.
Builder:
Robert Rosenfield, Henderson, NV
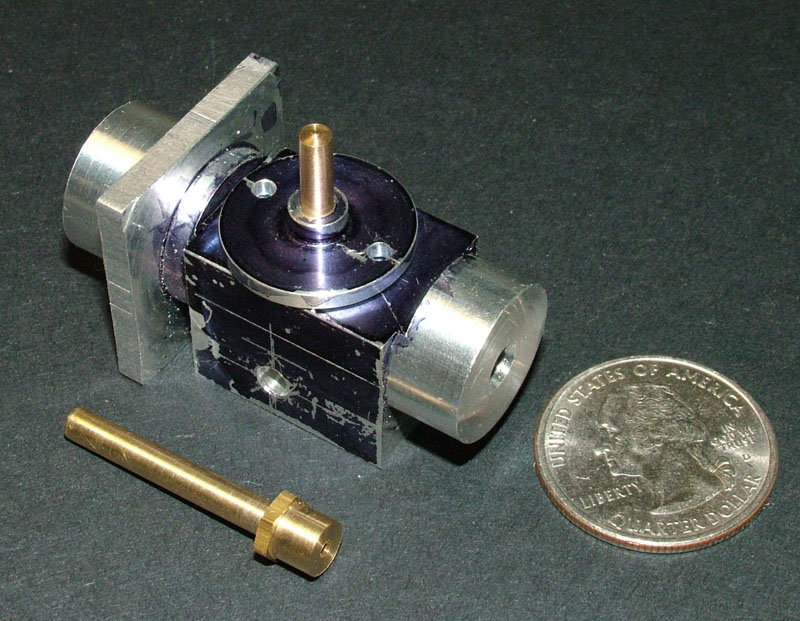
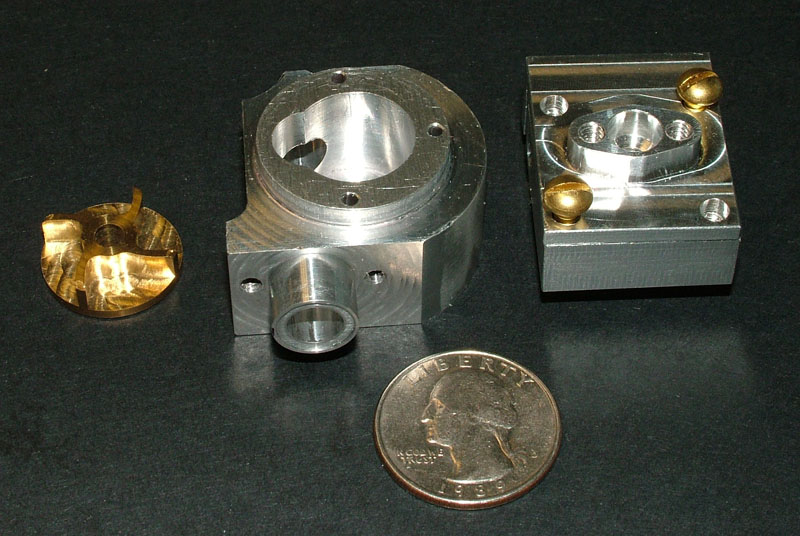
Robert is a Sherline CNC machinist who has made some amazing small superchargers for minibikes. For this project, we put his CNC skills to work on the water pump impeller and housing, plus the pump bracket.
Builder:
Tom Egan, Los Angeles, CA
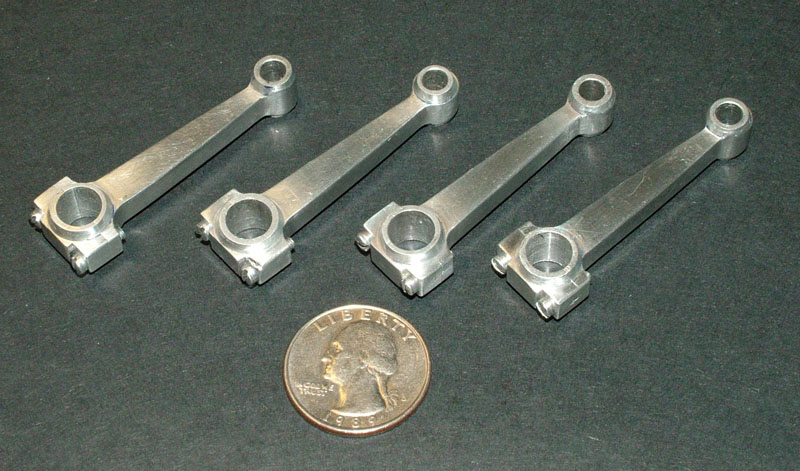
The original bronze connecting rods had become warped over the years. Joe Martin had straightened and machined them years before the start of this project, but the internal stresses apparently came back to haunt them. Tom built beautiful new ones from aluminum.
Builder:
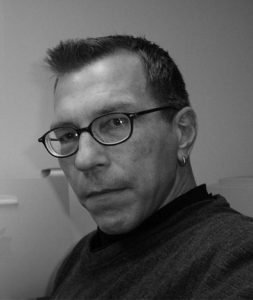
Charlie Tomalesky, VT
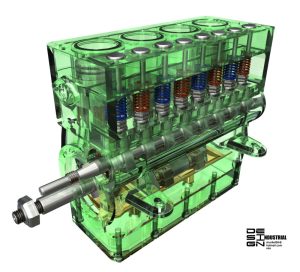
Charlie is a world-class industrial designer with a talent for 3D computer rendering. He made color 3D art for each piece of the Seal engine, and then assembled the drawings into a complete 3D cutaway.
Builder:
Larry Simon, Carlsbad, CA
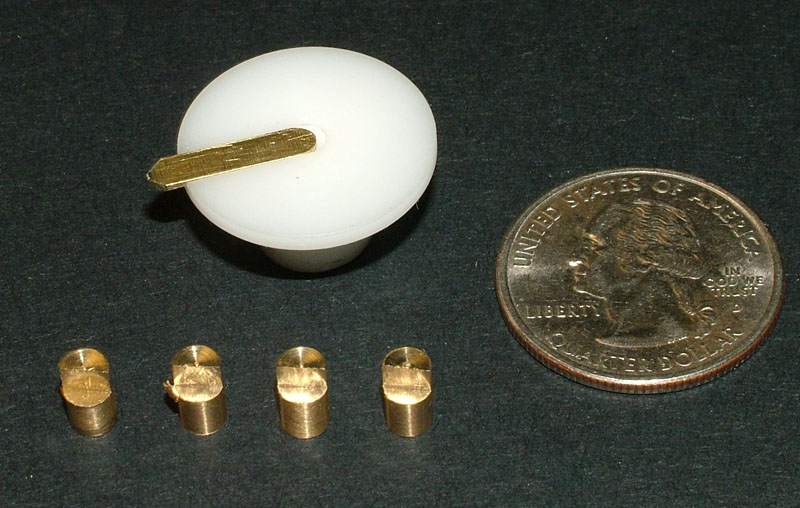
Larry was a Craftsmanship Museum volunteer and guide. He made the ignition contacts for the distributor, and rotor center contact.
Builder:
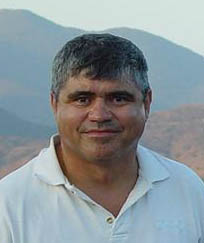
Duarte Cabral, San Diego, CA
Duarte Cabral is an electrical hardware design engineer. Among his notable accomplishments is the development of the ProSpark ignition system. We are using a variant of that system on the Seal engine. Duarte’s expertise was put to good use when he, Tom and Joe met in the museum shop to make sure everything was ready for the first running. After some testing and adjustment, Duarte pronounced the engine “ready to run,” at least in terms of the ignition.
Components Built:
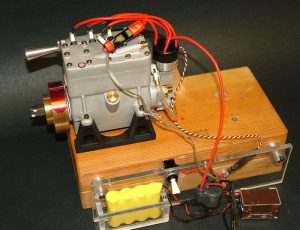
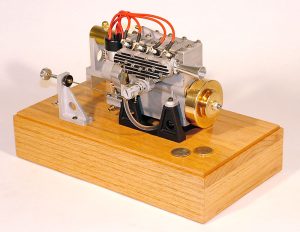
The Seal engine is seen in test mode, with one of the spark plugs grounded to test for spark. The flywheel is marked with Dychem to confirm the timing positions. This was the final big test for our Seal engine, before the real test run. All it needed at this point was the fuel tank.
Builder:
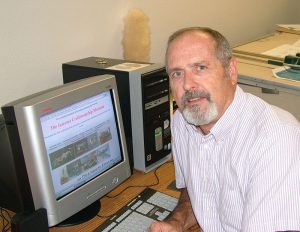
Craig Libuse, San Marcos, CA
Craig documented the Seal Engine build on our website, and took photos of the project throughout to illustrate the development. Craig helped to keep the builders and the public informed on our museum shop project progress. He also made the oak base that the engine was bolted to for its first run.
Builder:
Ron Reiter, Fallbrook, CA
(*Unfortunately, no photo is available.)
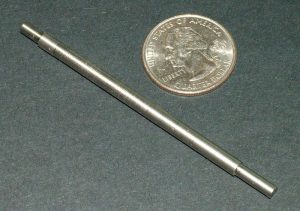
Ron built the pump shaft for the Seal engine project.
Full Seal Engine Build
View our chronological documentation of the full Seal engine build, including many more photos, and video of the running Seal engine.

