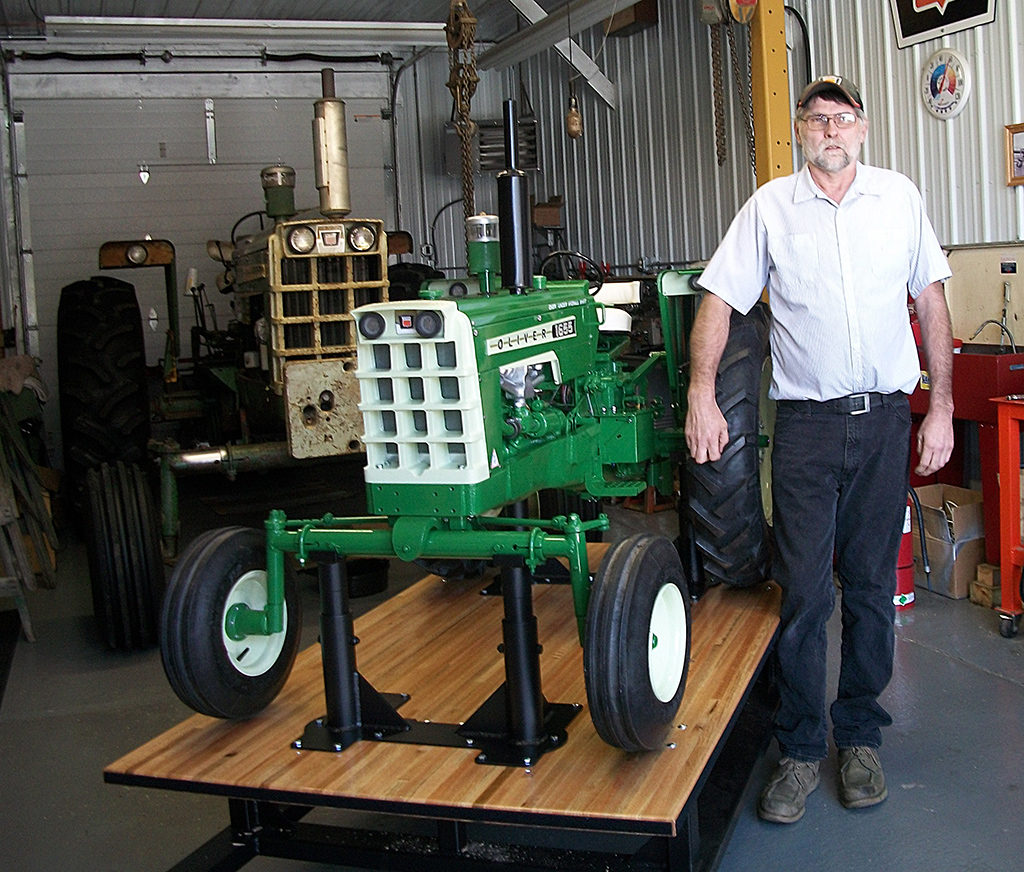
Building a 1/2 Scale Oliver 1655 Tractor
By Richard Dosdall
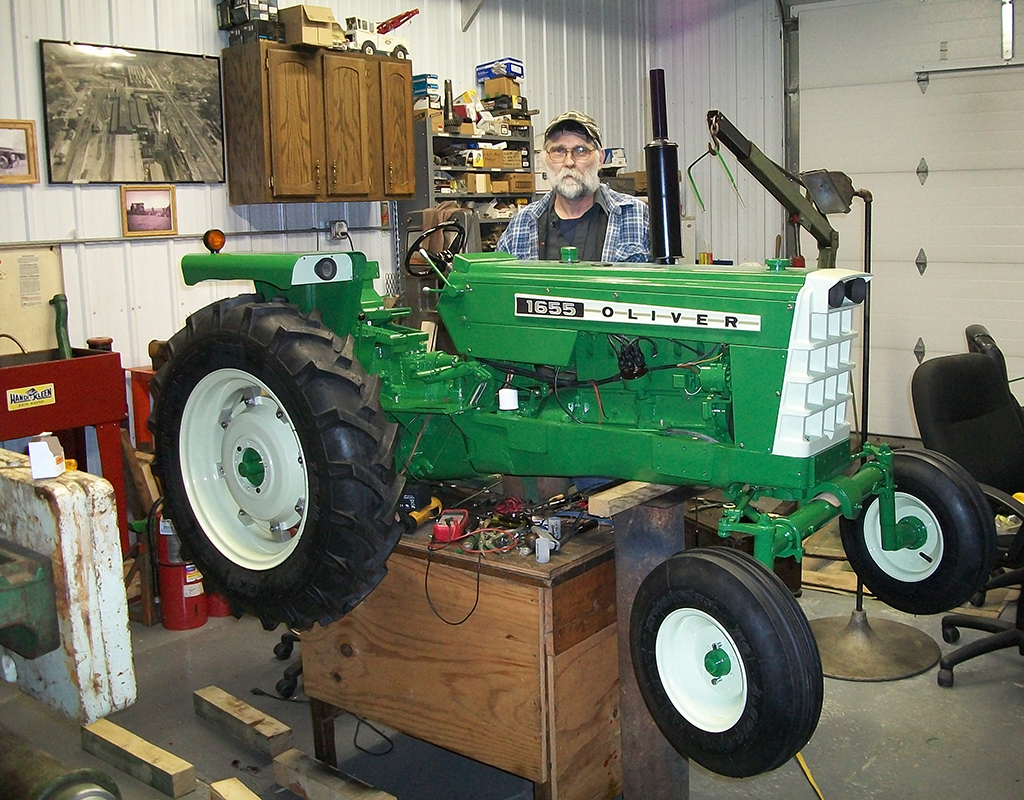
This is the story of the building of my half-scale 1655 Oliver tractor, with a short history of our family’s Oliver background. I want to stress the fact that I personally built 99.9% of this from scratch, including the engine. Very few items were bought and used in the “as bought condition.” (Example: tires.)
In 1946, my parents Earl and Marion Dosdall moved from town out to rural Goodhue County. Earl had been working for an implement dealer in town, and thought that he could do better working on his own. He soon became known as the man to see if you wanted your tractor put on rubber tires, rather than the steel wheels. He cut hundreds of steel wheels and welded rubber-type rims to the spokes.
The Family Business Goes From Farming To Equipment Sales and Service
In 1948, Earl decided to sell the farm they were on, but kept a few acres. He then built a new shop with a house attached on those few acres. When the new shop was finished, it was named “Earl’s Repair Shop.” In 1950, he started selling the Oliver line of equipment and tractors, along with various short lines of equipment—such as Papec, Farmhand, Owatanna Mfg., and the Minnesota line (manure spreaders, wagons, twine etc.). It is interesting to know that all the Minnesota equipment was made by the prisoners at the Minnesota state prison, where we picked up the equipment.
Business started booming for Earl, both selling and repairing. It seemed he was always taking his new 1951 Chevrolet cab-over truck to Charles City to get new tractors. One night, he was stopped by the sheriff and was asked, “what are you doing hauling a new tractor at this time of night?” The sheriff thought that he had stolen it, but the paperwork showed that everything was legal.
Acquiring a White “Trend” Truck for the Business
The Oliver parts warehouse for our area was located on Como Avenue in Minneapolis, which was about an hour’s drive from us. Countless numbers of trips to Como Avenue were made. On one trip to Oliver, Earl saw they had a White “Trend” truck sitting there, which had been at some show. He asked about it, and thought that it was too much money. A couple of months passed, and many more trips to Como Avenue went by, until the manager approached Earl and said, “I’m going to sell you that truck today.” The manager offered him a price that he couldn’t believe, so Earl had a new White Trend truck.
The White Trend was specifically designed and targeted for implement dealers, but did not take off very well. It was a bare cab-over truck, so he had to buy a bed for it, which he chose from Mid Equipment in Grundy Center, Iowa. It was a heavy duty rollback with a 40-ton winch. The bed cost more than the truck. By this time, the tractors and equipment were getting bigger, and this was a great improvement. Now this truck got its turn to make the journeys to Charles City.
A Family of Wrenches
Earl and Marion had three boys and one girl. All of us boys grew up in the shop with wrenches in our hands. It’s safe to say that growing up like this, working on Olivers, we all knew Olivers inside and out. In 1979, the oldest son, Bob Dosdall, purchased the business from Earl and Marion. At that time, the name was changed to Dosdall Implement Co. We are still in the same location, and still working on Oliver tractors today, some 70 years later. There is a lot more I could say about the history, but I just wanted you all to know a little background about me—that I grew up working on these tractors, and know every corner of them.
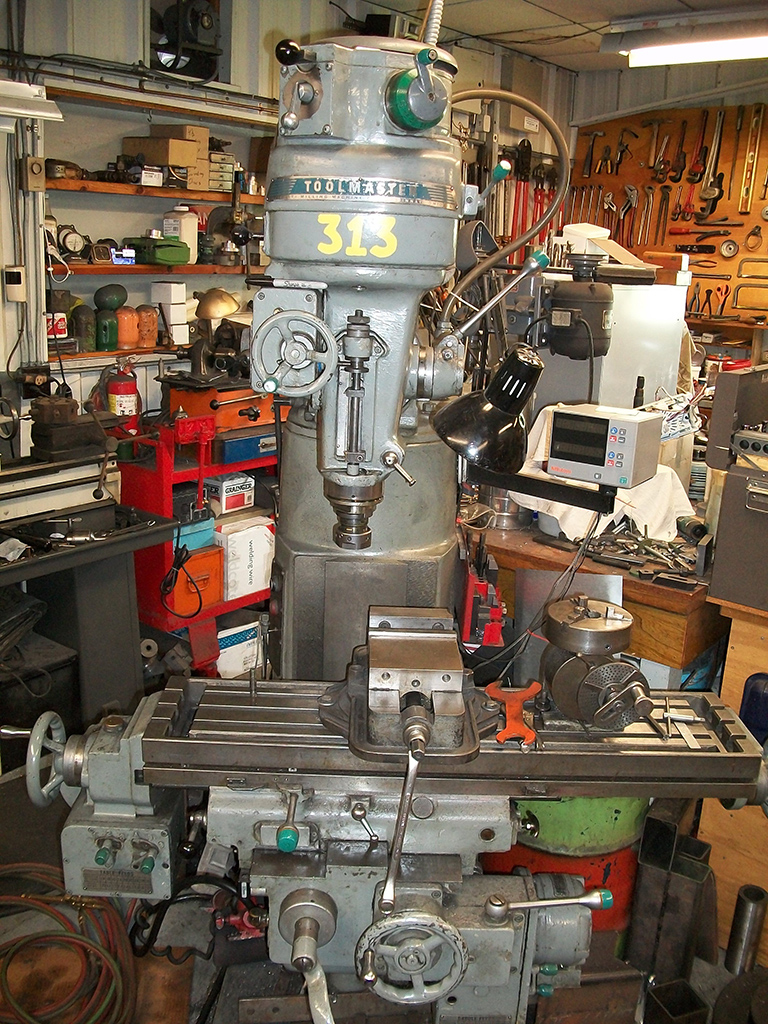
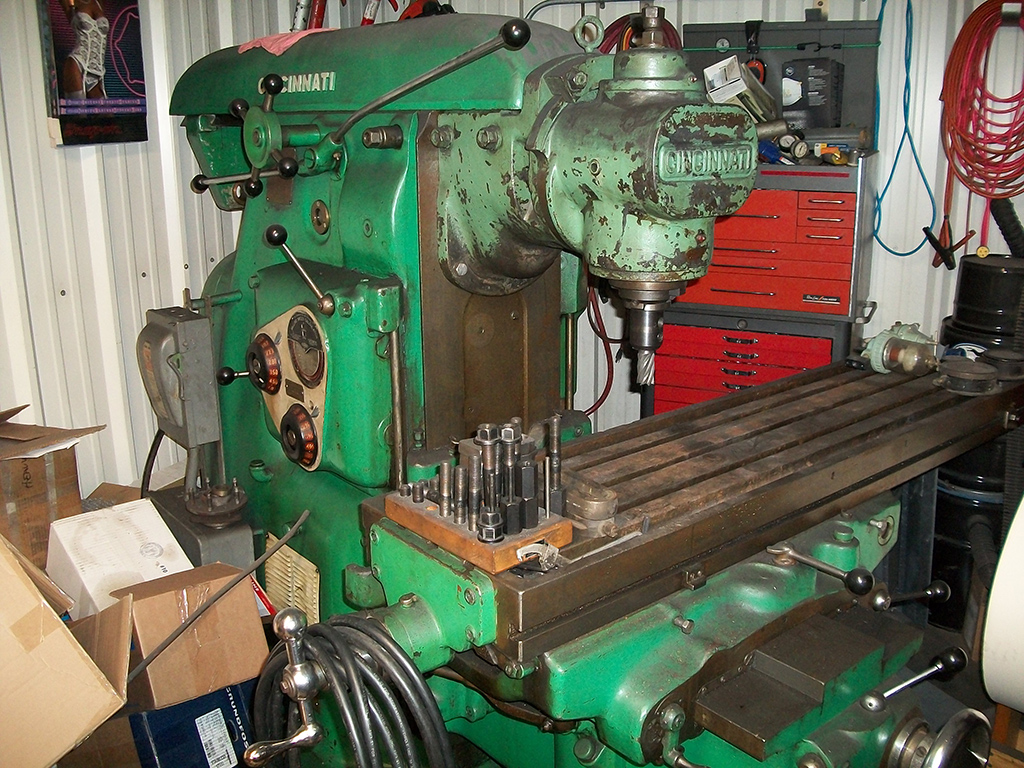
Earl was not what you would call a machinist, but he did have a nice lathe where he could fit wrist pin bushings, turn down a welded up shaft, and such. In my earlier years, I acquired several pieces of machinist type machines, and did become proficient with them. In fact, I ended up with so many that I had to add on to my shop. At this time, I also installed several alarm systems along with video cameras.
A History of Building Small Engines Leads to a Daunting Project
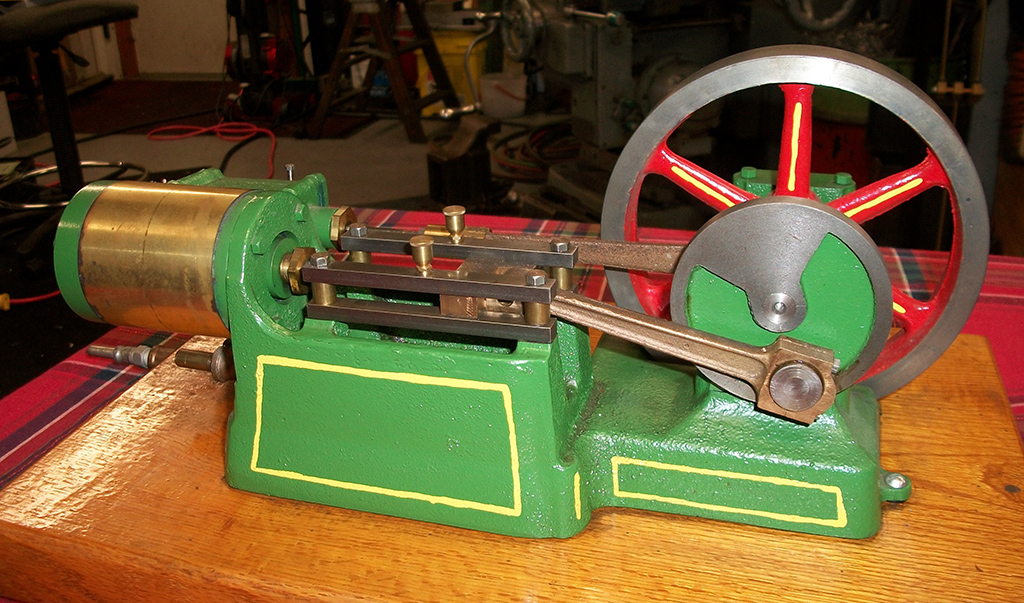
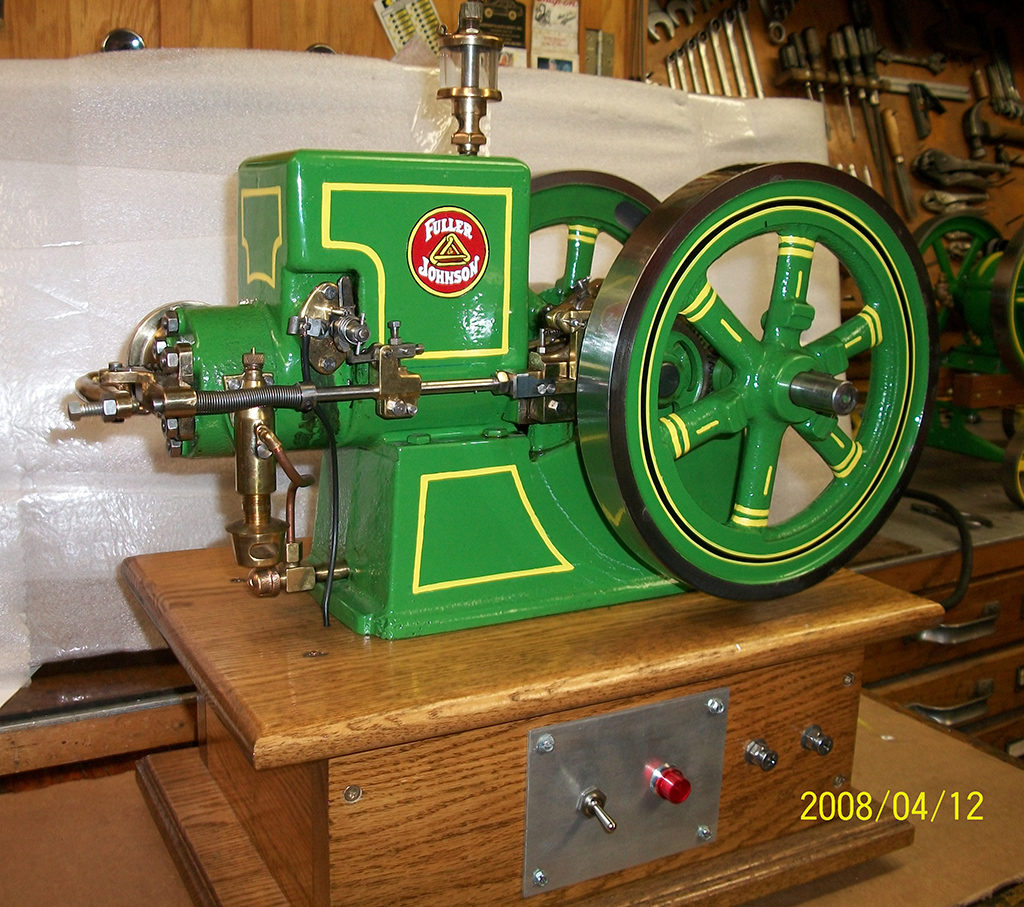
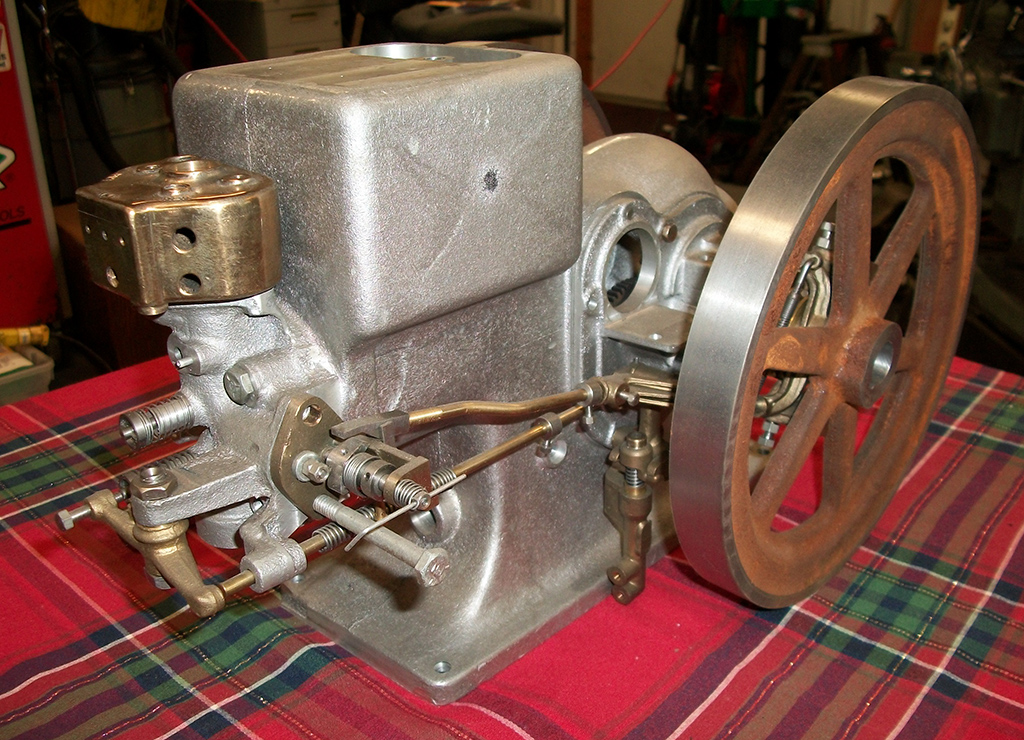
I have built many small stationary steam engines, gas engines, and steam traction engines of museum quality, so I thought I would try the ultimate project. This would be an unbelievable amount of work, and an unbelievable amount of thought would go into this project. I said to myself, “If those guys in Charles City could make the patterns, pour the iron, and make every piece, so could I.” I am a stickler for detail, and I know exactly what these tractors looked like when my dad brought them home from the factory.
Mine had to be exactly like that, or I wouldn’t be happy. Nearly every piece would have to be made from scratch, since it wouldn’t look right if they weren’t. For instance, some people make scale tractors by starting with a lawn tractor or such. That is not a true to scale tractor. The seat is full size, the tires and rims are not to scale, and it is probably still the engine that came in the lawn tractor. Although there are some of these that are pretty neat, I needed to have mine exactly like the original—only 1/2 size.
Making Patterns
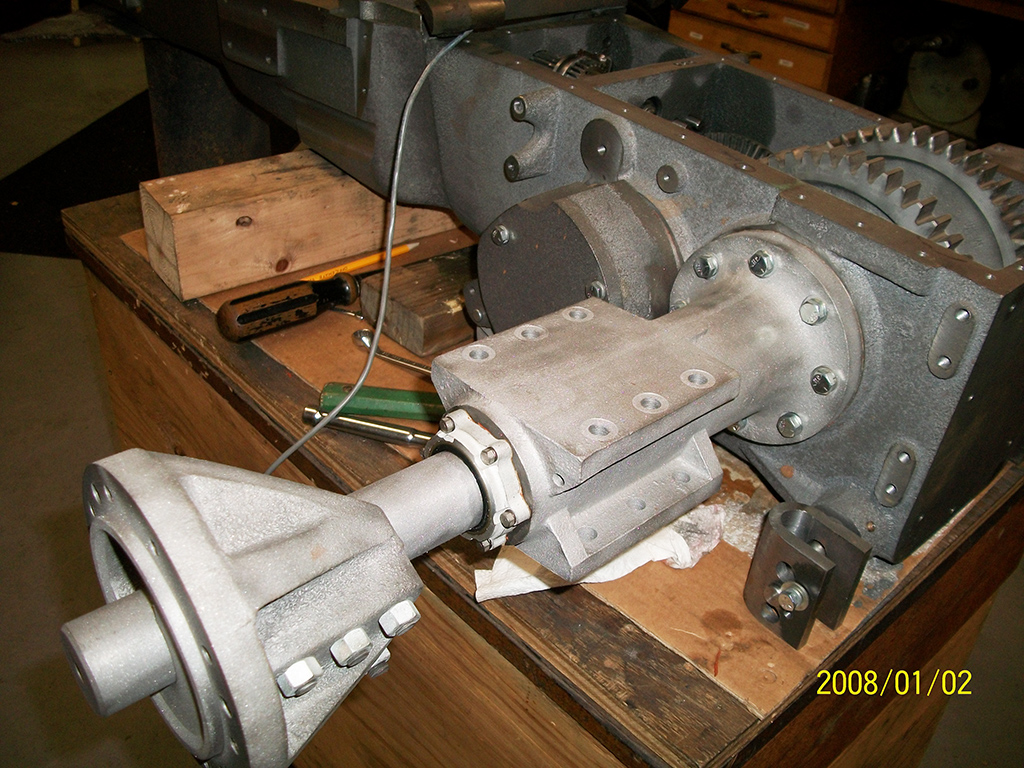
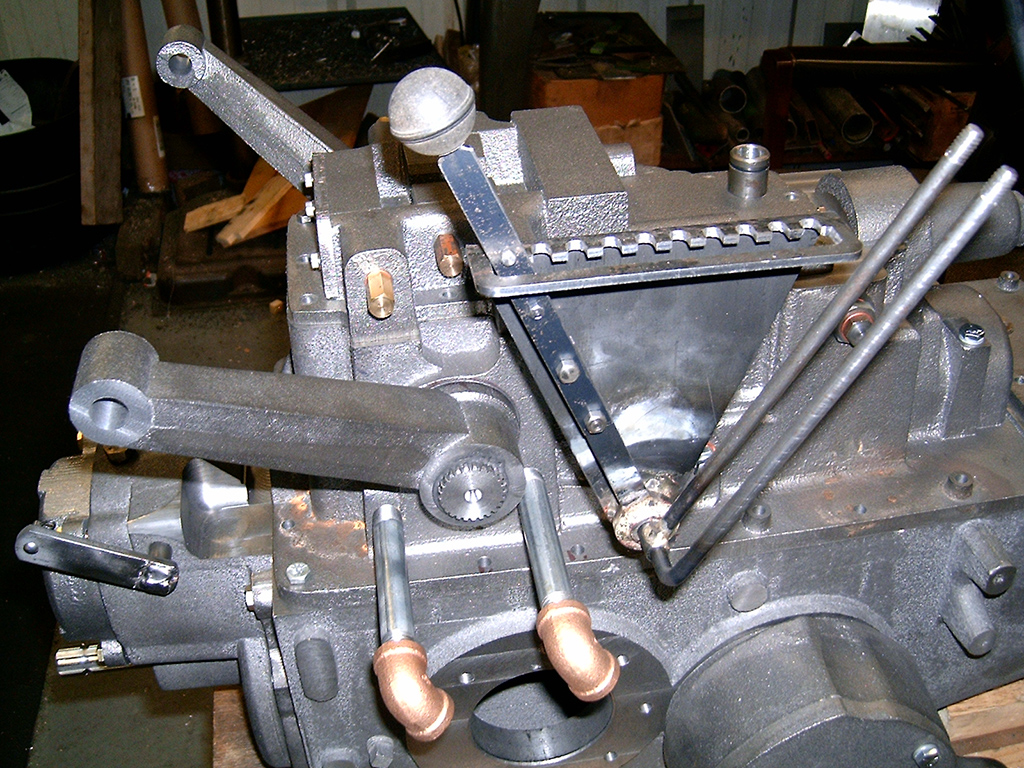
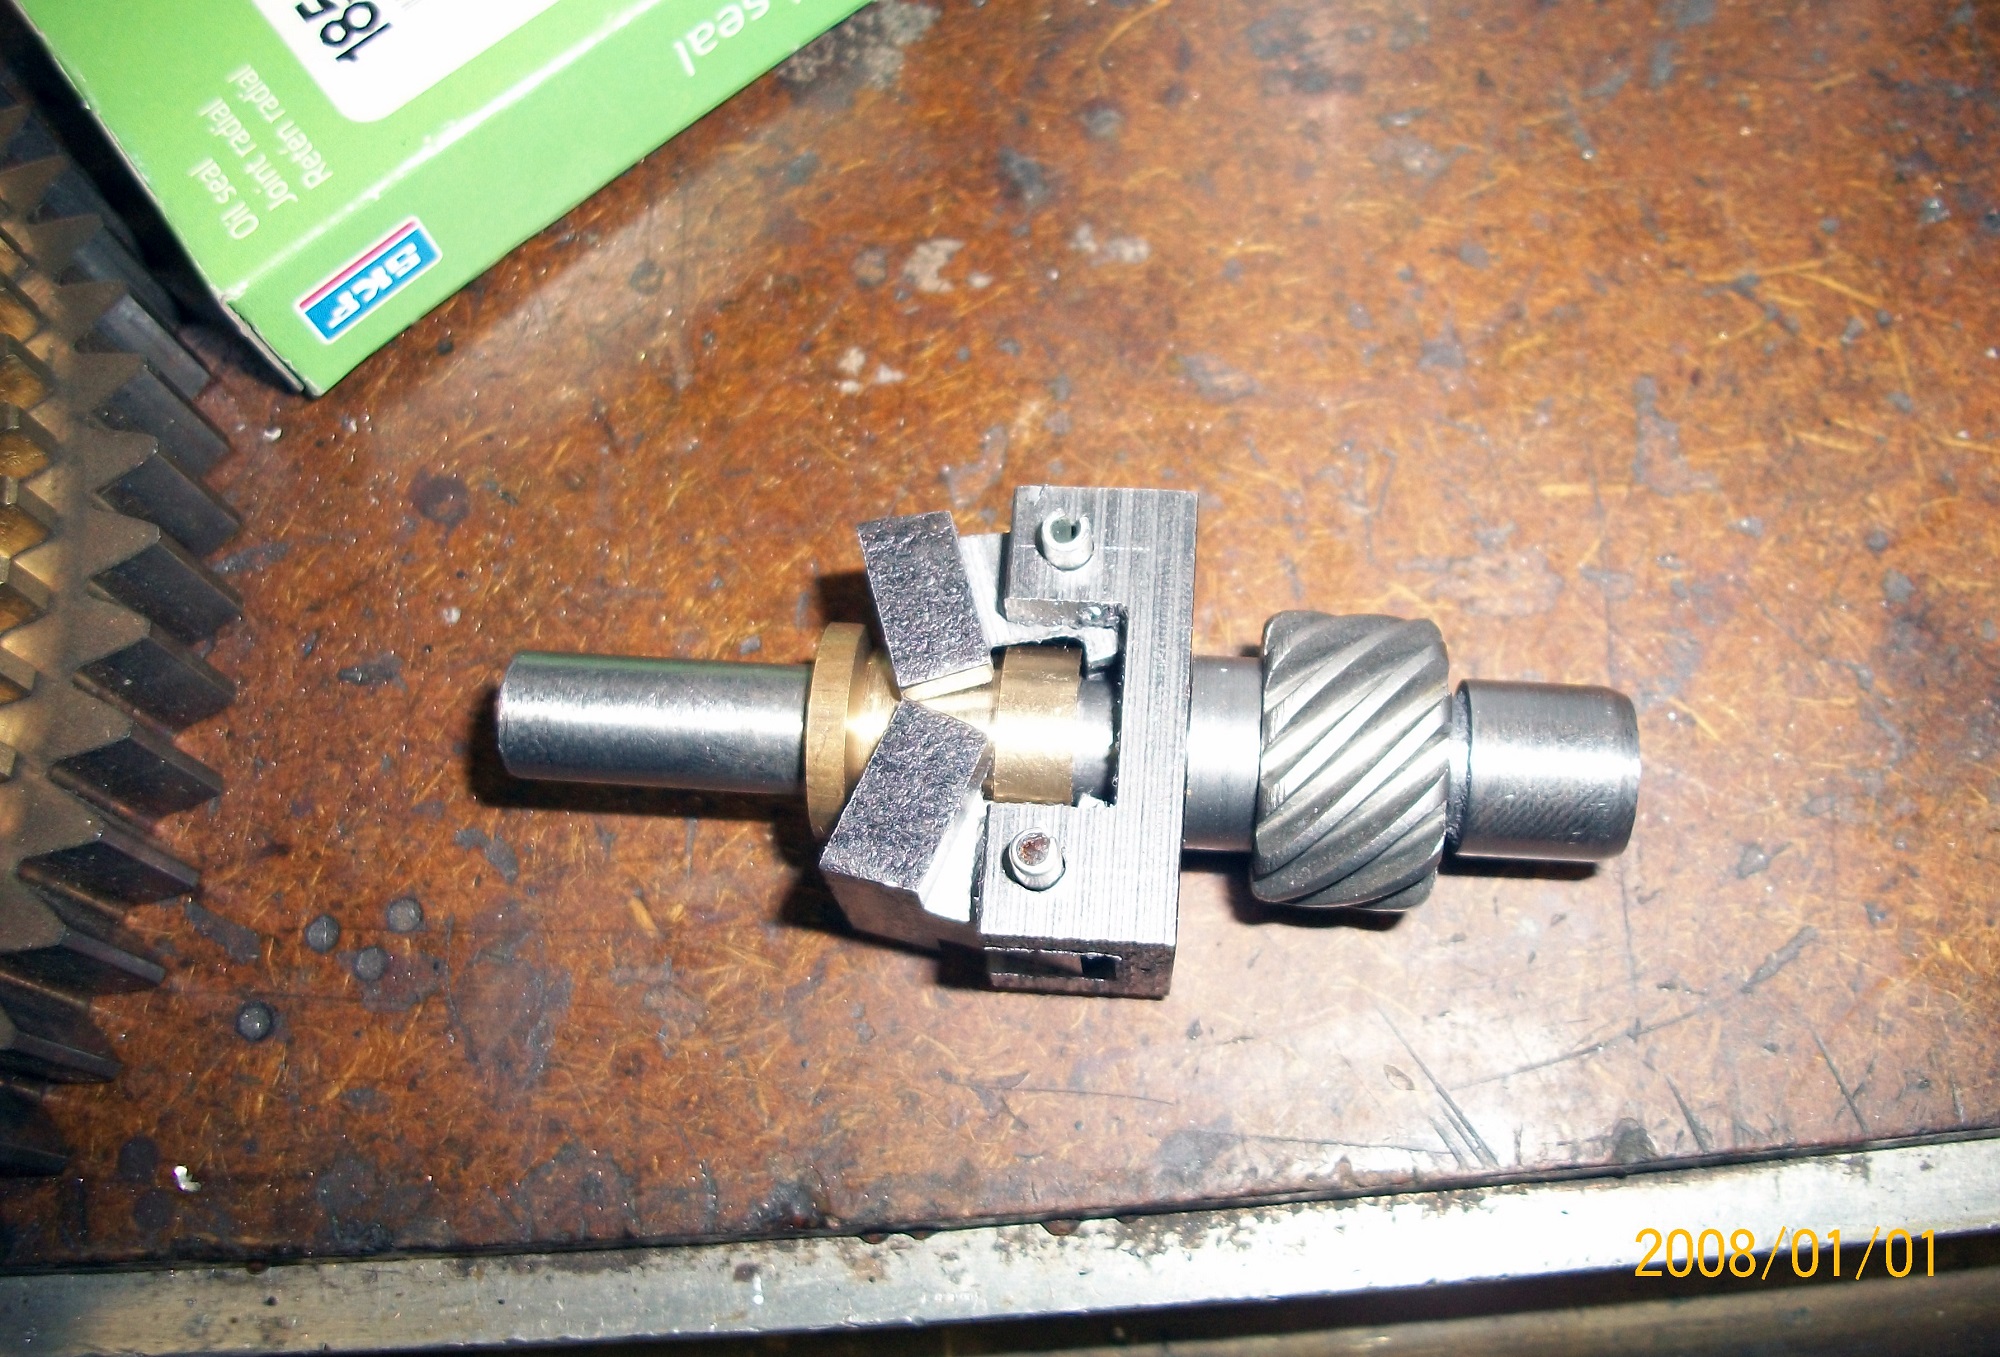
I do own a few 1655’s, so parts reference for me was not an issue. Before I could start making patterns, I had to know exactly what size bull gears, bull pinions, ring gear, and pinion I was to use. This is because there are bosses (not the guy that signs your paycheck and crabs at you all the time) on the rear housing, where the axle carriers and the brake housings attach. That means the bull gear and bull pinion that are inside the brake housing have to mesh perfectly. There is no adjustment! Also, I had to calculate how far the pinion would stick out from the transmission rear wall, so as to mesh properly with the ring gear—which is part of the bull pinion/differential assembly.
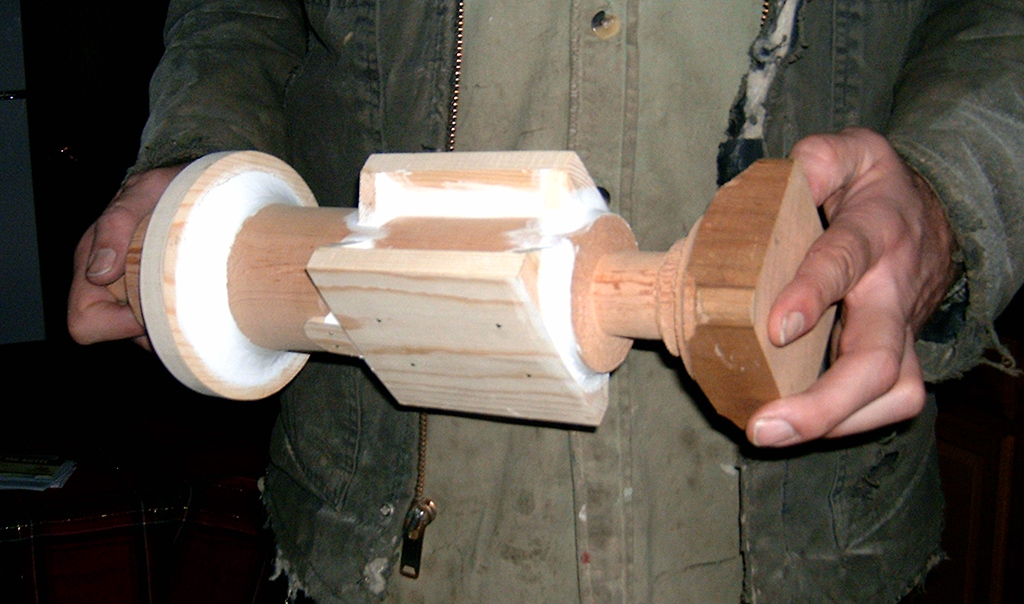
On November 13th, 2013, I started making the pattern for the rear housing, and then the core box for it. Then, it was on to the main frame. Now, this is a difficult pattern to make, since the only flat places on it are the mounting pads on the sides and the one on the front. Everything else on it has some type of radius. I took these two patterns and headed to the foundry. The owner looked at them, and was very impressed. A week or so later, he called and said they were done, so I jumped in the car and went to get them. When I got home, I set the rear housing and the front frame on my bench in their respective places. My project had now officially started. About this time, I was really wondering what I had gotten myself into.
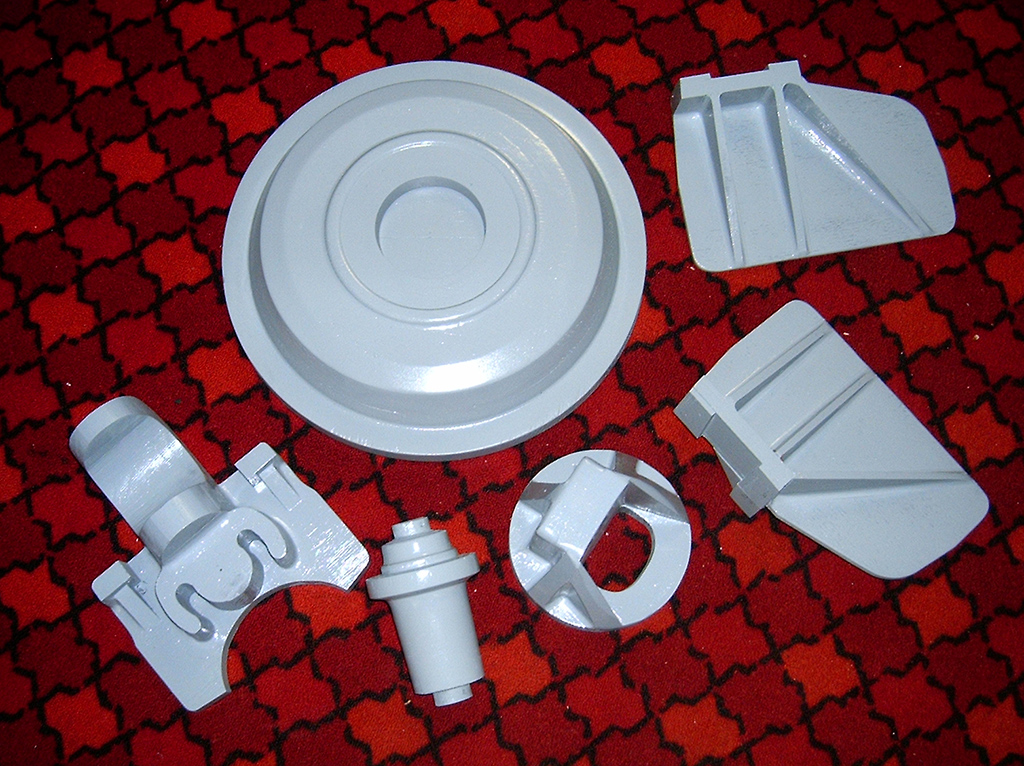
I would lie in bed at night and think about how I was going to make this piece and that piece. It really got overwhelming, I couldn’t get to sleep, and I couldn’t just think about the one thing I was working on. I had to think about all of the upcoming problems. I needed to turn my brain off a little, but that was really hard to do. I continued making patterns, brake housings, axle carriers, differential carrier, clutch pedal, brake pedals, tilt steering pedal, and the dash bottom half. Then I would make another trip to the foundry. That many castings would keep me busy for a long time. I then started machining the rear housing for the axle carriers, and the brake housings.
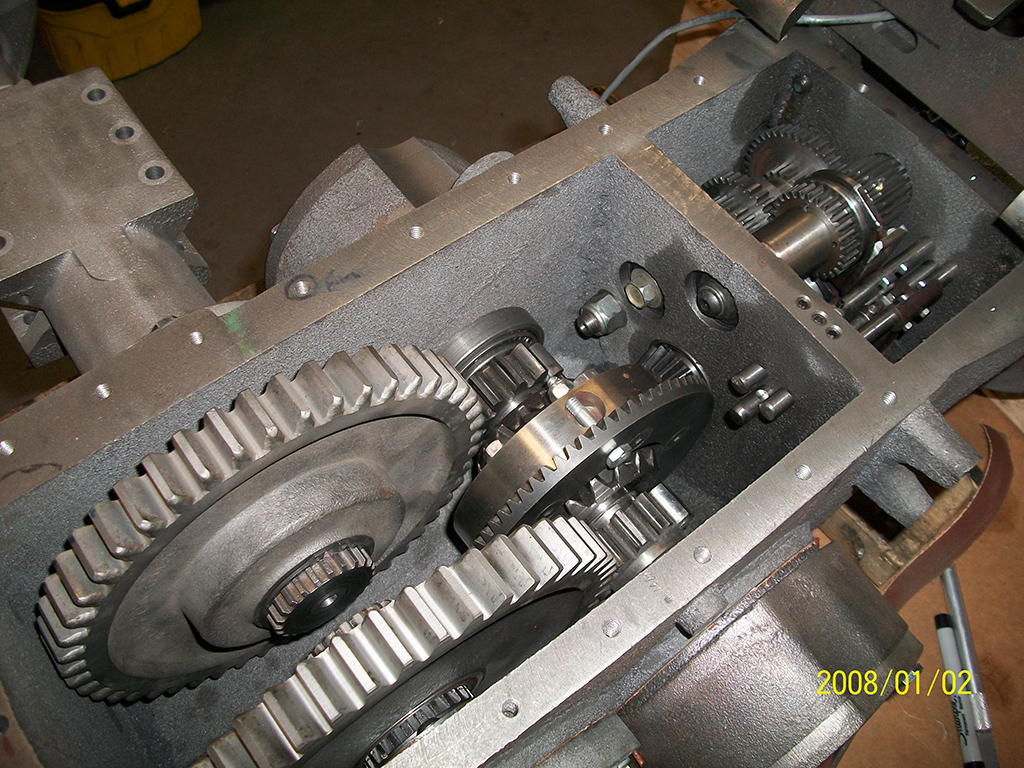
All this time, I was hoping that I could get the holes in the exact location for the gears to mesh properly with the right amount of backlash. Then I turned the housing on the other side, and did the same thing with the holes being square with the housing. Then it got even more stressful. Now I had to bore the holes in the transmission front wall and rear wall—again, all exact distances from each other for proper gear mesh. I would get one chance to get it right—one hole for the input shaft, another for the countershaft, another for the pinion, and one more for the reverse idler. I own a Fellows gear shaper, along with wheel type gear cutters, so the process of making gears began.
Transmission Worries
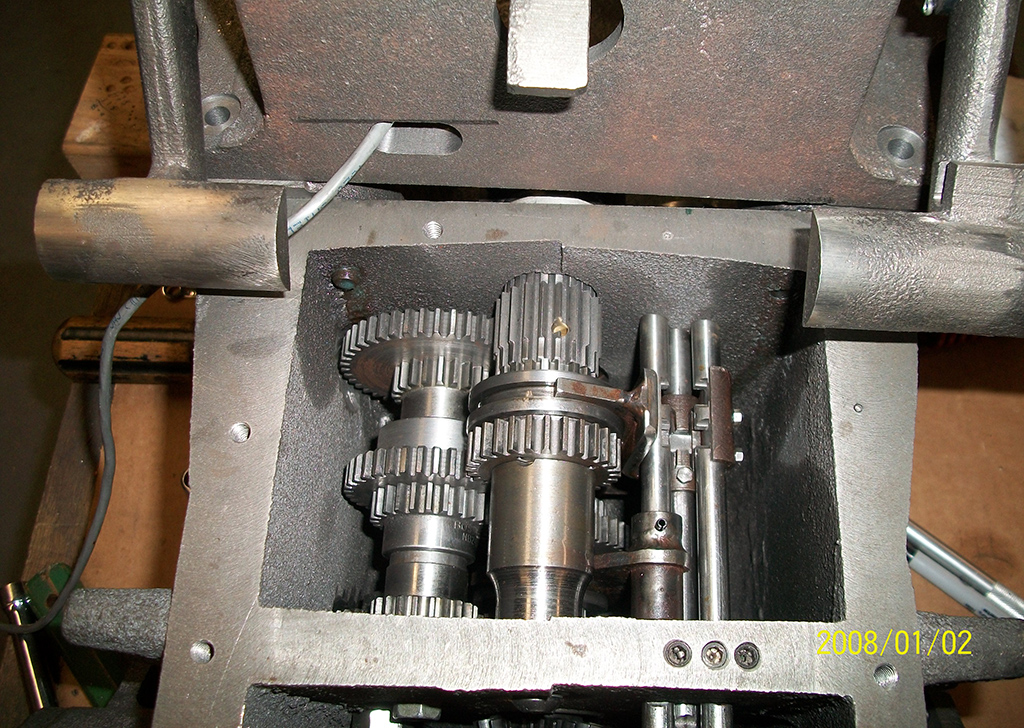
Some of you reading this will know that the 1655 has a constant mesh transmission, so the method of changing gears is accomplished by the use of sliding collars. These sliding collars, in essence, lock one gear to another gear when you move the shifting lever. Making these shift collars is where my CNC milling machine really came in handy. For my CNC, I use a cad/cam program on my home computer. I draw the part I need, make a toolpath for the part, then enter it into my CNC milling machine. As I remember, I roughed out those collars with a 3/8″ end mill, and then finished the internal teeth with a .041″ extended reach end mill—taking only .005″ every pass since I had to use quite a long end mill.
Hundreds of parts had to be drawn in the cad/cam program, and were then machined from bar/flat stock. All this time I was still in suspense, wondering if my gears would mesh properly. When the differential was complete, and the axle carriers finished, it was time to try. They were perfect. Then came time to try the transmission gears, and again, perfect. What a happy day that was.
The Main Frame and Dash
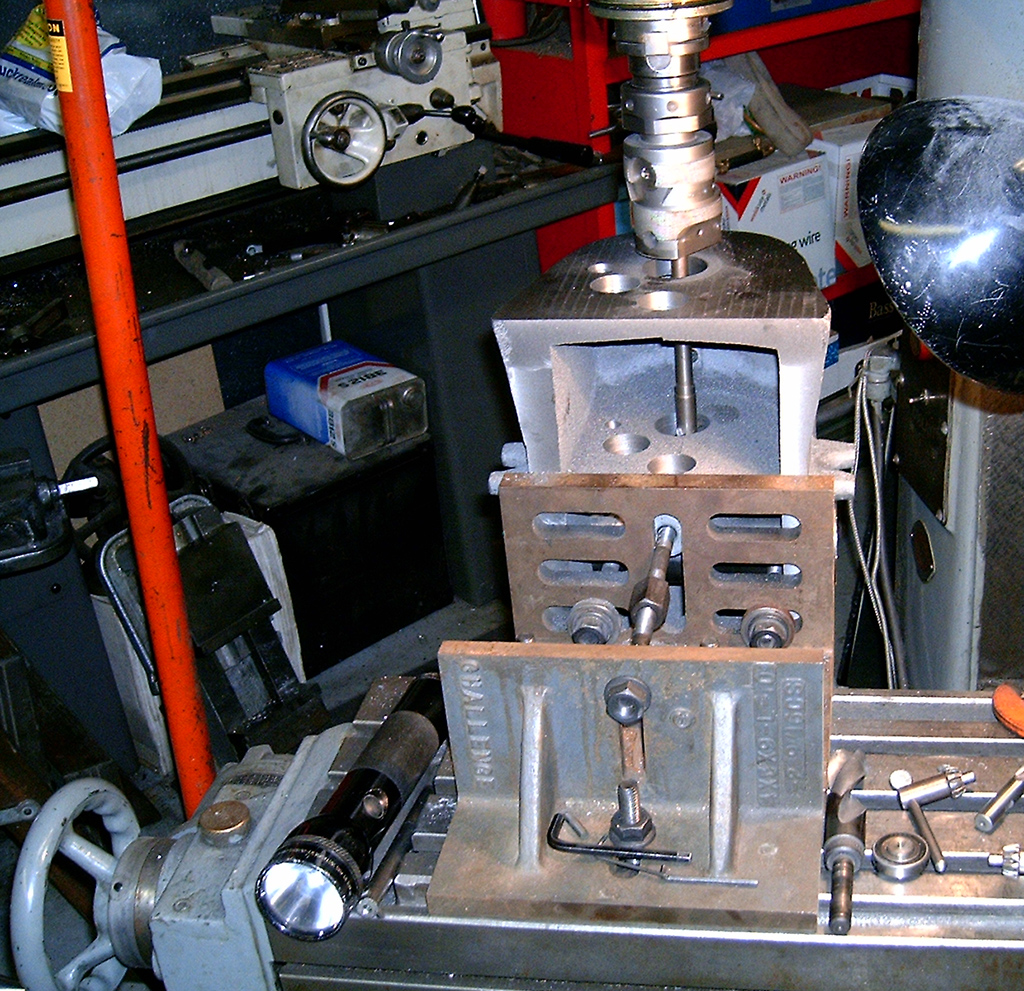
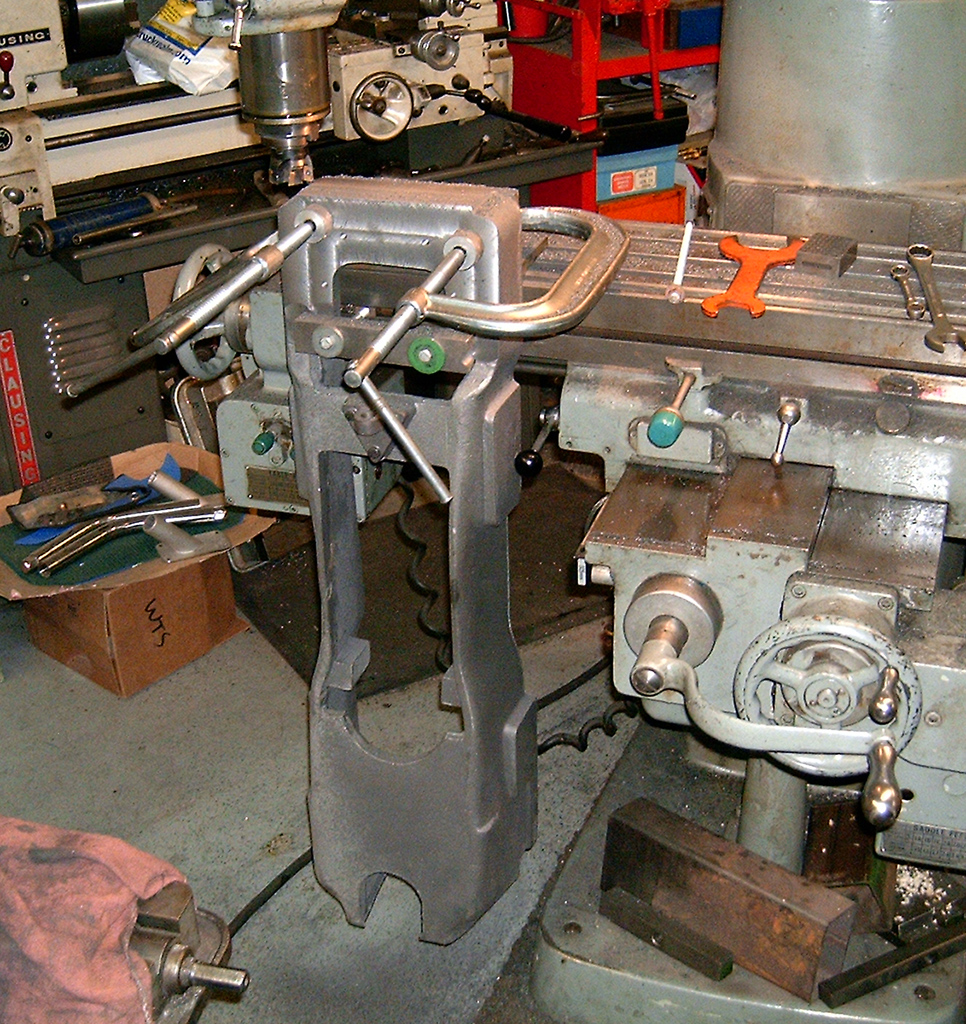
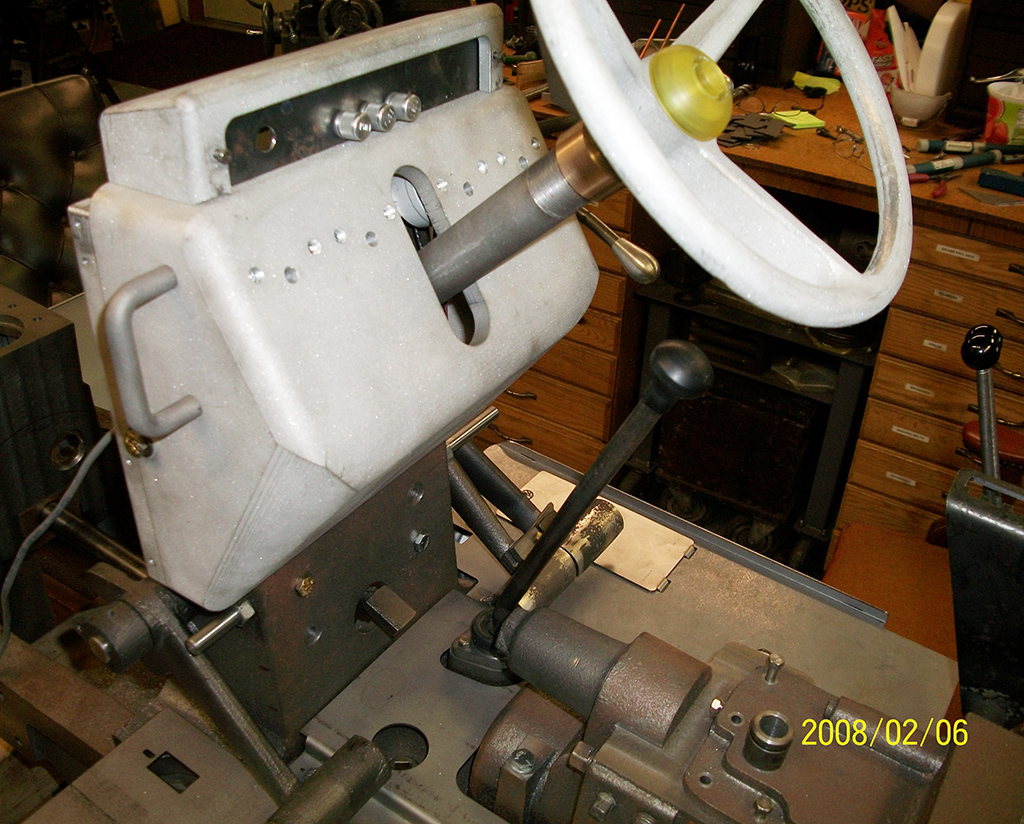
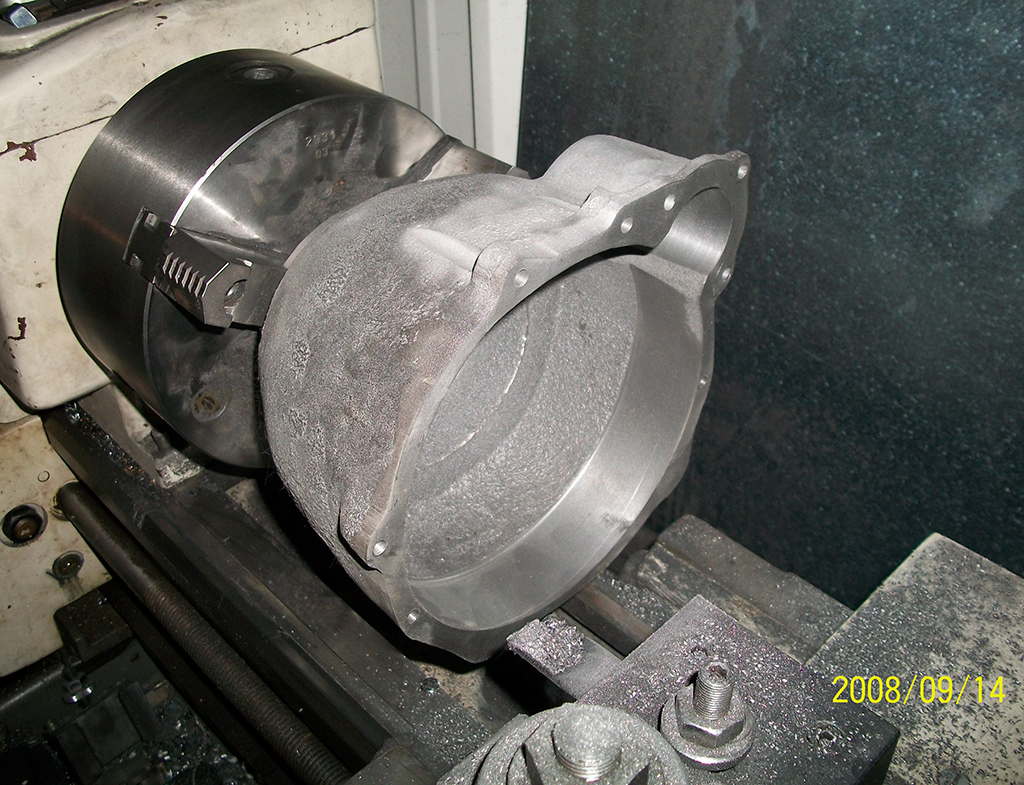
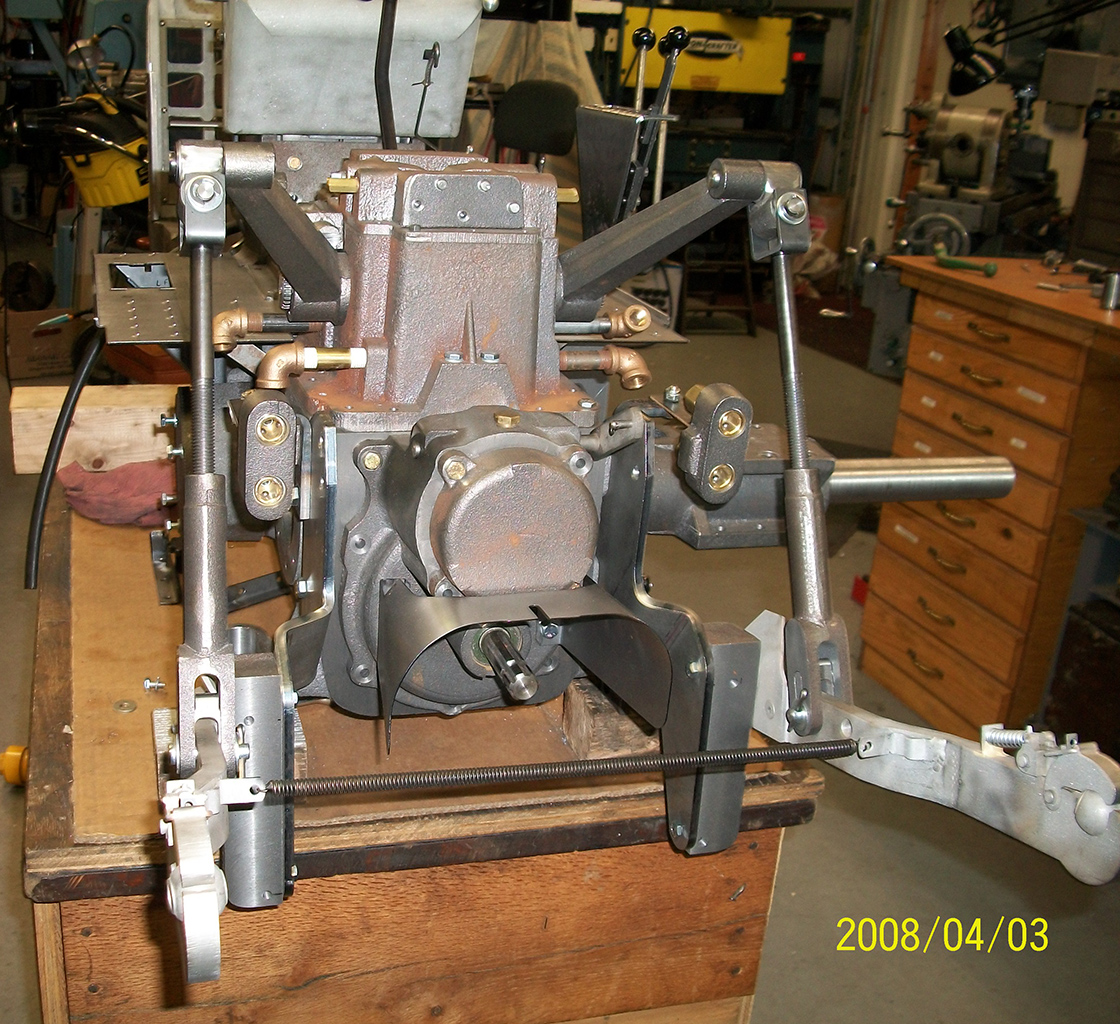
Having the shifter forks and rails in place, and the brakes done, the transmission/rear end was just about complete. Next, I started on the main frame. To machine the rear and the front of the frame, I had to clamp it to the back side of the table on one of my milling machines, and also to the front side for another operation. That was really stretching the capacity of the mill. Then I turned my sights to the dash. On a 1655, the bottom half of the dash is cast iron.
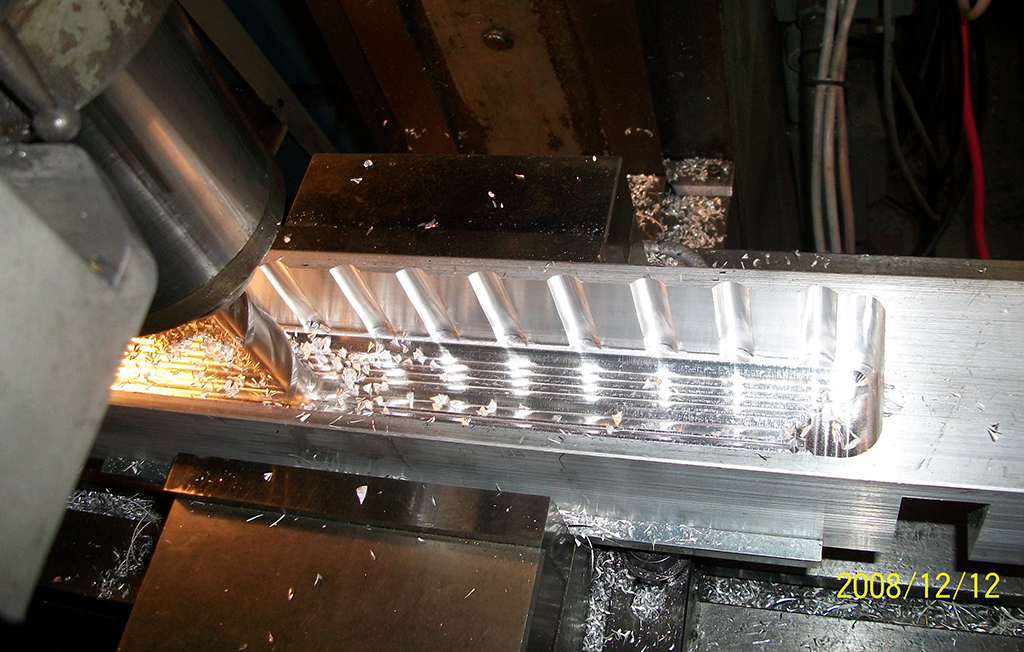
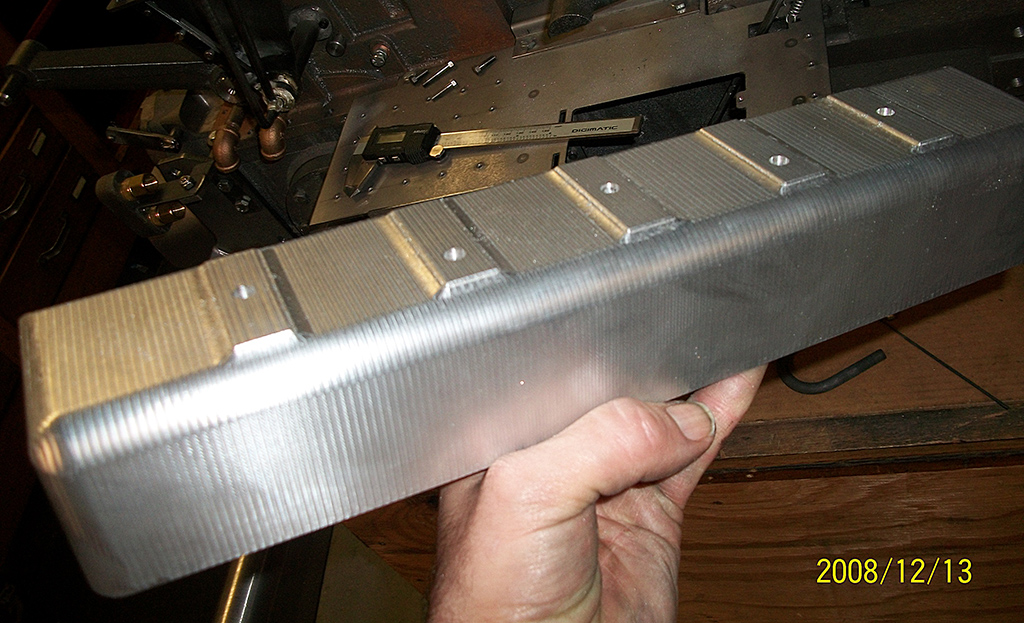
This is where the shaft for the brake and clutch pedals goes through. The upper half of the dash was originally stamped out using dies. I felt that I could machine the top half out of solid stock by drawing it on my cad/cam, and milling it out in 3D. First I machined the inside, then the outside. It worked well. That dash piece started out as a 39-pound block of aluminum, and now weighs about 9 pounds.
More Patterns and Finding the Right Tires
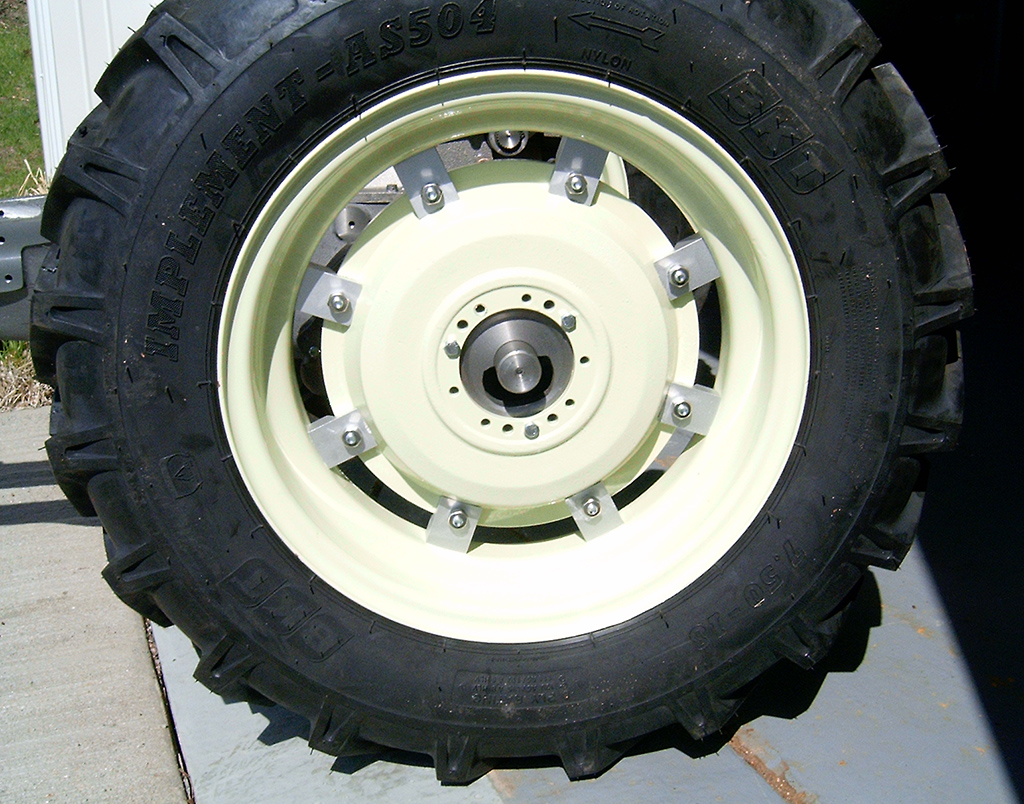
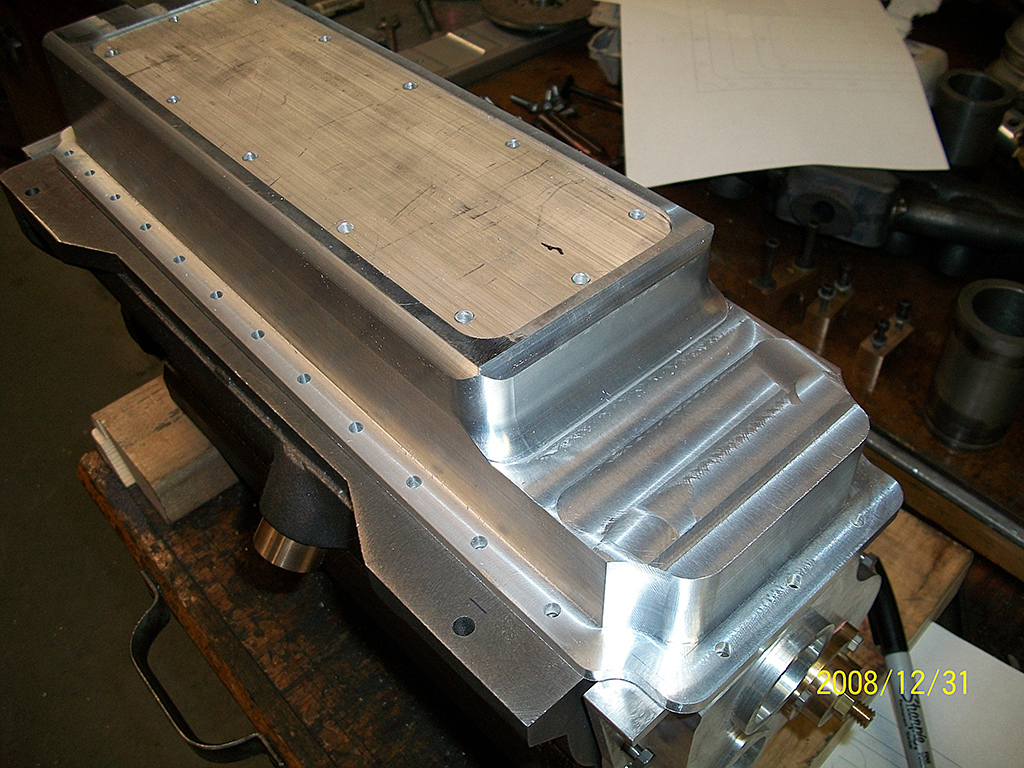
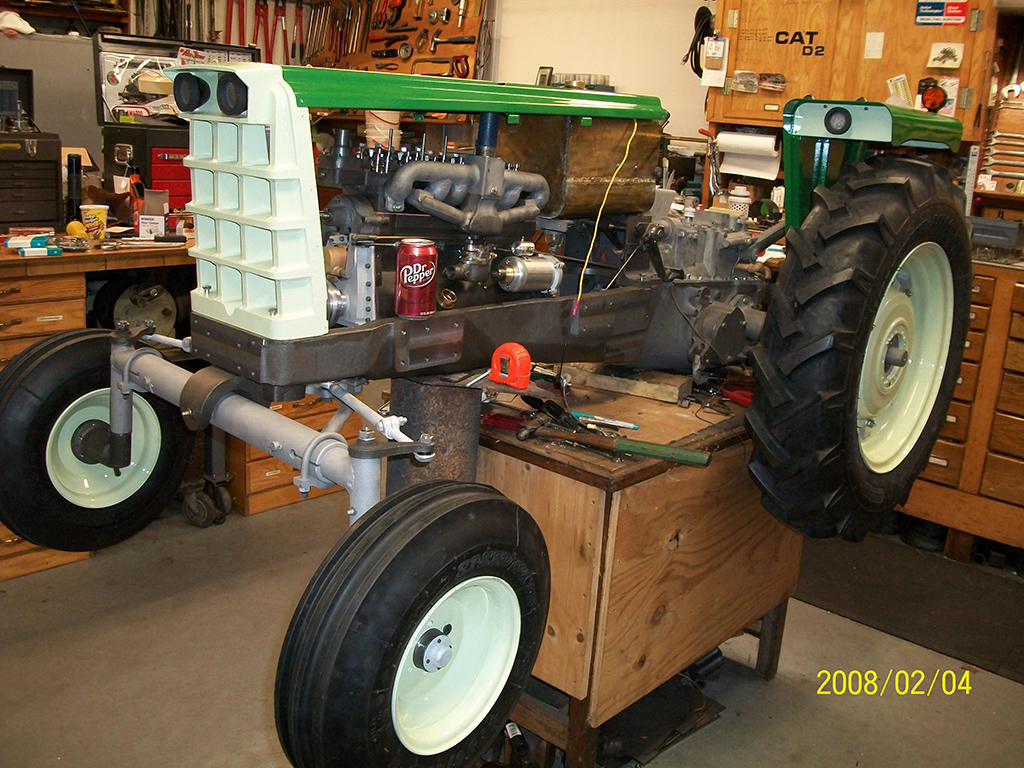
It was now time to make more patterns—front spindles, front axle pivot casting, rear hubs, rear cast centers, front hubs, hydraulic unit, hydraulic top cover, and power take-off housing. The rear tires that I used are mainly used on irrigation systems, and turned out to measure exactly half the diameter of an 18.4-34 tire.
I was lucky to find the right size 3-rib front tires. So far, this sounds easy, but it has been together and then apart many, many times! The U-bolts for the rear hubs, and the two on the front axle, were made from 4140 steel, and then heat treated—as were the originals.
Scaling Down the Gauges
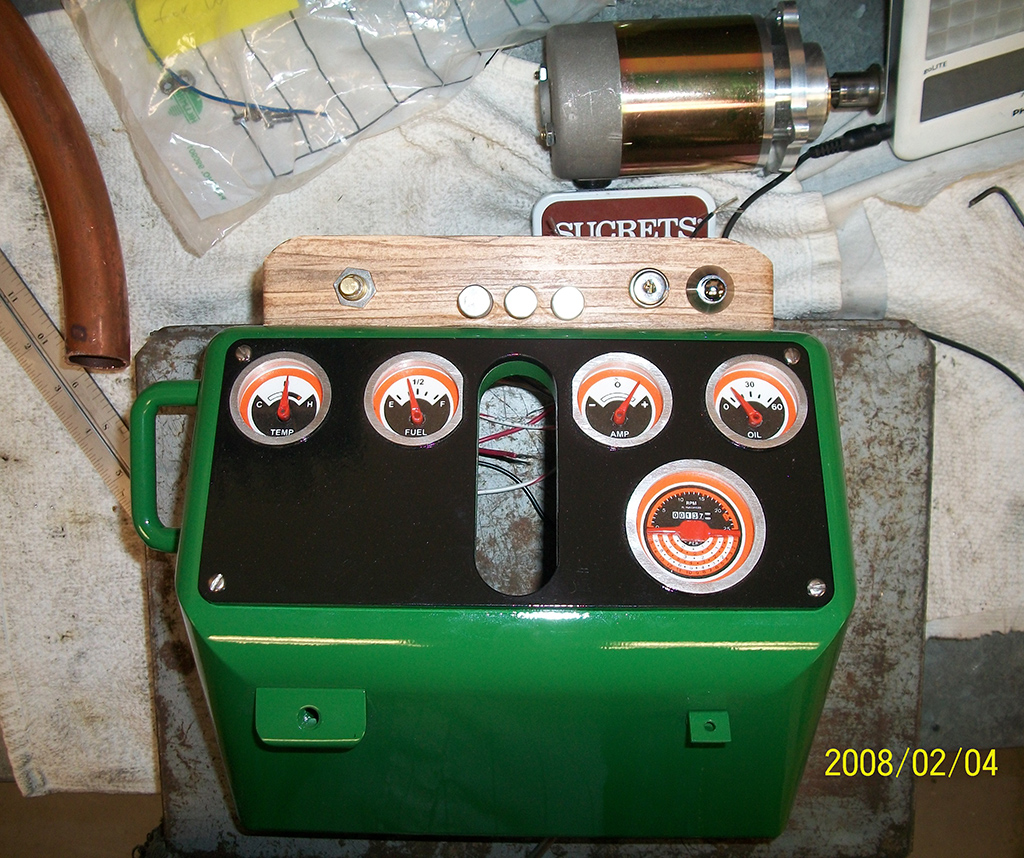
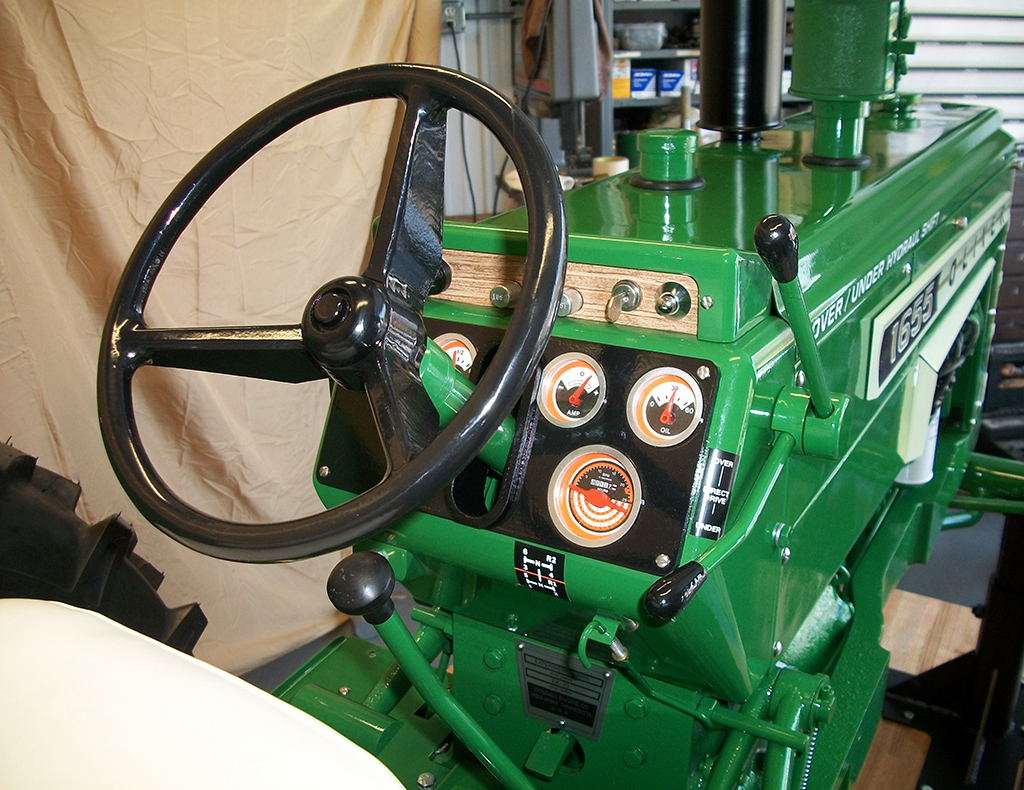
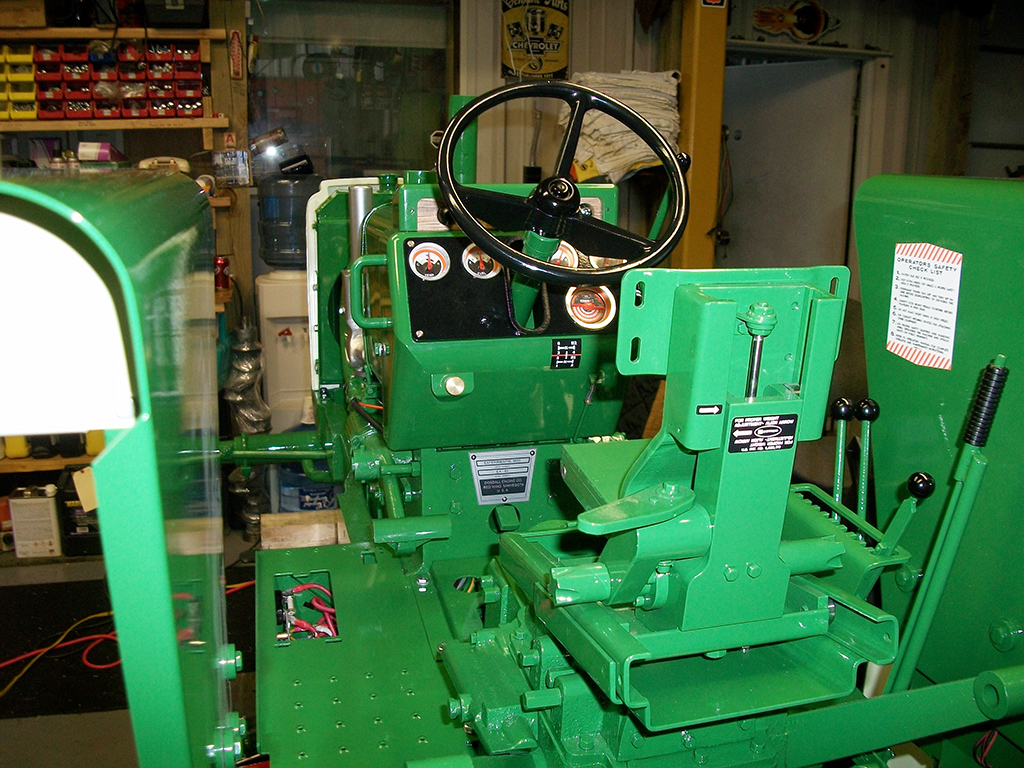
I bought some gauges and cut them apart, made my own smaller housings, made new needles, then went on my cad/cam again and drew the dials to be exact replicas (only 1/2 size). Then I loaded the drawings on a flash drive, took it to my local decal man, and had him print me the dials on decal paper. I made new bezels and put real glass in them. I was able to use pocket watch glass, as this comes in many different sizes.
Since we are on the subject of decals (I might be jumping ahead a little), I talked with someone who sells Oliver decals, and asked if he could make me a set at 1/2 size. “Sure,” they said. When I received them, I was very disappointed, as the lettering was not even close to being correct and looked terrible. Since I have tractors with the original decals, I drew them to be exact replicas, and again had my decal man print them for me.
CNC Machining a Steering Wheel and Light Housings From Solid Stock
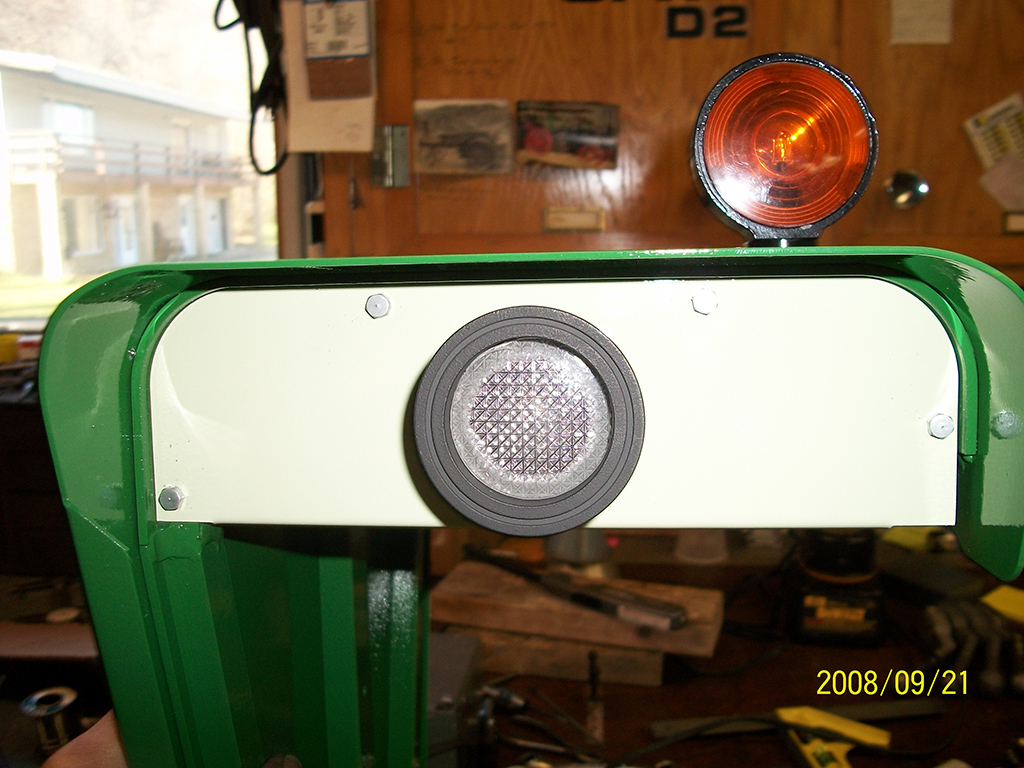
The steering wheel I also drew in 3D on the cad/cam, and machined it from a 14 x 14 x 6″ solid block of aluminum. I have over 30 hours of machining in just that piece. For those of you who know CNC, this program contained over 80,000 lines of code. The headlights, flashers, and the taillights were also machined from stock. They are fully functional with the “field” or “road” position on the switch.
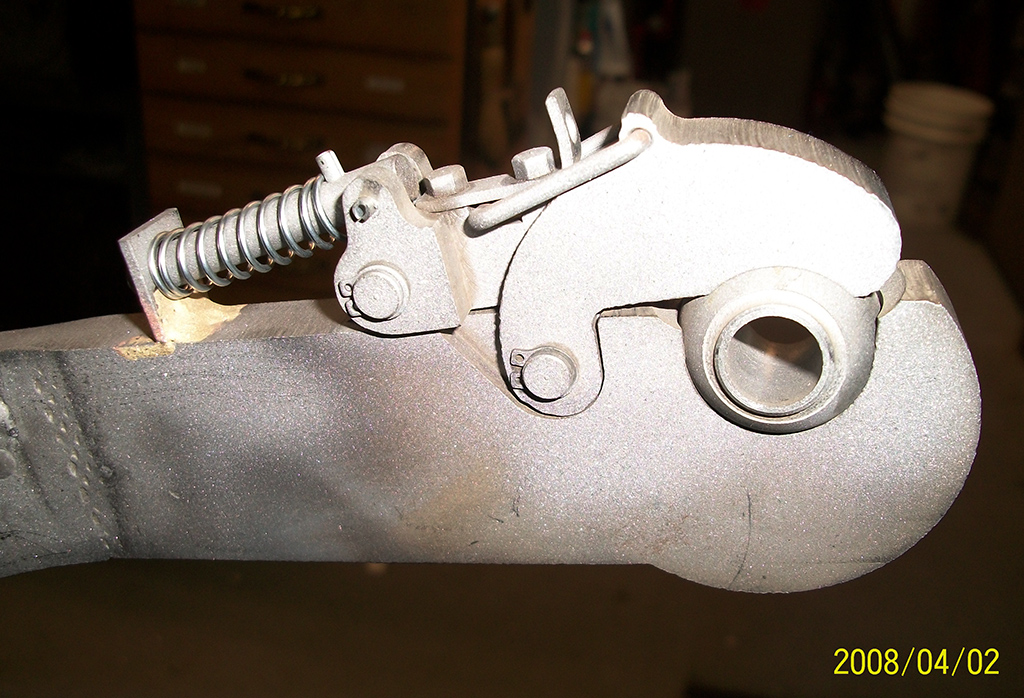
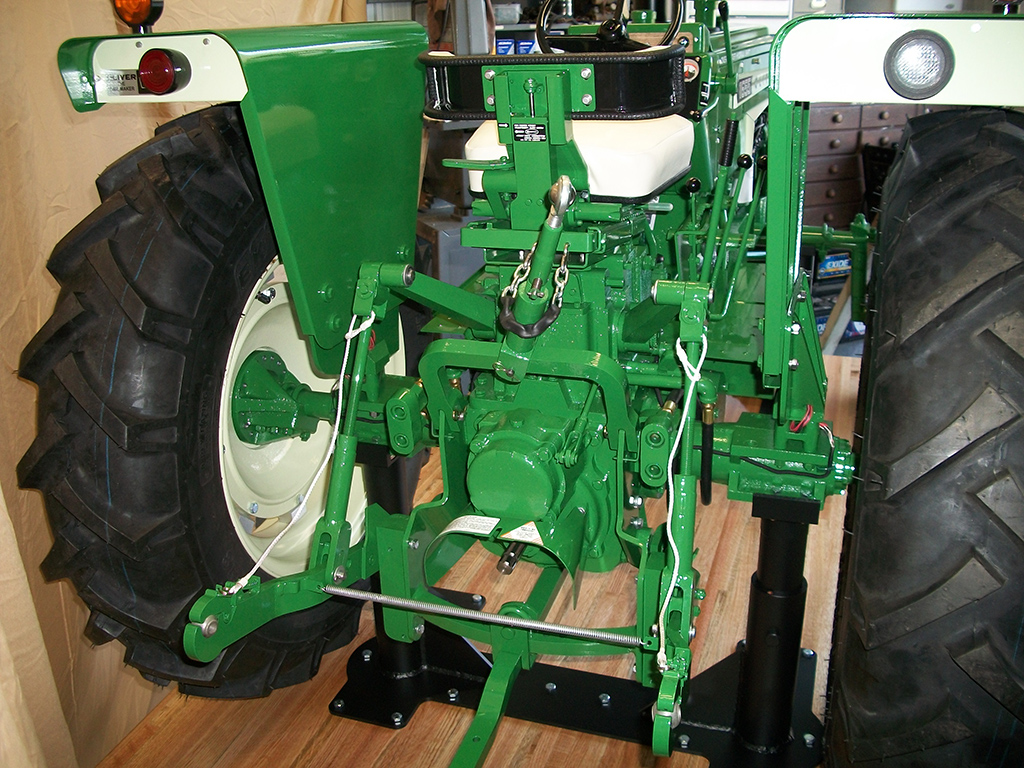
The light switch knob was also CNC machined to match the original, as were the 3-point hitch arms and latches. The 3-point latches latch as they should. The hydraulic housing, cover, and filter canister—which are all castings—were machined to fit their respective place.
The scratch-built headlights and flashers are attached. The right rear fender has a clear floodlight that shines backward toward the field for night work. The left rear is a red light for road use. A switch on the dash makes the selection.
Problems in Scaling Some Parts
Sometimes when you half-size something, it doesn’t always work the way you want it to. One example: You may be aware of the three supports under each rear fender. They have a 90-degree lip, and another 90-degree lip, and then they have a radius bent to match the fender shell. To try to bend these pieces with 1/2 the original radius doesn’t work well at all.
These pieces on my tractor were all machined from solid steel, and look perfect. Another example is that some things just get too small to be used without the possibility of breakage, so they have to be made a little bit bigger—like the connecting rods and the rod bolts.
Making the Grill, Radiator, and Gas Tank
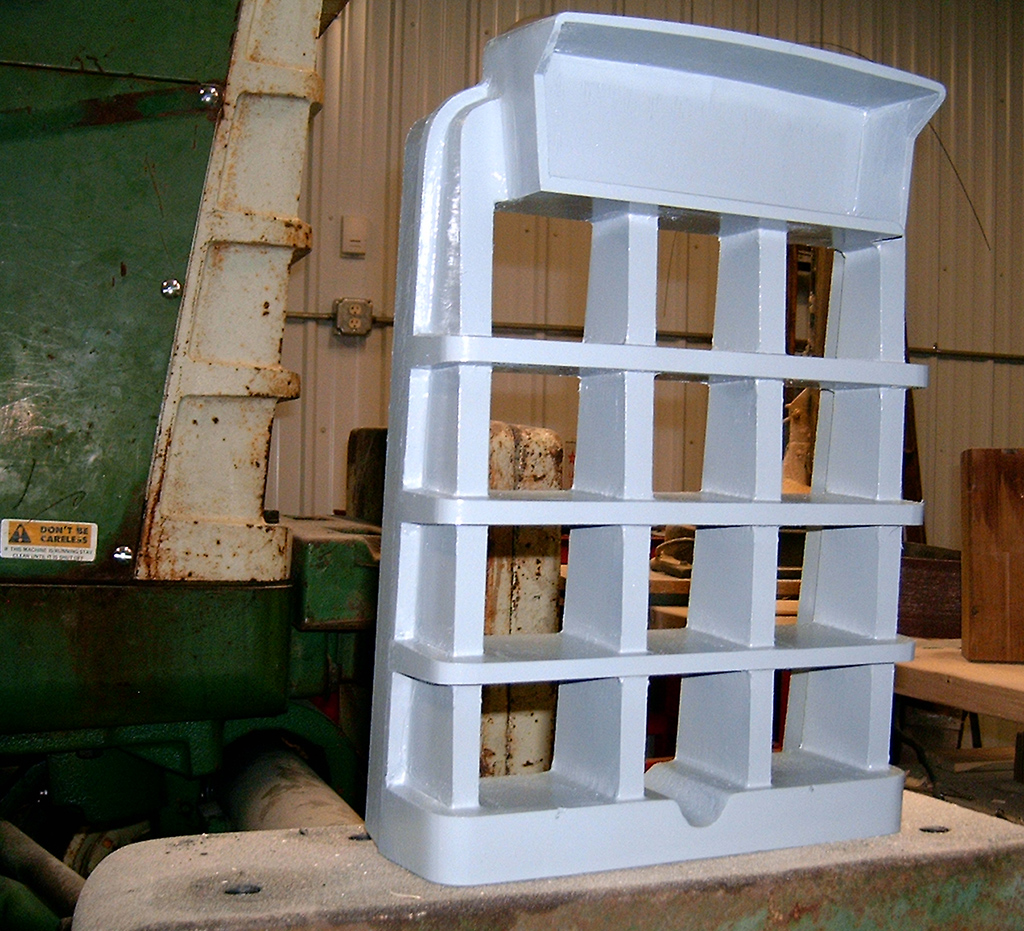
It took several days to make the pattern for the grill. There are a lot of angles in that piece. As with most of my patterns, including the grill, I put a leather fillet in any square corner of a pattern. This gives a nice radius, and also makes the sand in the mold less liable to break on the sharp edge. I bought a radiator core that was close to the proper size. I used sheet brass for the upper and lower radiator tanks, bending and forming to fit the radiator headers.
The fuel tank was also made from sheet brass. I made some dies, and bent the corner radii on the tank in my hydraulic press. The filler neck for the fuel tank was also a challenge. There has to be a ramp inside for the cap to tighten, and yes, I made the cap too!
Patterns for the Main Engine Parts
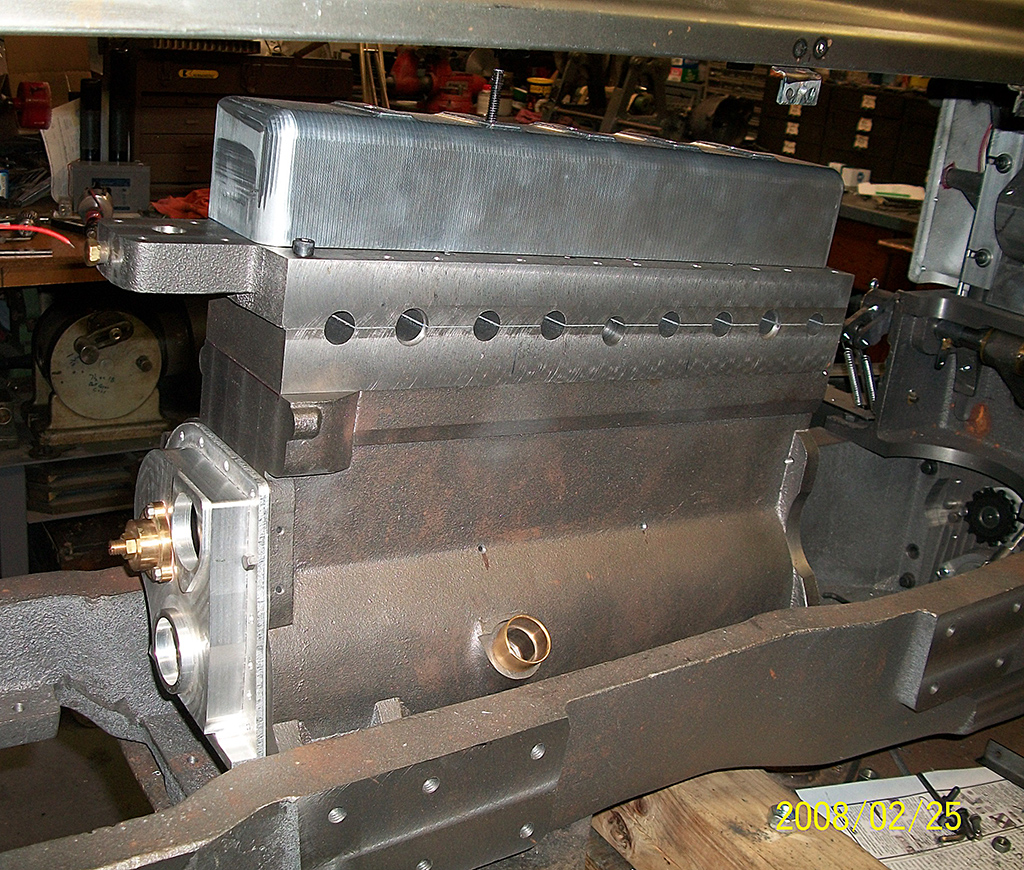
Okay, time for more patterns, now some difficult ones—the engine block, the head, and manifolds. The engine has wet replaceable sleeves, as does the original, which were also cast. We couldn’t get the cores to work properly on the exhaust manifold, so this was made from steel.
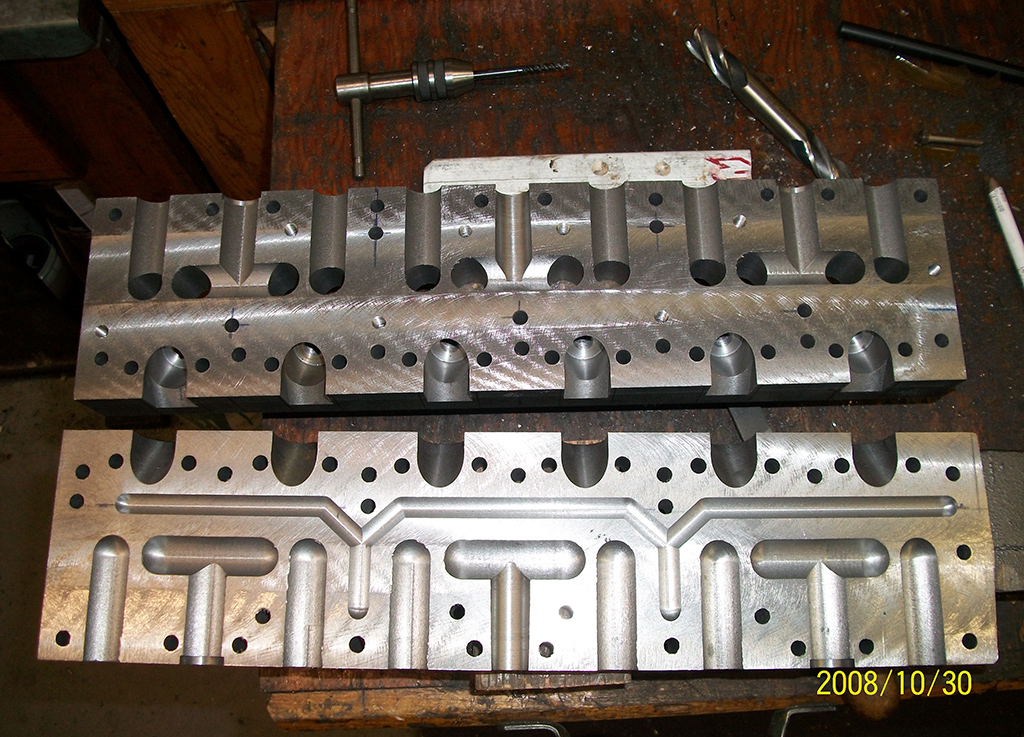
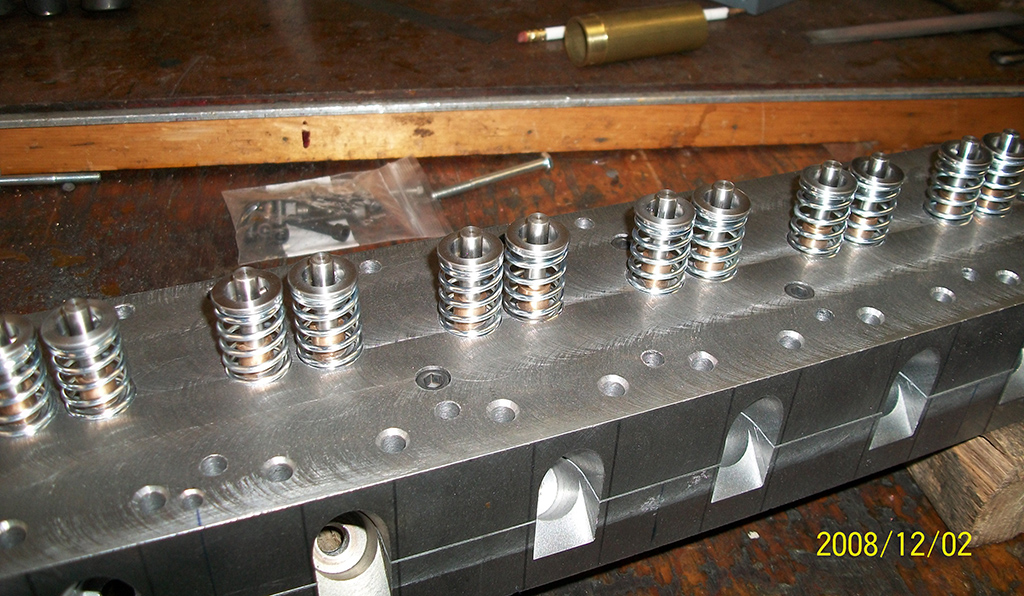
The passages in the head get pretty tiny when half-sized, so my solution was to make a two-piece head, machine the intake, exhaust ports, and the water passages, then bolt the two halves together. The early model 1800’s were built like this.
The Crankshaft
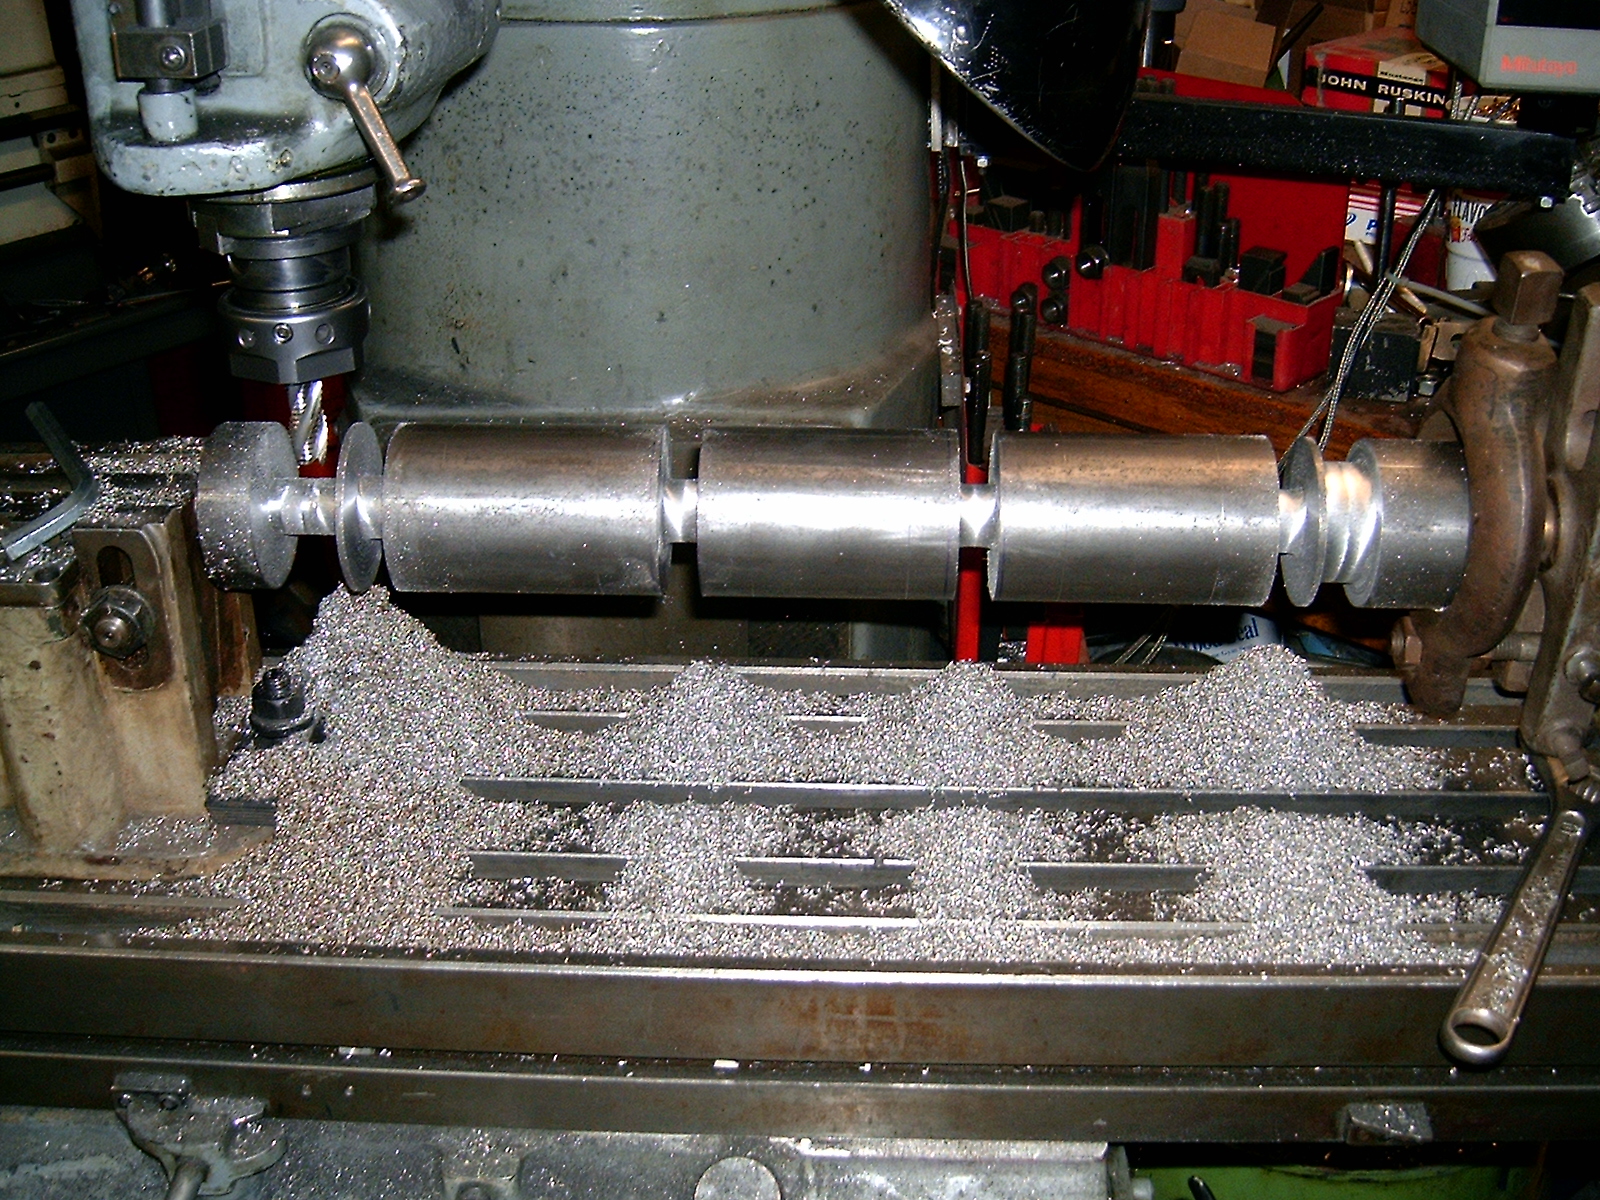
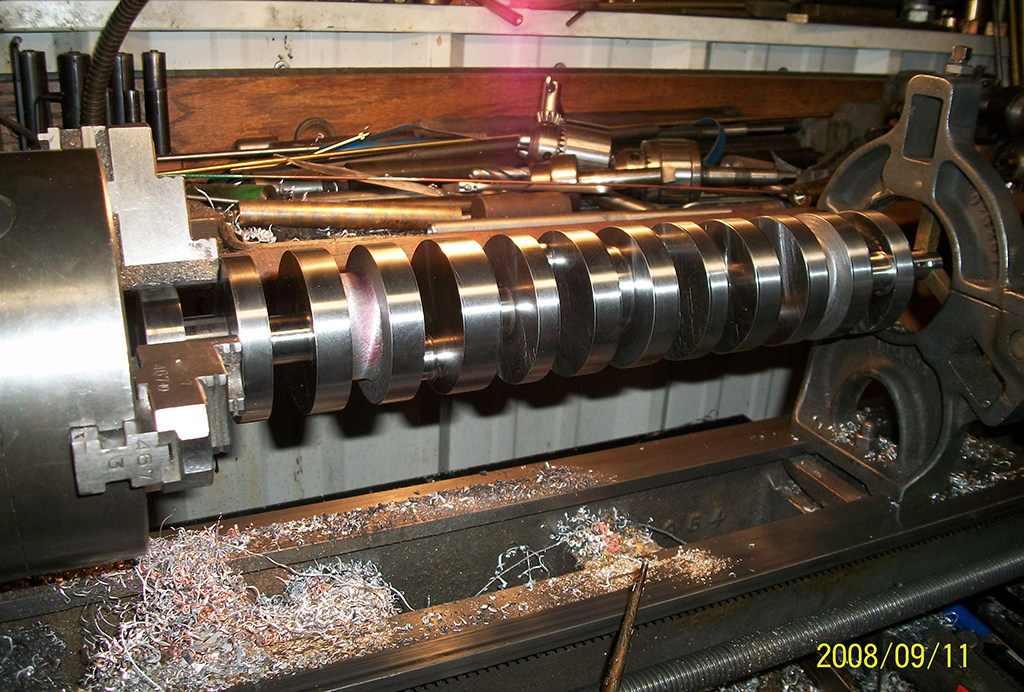
The crankshaft was made from a 3″ round piece of 4140 steel. I center drilled each end at four different locations, one in the center, and one in the center of each of the three throws. I put this between centers with my dividing head on my milling machine. Using a 5/8″ roughing end mill, I fed the shaft into the cutter, and cranked the dividing head until it made one complete turn. Then I cranked the knee up a little and started over again, until I got to a few thousandths over one inch.
I repeated this for the rest of the journals, both the rods and the mains. The crank was finished by grinding the journals to 1.000”. I drew and CNC’d the rods from a 3/4″ thick piece of highly leaded bronze, alloy #936. That piece of material was over $600.00. The description for the bronze states, “For use in heavy duty applications where slight lubrication is used.” This way I wouldn’t need rod bearings. I also made the main bearing caps and the upper insert from this material.
The Camshaft
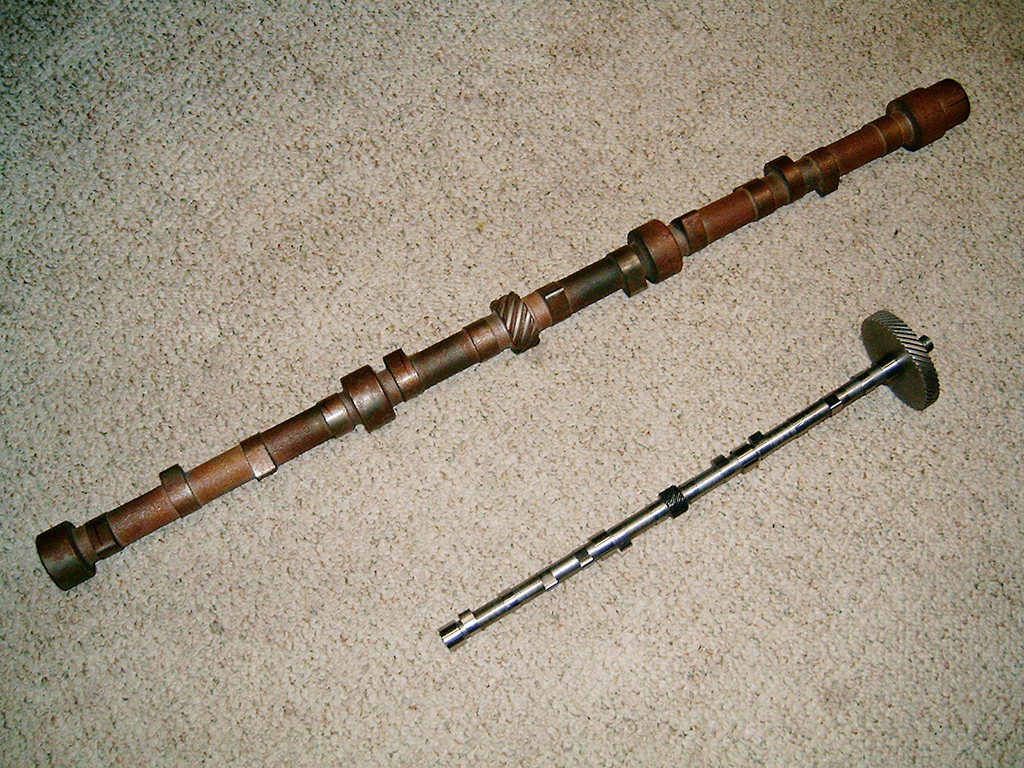
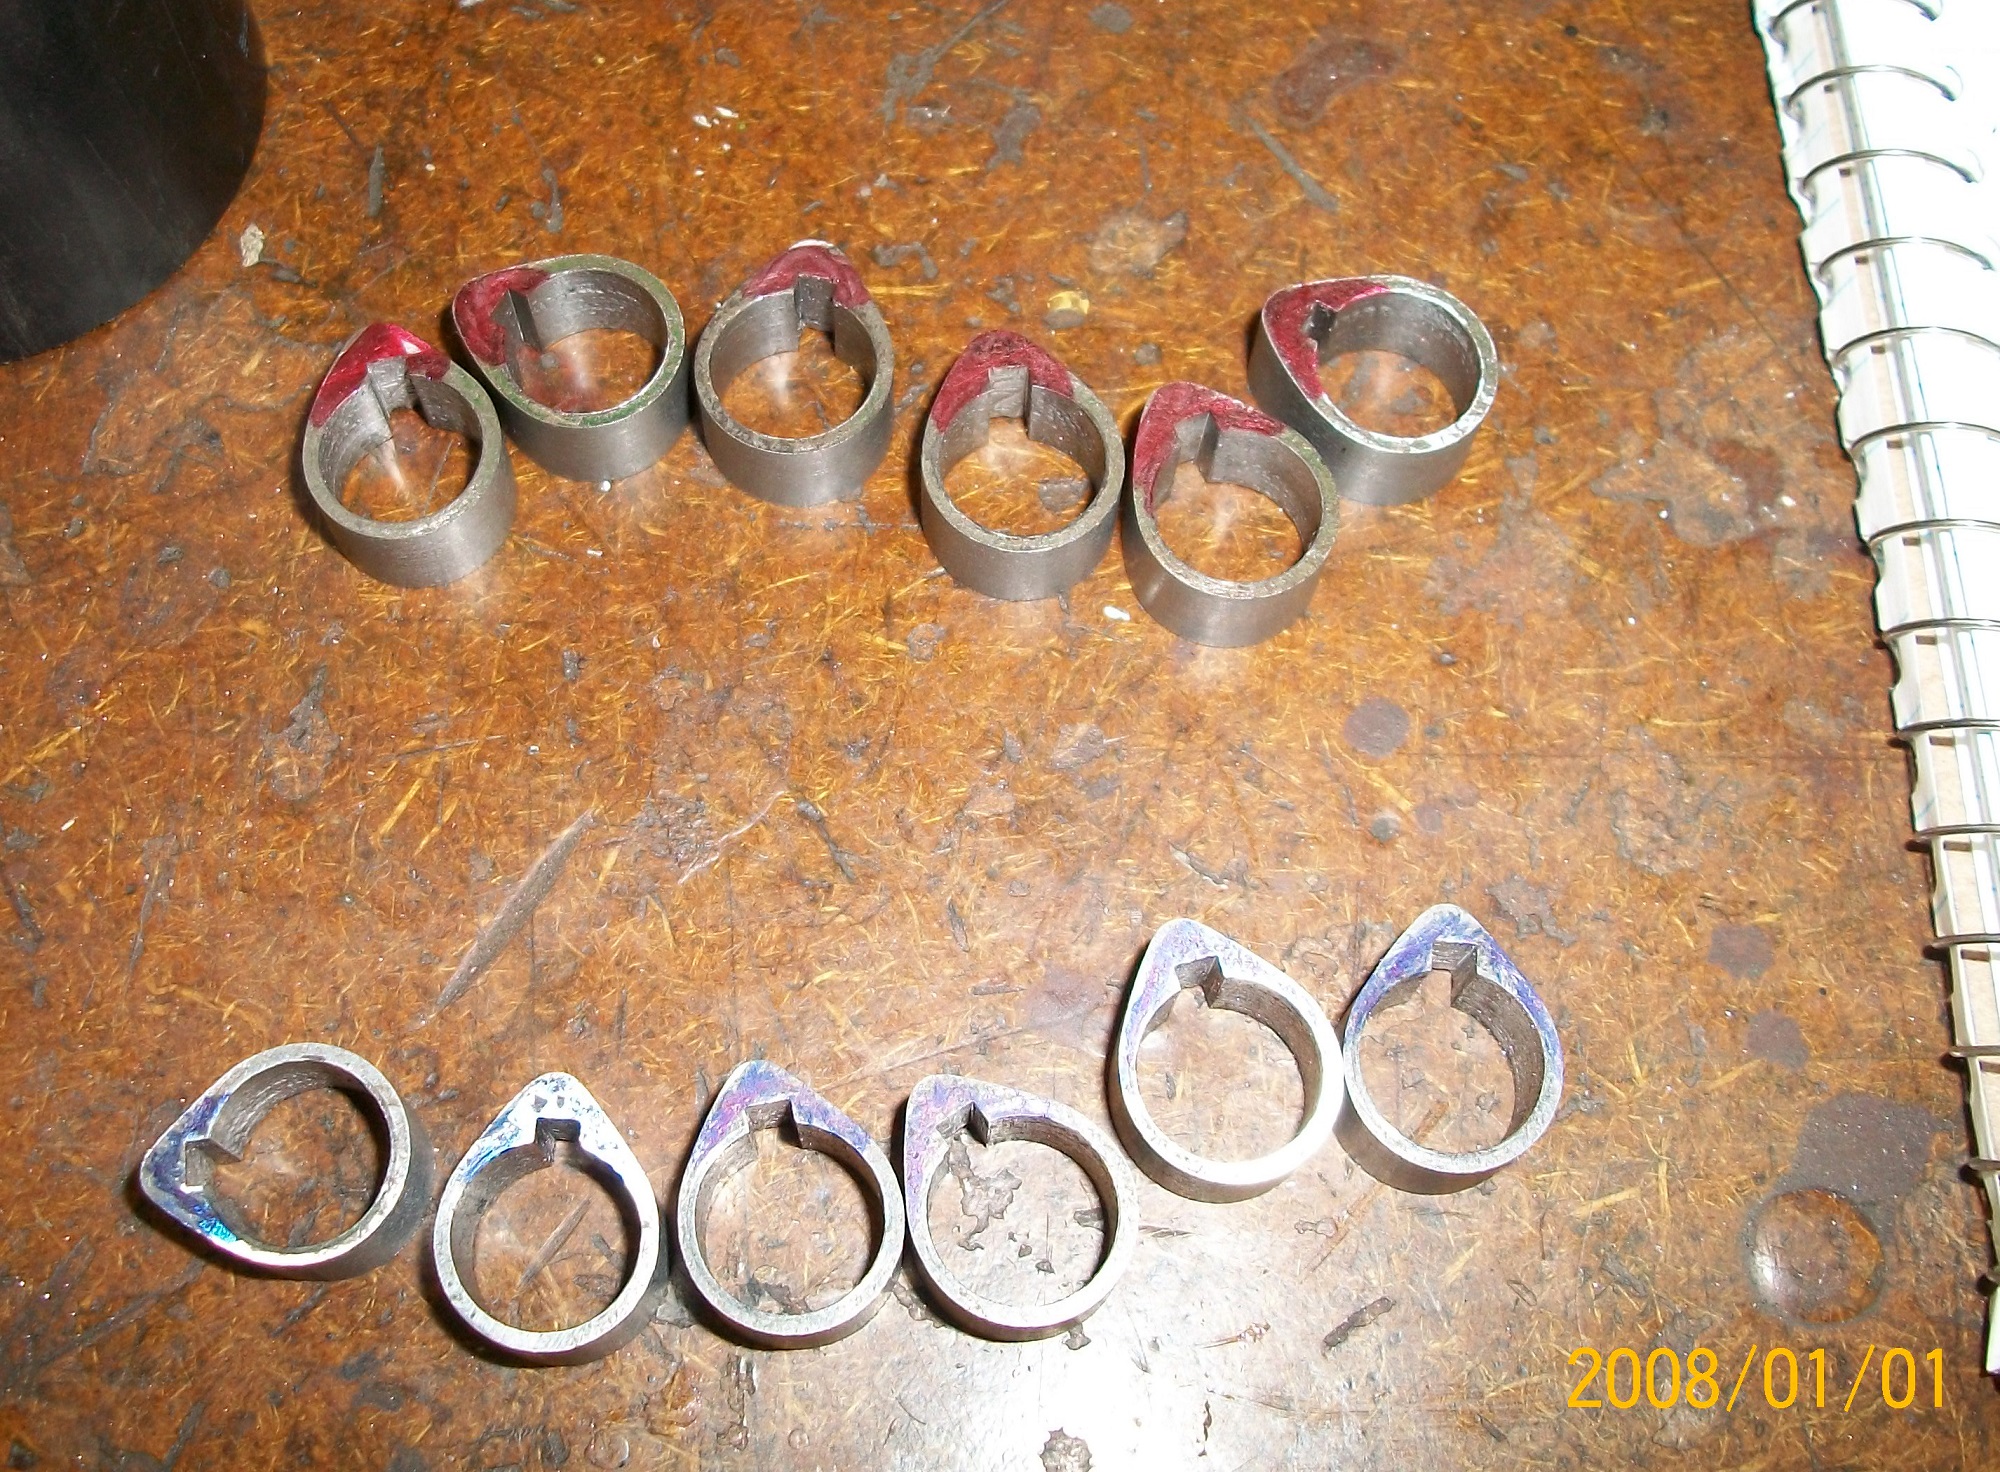
I had a camshaft from a full-size tractor on hand. I put that between centers with my dividing head, and mounted it to a milling machine table. Next, I set up a dial indicator on an intake lobe. I started at the highest point and took a reading. My wife, Jill, who has been very supportive through this whole ordeal, recorded the reading. Next, I rotated the cam one degree, recorded that reading, and continued this for 360 readings—or one full rotation. By knowing the difference for every degree, and the starting diameter of the lobe, I was able to duplicate this lobe on my cad/cam program. Then, when Jill thought we were done taking readings, I told her we had to now do the exhaust lobe.
After drawing the lobes, I scaled the drawings to 50% of actual size. Then I went to my CNC and milled out six intake and six exhaust lobes. Next, I made a jig so I could broach a keyway in each lobe at the same location on all of them. A shaft was made to accept these lobes with spacers between each lobe. Then came a very critical step—cutting all the keyways in the shaft in the exact locations. Everything including the distributor drive gear, the lobes, and the cam gear, were all sandwiched together with a nut in front of the cam gear.
The Timing Gear Cover, Valve Cover, Rocker Arms, and Fan Blades
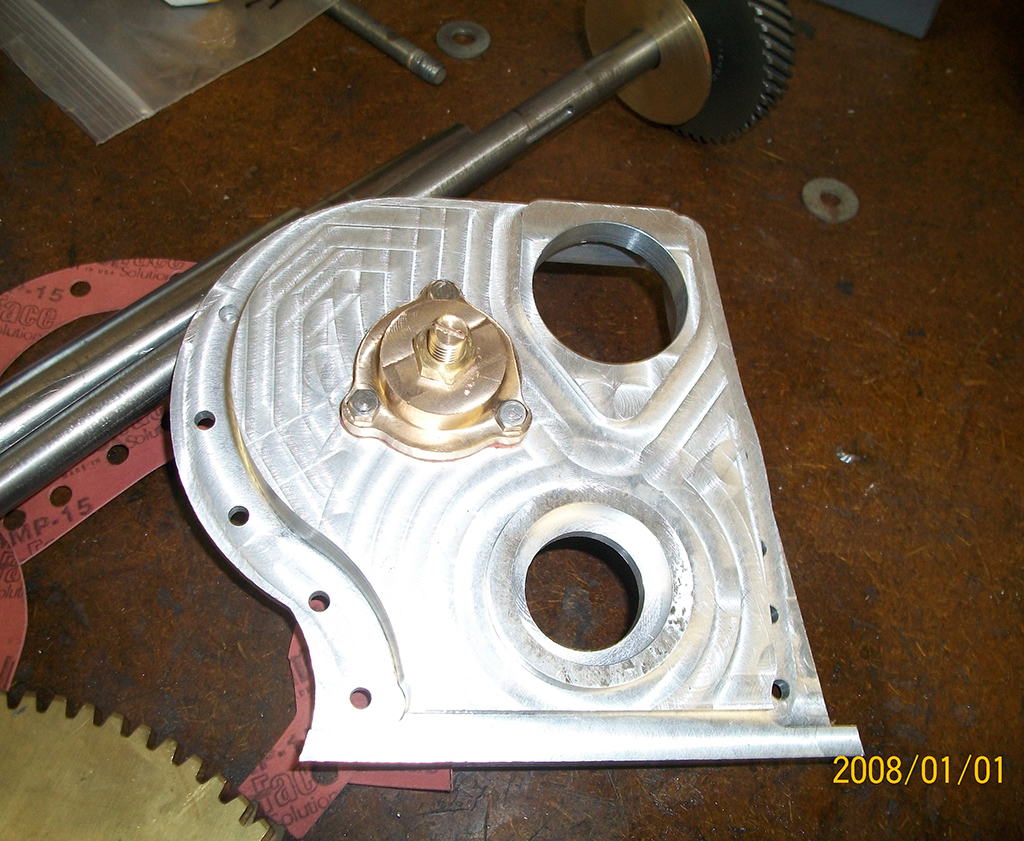
Now, the timing cover was measured, drawn, and machined out from solid aluminum. There is not a lot of extra room in a full-size engine, and even less in this small one. As I stated earlier, some things inside the engine had to be slightly larger than half-size due to strength.
Rocker arms and rocker supports were also drawn and milled from steel. The valve cover was drawn in 3D, and milled from a chunk of aluminum. Fan blades were riveted to the center, as were the original ones.
Electricity Doesn’t Scale
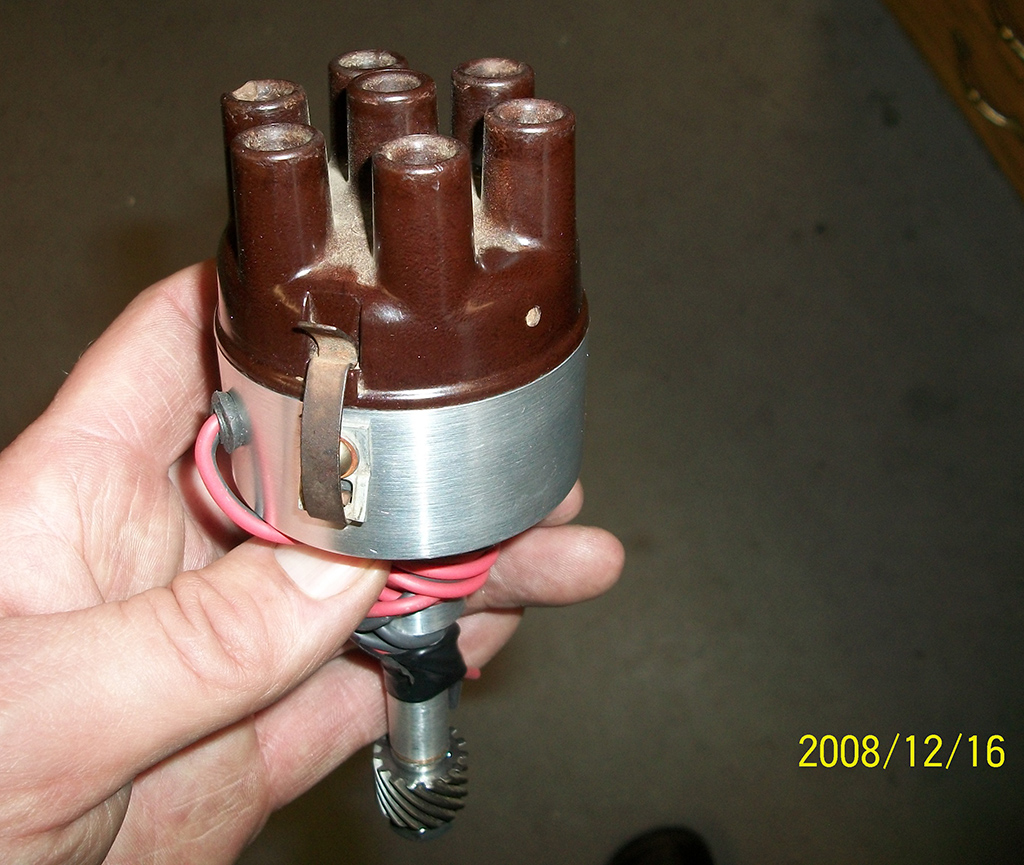
Another thing that doesn’t work well when it gets too small is the distributor cap. The smaller the diameter, the closer the lugs inside get to each other, and can cause cross-firing. For this reason, my cap is slightly larger than half-size. The distributor I made, but the cap I bought. I cut down an electronic ignition unit and fit it in my distributor.
The Dreaded Carburetor
Finally, it was time for the carburetor. The carb is made of two castings. The bottom casting went well with the machining and drilling. The top casting didn’t go so well. I had to have three castings before I got one that I didn’t wreck. One has a broken drill in it that I couldn’t get out, the second has a broken tap, but on the third one I succeeded. There are some awfully tiny and long holes that need to start and end in the right place—just .028″ if I remember right. I did have a couple extra top half castings poured for this potential problem. The float was kind of a problem, too.
I scanned the top view of the carb bowl into my computer, so I knew the shape that the float had to be. Then I drew the shape that I needed, and printed the float on my 3D printer. I discovered 3D printing doesn’t seal 100%. I had to brush the float with plastic model cement. It still didn’t float well, so I made it deeper, which would give me more air inside and more floating power. Again, another example where half-size doesn’t always work. When you half-size something, it ends up being 1/8 the volume, and it’s also a shorter lever for the float valve.
Finding and Making an Appropriate Starter
The starter was also another problem. I searched and searched for one that was the proper physical size. I found one that I thought would be close. I tore it apart, and made new end housings for it to look original. Also, I made the starter drive, and the flywheel ring gear to fit. In testing the starter under the compression of the engine, I found that it did not have enough power, and it wouldn’t be long before it would be burned out. On to plan B. I started with the end housing I made, and the starter drive, and constructed a starter with no electrical components inside.
I put four flats on the end of the starter shaft, and left it sticking out the front of the starter. I have an offset drive, commonly used in the aircraft industry, known as a pancake attachment. I put this in my 18-volt cordless drill, and, using a coupler, I could use my drill to start the engine just fine. There is also an over-running clutch in the starter drive. By completely constructing the starter it has more of the original look. Even though I can’t turn the key to start it, I would rather have the correct original look.
Sheet Metal Work on the Hood and Sides
I knew the carburetor was not going to be easy, so I put that off for a while. I wanted to do something different for a moment, so I started on the hood and hood sides. The main hood has a slight taper to it. The radii on the edges were not fun. I bent those radii in a sheet metal brake, clamped between shafts of the proper diameter.
The two radii are of different size. It took me seven tries before I got the hood that I was satisfied with. As you may know, the side panels have a male/female type of holder they sit in. I duplicated them, too, and even spot welded them in the same places as the original.
Firing It up for the First Time
It’s a scary day. Today I try to make it run. It runs, but still has float problems. I changed the shape of the float a little, and yes, it cures it. WOW, it runs pretty nice! I can even get the carb adjustments to work. I then decided my governor spring was a little too weak. The fifth one that I wound worked well. It ended up being a very good day.
Finishing Touches
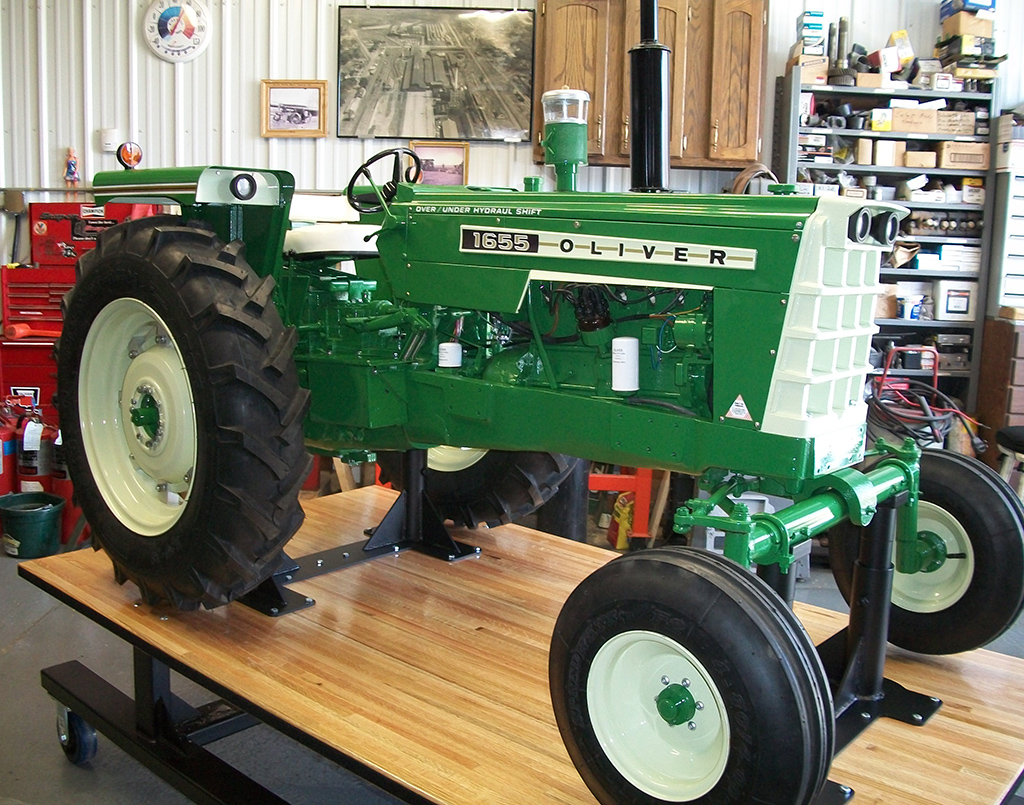
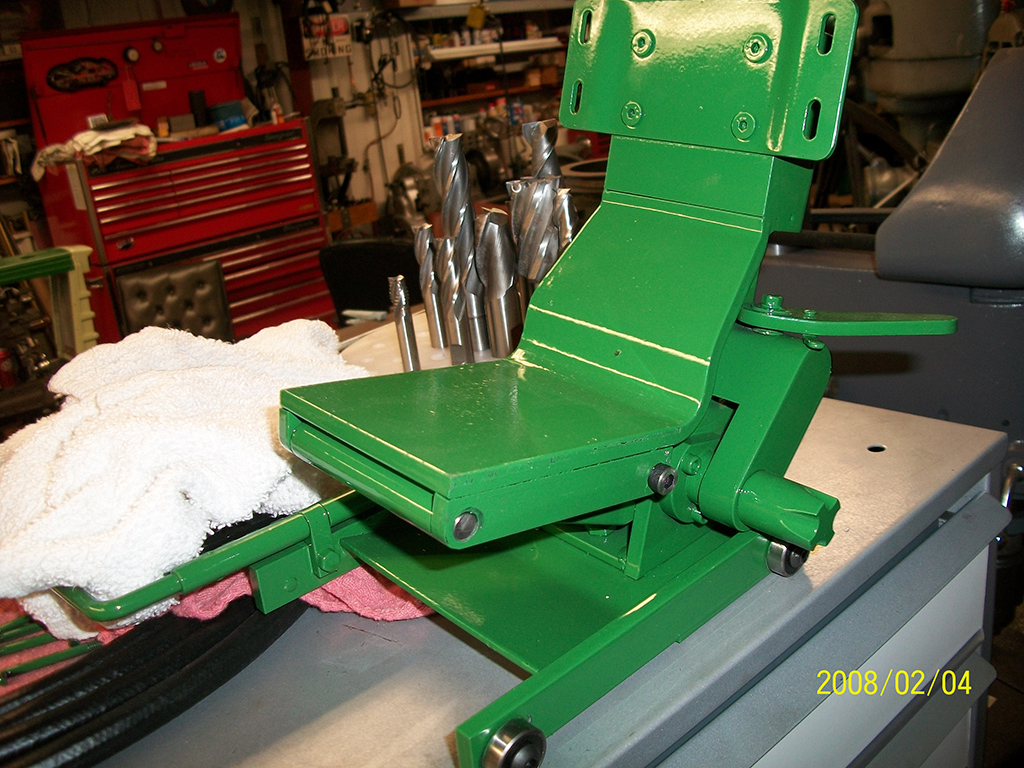
Well, we’ve got the seat left. The seat suspensions were made by the Bostrom Seat Company. Just about all the pieces on that suspension were formed with dies. I had almost two month’s work in that seat suspension. It is all machined from solid, and looks extremely close to the original. The seat bottom and back are machined from aluminum. Jill helped me sew the vinyl upholstery for them, and they are fully padded. Many hours were spent on the pre-cleaner, but it was well worth it. I did find a muffler that was just the perfect size. The tractor has three coats of DP 90 epoxy primer, two coats of genuine Agco meadow green, with a little recipe of hardener, and two coats of clear.
I made a cart for it to live on. This way, it’s more eye level for people to see. Then I decided to put it on some permanent jack stands on the cart. This way I could start it, push the clutch down, put it in gear, and show that everything works as it should. Just about 4-1/2 years from the day I started, I put on the finishing touches. I have over 150 pictures of various stages of construction, some of which are shown on this page, as well as in the photo section. I hope you’ve enjoyed reading this, and looking at the pictures. I am very proud of it.

