Masterfully Crafted Scale Model Radio-Controlled Ships
Introduction
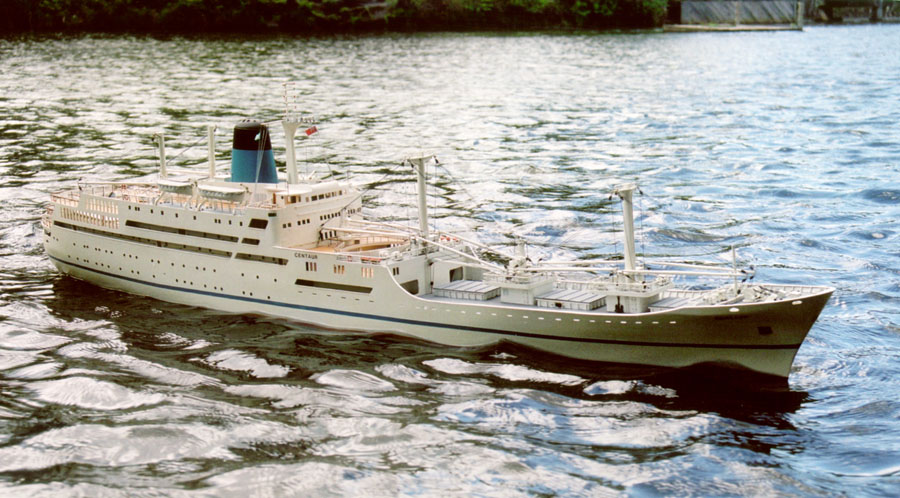
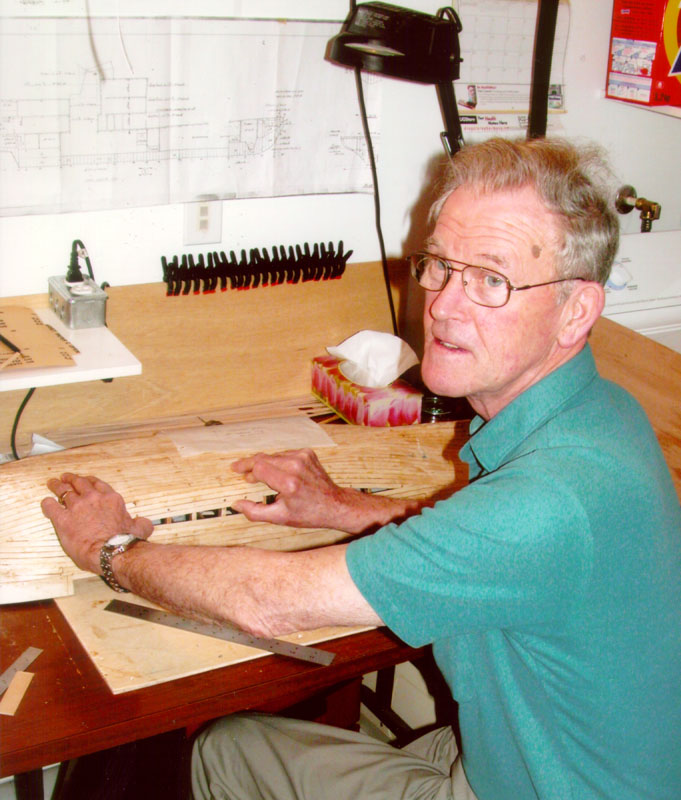
Andrew Green, of Halifax, NS, Canada, spent much of his life working as a draftsman for real ships. While living in Scotland, he worked on plans for the QE2. Later, Andrew moved to Halifax and worked on oil rigs until retirement. As a child, Andrew built and sailed ship models, and retirement allowed him to return to that hobby. These ships appear to be virtually museum quality in the level of detail; however, keep in mind that they were made to be put in the water and sailed—not just displayed. They are ballasted, powered by electric motors, and filled with tiny light bulbs that make them a joy to see on the water. Read on to learn more about Mr. Green and his model ships, in his own words!
Building Ships Runs in the Family
By Andrew Green
My father worked all his life in the shipyard, at the time that Cunard liners were being built. These included ships such as the Queen Mary, Queen Elizabeth and many other ships ending with the QE2. Like most people living in Clydebank, we lived with the noise of the shipyard, and perhaps were not even conscious of the noise until work stopped—and the noise with it. I grew up in this town on the river Clyde, and watched ships sail up and down from Glasgow to all parts of the world. That was where I developed my interest in ships. I remember having a wind-up motor boat, and once made a tug (bread and butter style), and put a “Mamod” steam engine in it. I am sure I made many simple model ships, but never kept any. I am inclined to get rid of things which are not right, or if I am not happy with what I have made.
When I left school at age 17, my father did not want me working in a shipyard. So I started work at Thermotank Ltd., a company of marine air conditioning engineers, as an apprentice draughtsman. I think that was as close to shipyards as he wanted me to get.
I had a good training there, designing systems for many ships, which included work experience in the manufacture of fans, vents, ducting and installations on board ships. After my five-year apprenticeship, I remained with the company a further three years, and then decided to find work closer to our new house. As it happened, the shipyard was only a short drive from home, and that was where I chose to work.
At that time, the liner QE2 keel had been laid a few months. Very soon after drawing steelwork for a car ferry, I was put to work on the ventilation for the QE2 machinery spaces, and more steelwork. There are few trades which cannot be found in a yard building ocean liners, and I spent most lunch hours exploring the various machine shops, and seeing all work and trades required to build a ship.
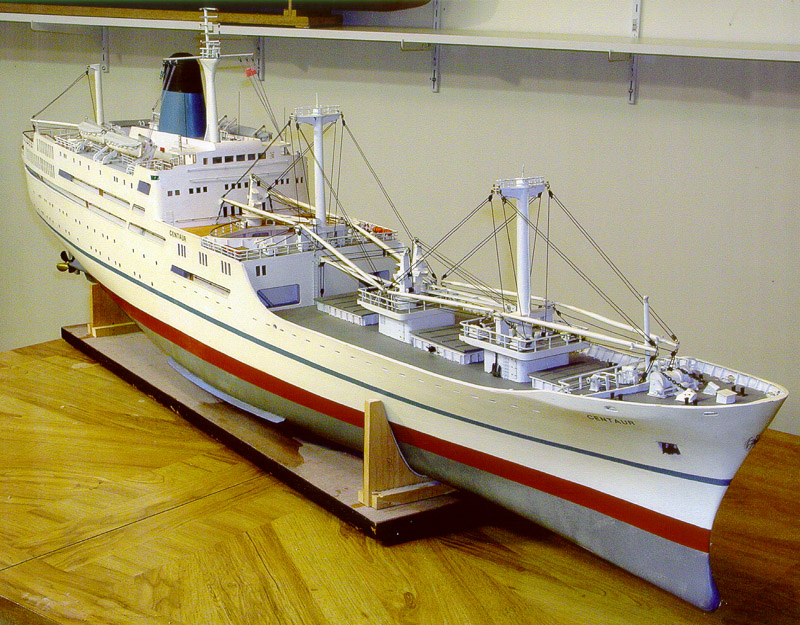
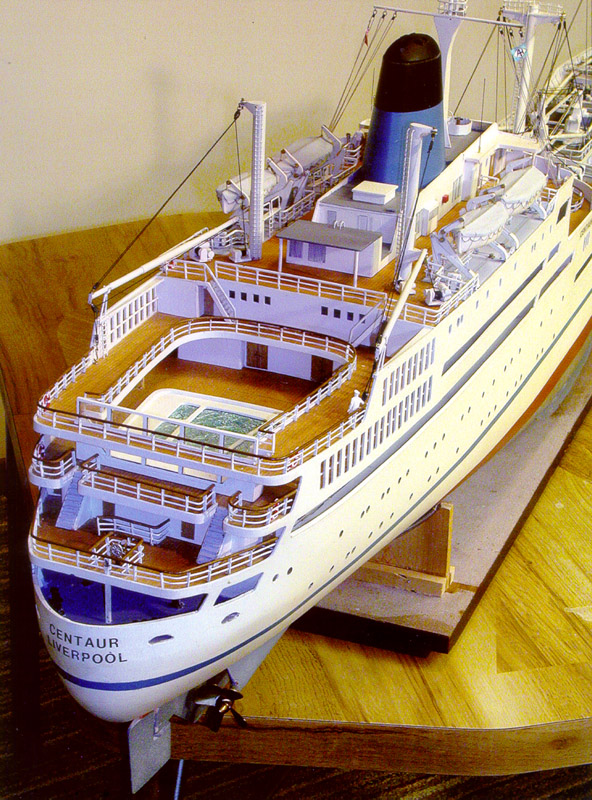
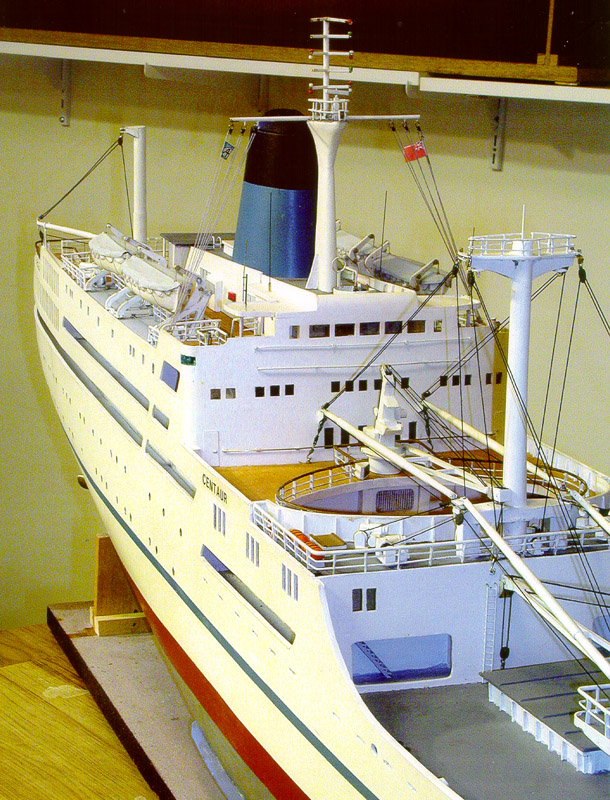
The Centaur, out of Liverpool, was a twin screw diesel cargo passenger liner that did service between Australia and Singapore. Pictured here is Andrew’s model of the ship, scaled at 1/8”:1’—making it about 5’ long.
My First Attempt at Ship Modeling
I thought I knew enough about ships to build a model. I had the plans I needed to start, and I decided on a “bread and butter” method to build the Centaur. This is done with a series of planks, each plank being the scale length and width of the ship, and the thickness being a waterline height. The hull lines are then drawn on each plank for that waterline height, for the top and bottom of each plank, and then cut round the widest shape of the lines. When the cut out planks are placed on top of each other and screwed together, it forms a rough hull shape which will be correct for the top of each plank. The hull now has to be carved down to remove the surplus material at the bottom of each plank.
This is a slow and exacting task. Care must be taken not to cut or carve into the bottom plank line, as this will change the shape of the plank below. When the hull has been properly shaped and sanded, the planks are unscrewed, and the inside is cut until a safe wall thickness is obtained. Then, the hull is reassembled, and the planks are glued together and clamped. I used this method and was quite happy with the result, so I carried on with the superstructure. It was then that I realized the model scale was too small to show fine, essential details—or at least too small for me. But I continued working on the model off and on, and even painted it.
The Centaur model is 1/8”:1’ scale, which makes it about 5′ long. The deck fittings are brass, and were machined on a Sherline lathe. It’s powered by 6-volt electric motors and has a lighted interior.
Work on the QE2 was drawing to a close as the vessel neared completion, and there was no other order in sight. For better or worse, we decided to try Canada. There was a firm job offer at Halifax Shipyards, so we moved. The shipyard was building oil rigs—not things of beauty like ocean liners—but it was something new, and a complete change in job, country and way of life. Work at the shipyard lasted five years, and the last rig to leave the yard had no drilling engagement. It was time to find another job. Shipbuilding in Canada was at an all-time low.
Even my model wasn’t doing well. It was top heavy, with too much brass and lead solder. I put it away…out of sight and out of mind. I was fortunate to find a position with a company of consulting engineers doing air conditioning, heating, boiler plants, etc. I retired there after fifteen years. It was during those years that I heard of the Maritime Ship Modelers Guild, and became a member. My ship modeling was going to make a turn for the better.
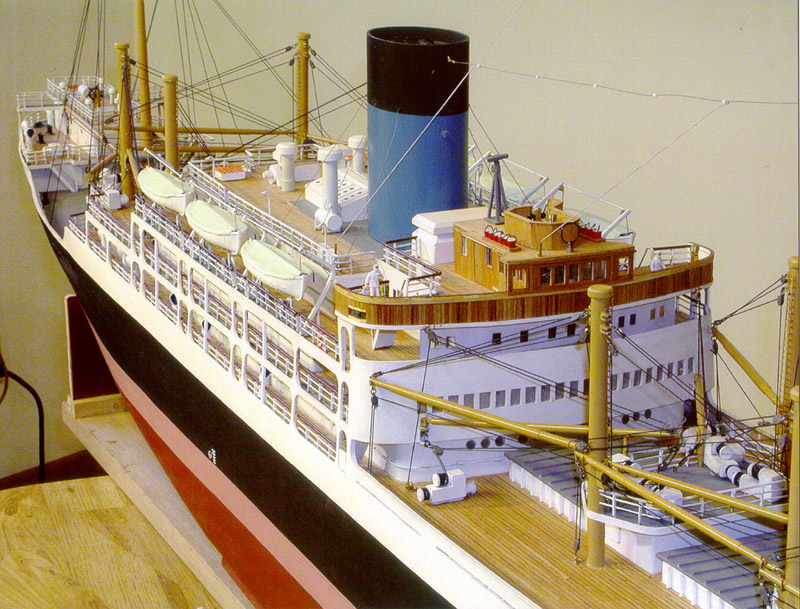
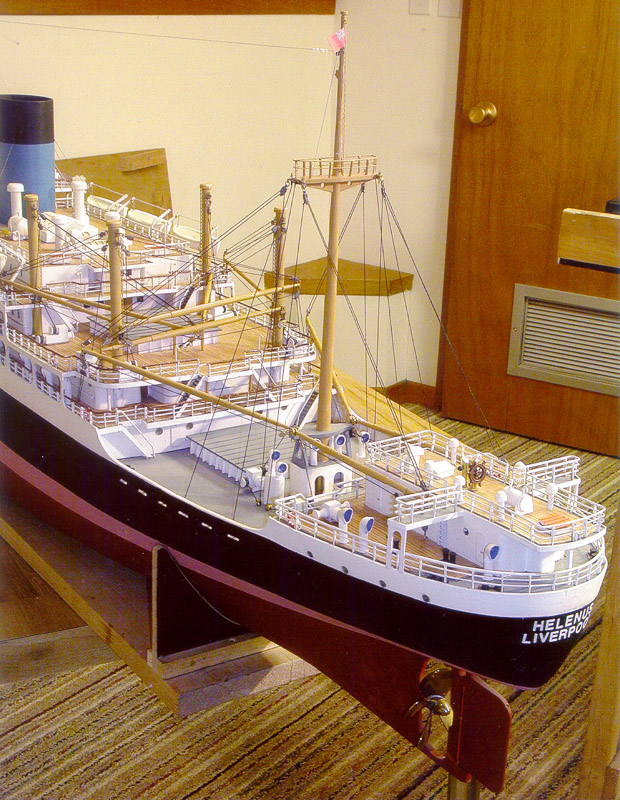
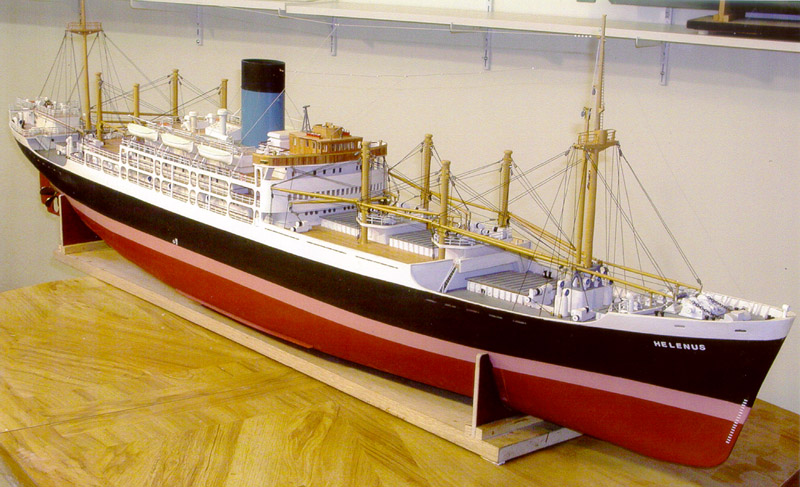
The Helenus was another Blue Funnel Liner, but powered by three steam turbines with 15,000 shaft horsepower. It carried 30 first-class passengers and freight between the U.K. and Australia. It was built in Belfast in 1949, and was 498′ long. The model is 1/8”:1’ scale, and is 5.5′ long. This model is very heavy to handle, because of all the ballast needed to bring it down to the waterline. It was constructed similarly to the Centaur, but with 1/32″ thick birch planks on the hull.
Building a Better Centaur
I still had the plans for my bread and butter model of the Centaur, and having seen models in the club, I found they were nearly all built “plank on frame.” I decided this was the way to do it—the way a real ship was built. No more carving. I had plenty of tools, including an electric drill, palm sander, bench saw, drill press and all the hand tools I had used on house renovations. However, you need a bandsaw to cut ship frames, and a bench sander to sand the outside curve of the frame. A drum sander is used on the drill press to sand the inside curve of a frame. This time the scale would be increased to 1/8″ to a foot (1:96), which would make the model approximately five feet long—or about twice the size of my first attempt. This scale gives you a chance of getting some good detail for deck machinery, boat davits, etc.
The keel was made from 1/4″ x 5/8″ birch, screwed to 1″ thick wood composite board. The frames were recessed onto the keel, which was notched out for each frame. This allows the frames to slip down to the base of the keel, and gives a good joint for gluing. I used carpenter’s white outdoor glue for setting the frames, and also for planking the hull. This type of glue sets in about an hour so there is time to check and adjust the frames. Before the glue has set, I keep the frames in place by clamping a strip of wood to each frame, P (port) and S (starboard), and then check the frames again. I leave this to set up overnight to let the glue cure.
Before planking, the frames are faired off by sanding or filing so that the planks make full area contact with the frame. This can be checked by placing a plank over the frames, and seeing where the plank is not flat on the frame. Some hulls can be planked from bow to stern, but the Centaur had a modern bow and rounded stern, which couldn’t be planked. So those parts were made solid using the “bread and butter” method.
When first planking, there is a danger of developing a twist in the fragile frame setup if planks are forced too much into the curves. To counteract this stress, a plank fitted on the starboard side of the hull must be followed by a similar plank fitted on the port side. This is when you find out that you need plenty of clamps.
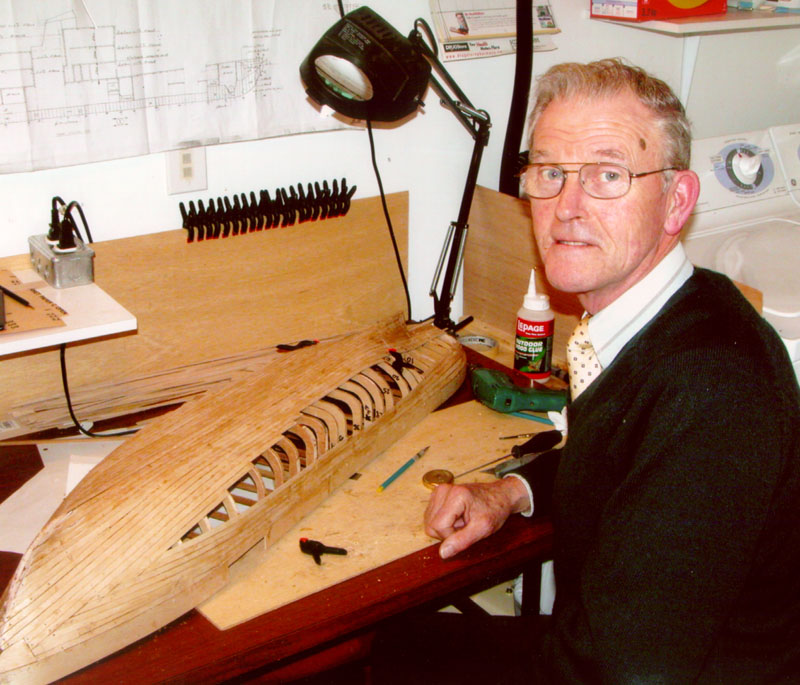
I have about 40 little clamps I use for clamping planks to frames, plus a number of clothes pegs, alligator clips and other homemade clamps. I fit as many planks as possible, with the keel screwed to the base, to make the hull strong and rigid before it’s unscrewed from the base. The little hollows and seams in the planking are then filled with auto body filler, sanded, and painted until the hull is perfectly smooth and blemish free. A lot of time was spent doing this, but it is time well spent.
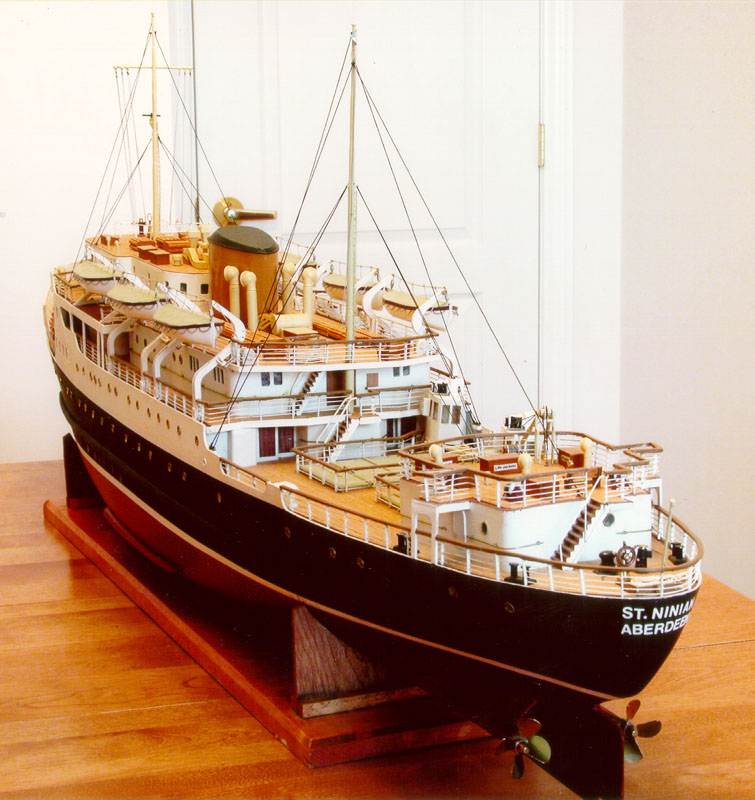
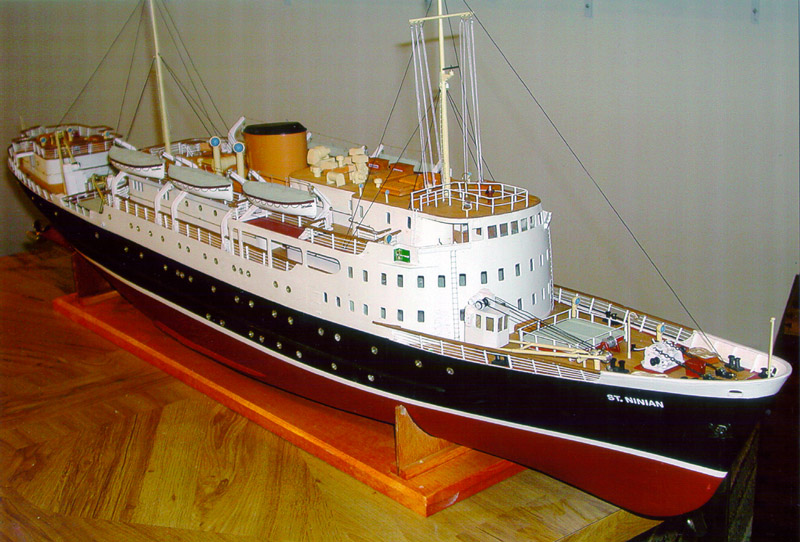
The St. Ninian was built in Dundee, Scotland, in 1950. It was used for service as a passenger and general cargo ferry between Aberdeen and the Shetland Islands. The ship was 282′ long, and powered by twin screws. All cargo handling and docking was on the starboard side only.
The model is 3/16”:1’ scale and 4′ 5″ long. Like Andrew’s others ships, this one was made with plank on frame construction. The model is powered by two electric motors, with belt drive to the shafts. The cowl vents were commercially made, but the other deck fittings are custom machined from brass and aluminum.
I kept track of the frame spaces and ship centerline, and marked them on each deck. All deck houses, masts, deck fittings and so on were then easily located from the frame number and distance off centerline. Before I went too far with decks, I ran the wiring inside the hull and installed the 6-volt electric motors. It was at this time that I invested in a small lathe. I could see I would get good use out of it making winches, the anchor windlass, davit wheels and other small parts. I finish paint the deck houses and other parts before installing to avoid brush work, which is never as uniform as spray paint.
The Centaur took me about 18 months working almost every night, as my wife will confirm. (“Are you coming to bed tonight?”) I sold the first bread and butter Centaur to a mate at our garden yard sale for two dollars. When we moved from our house to an apartment I lost my basement workshop. I now have a 48″ work table next to the washing machine. My next project is under way, and there is a 48″ model on the table, almost all planked.
—Andrew Green

