| Richard Dosdall |
Photo Gallery
(Click on any
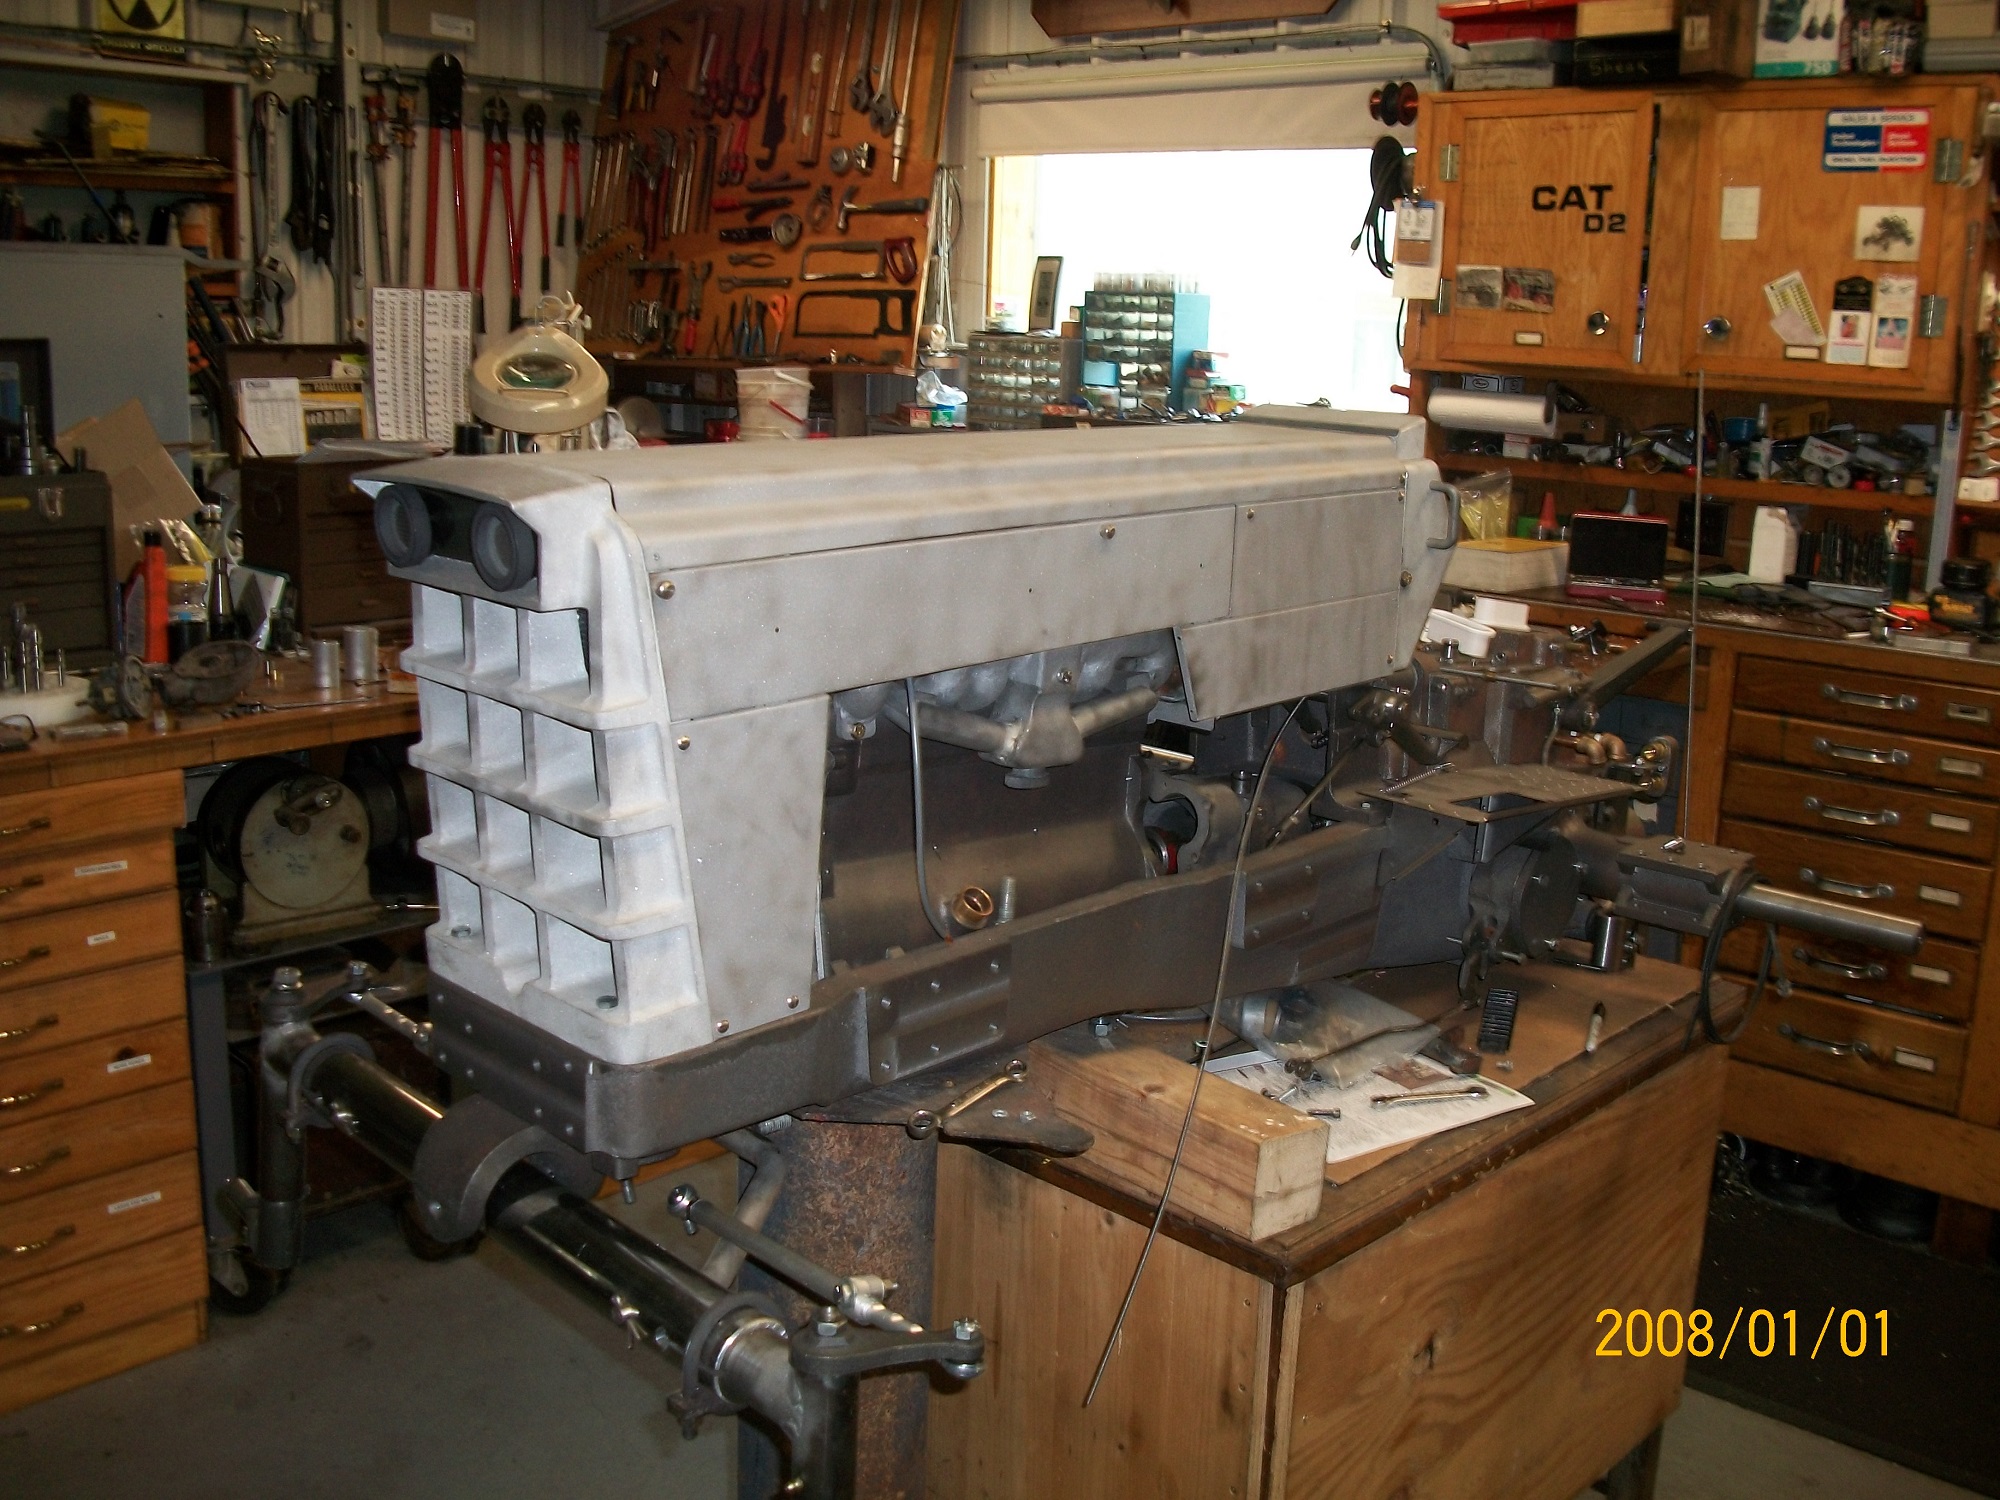
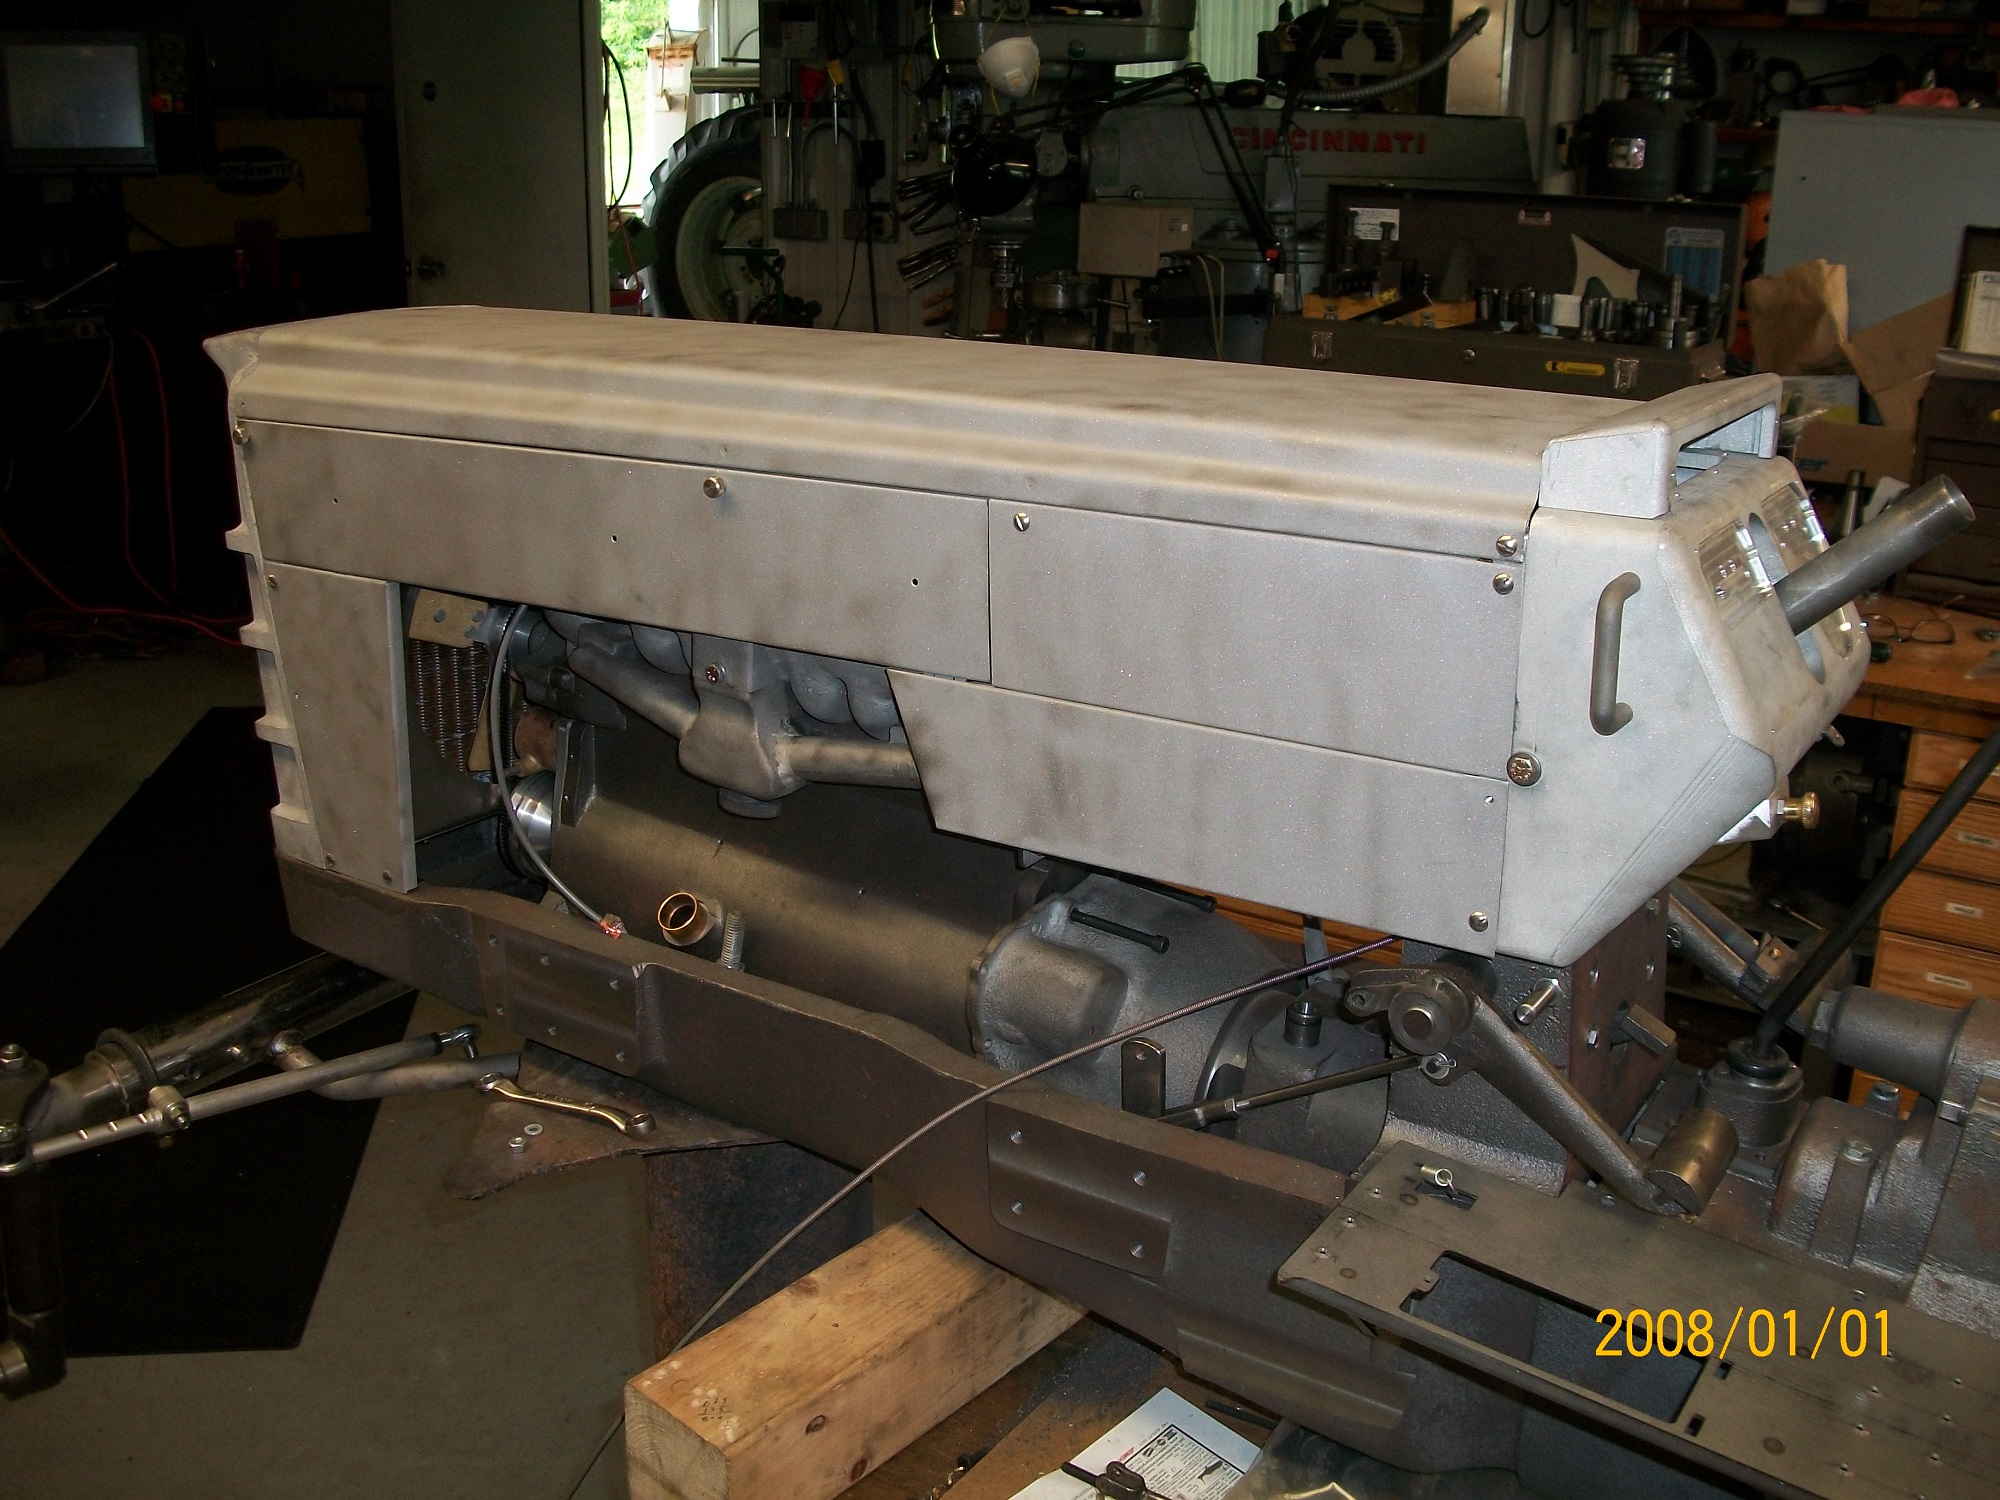
image to enlarge) Building a half scale Oliver 1655 tractor |
|||
|
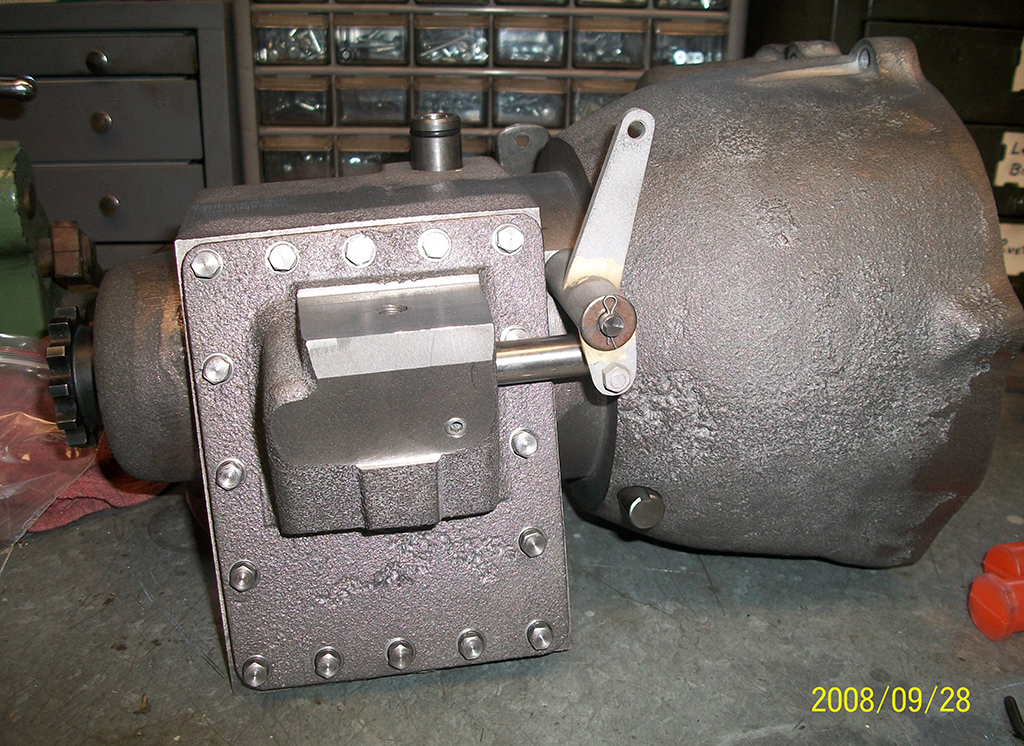
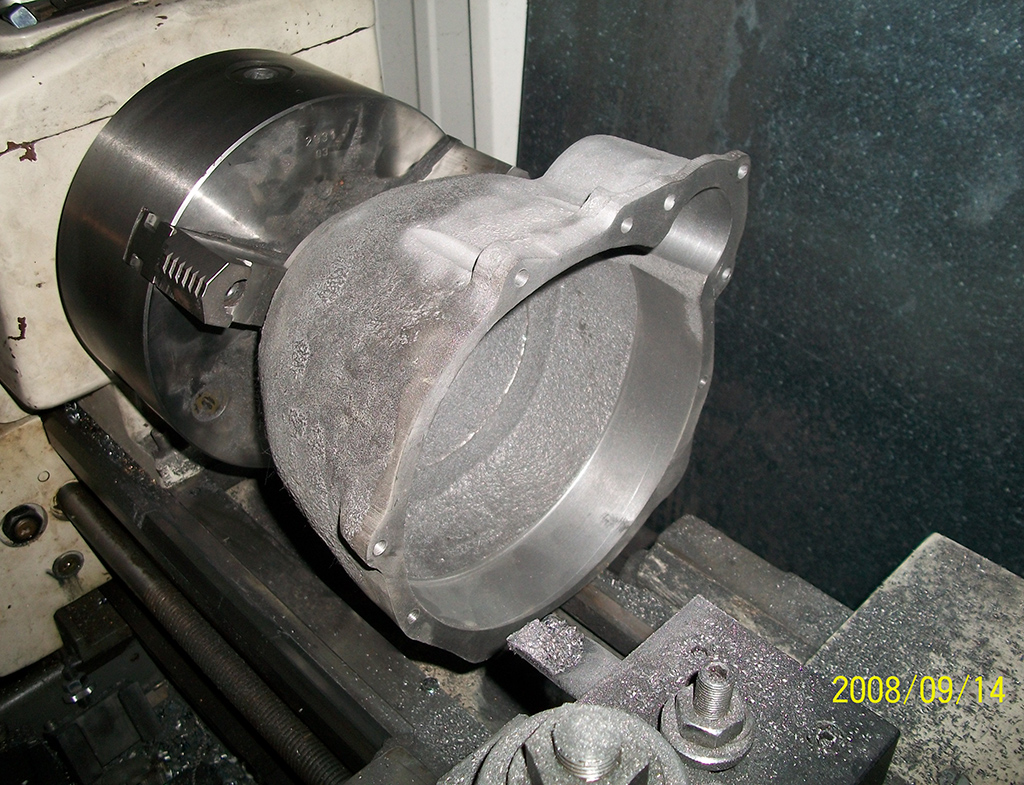
Machining the back of the rear housing
|
 |
|
A primed wooden pattern for casting the tractor’s grill | |
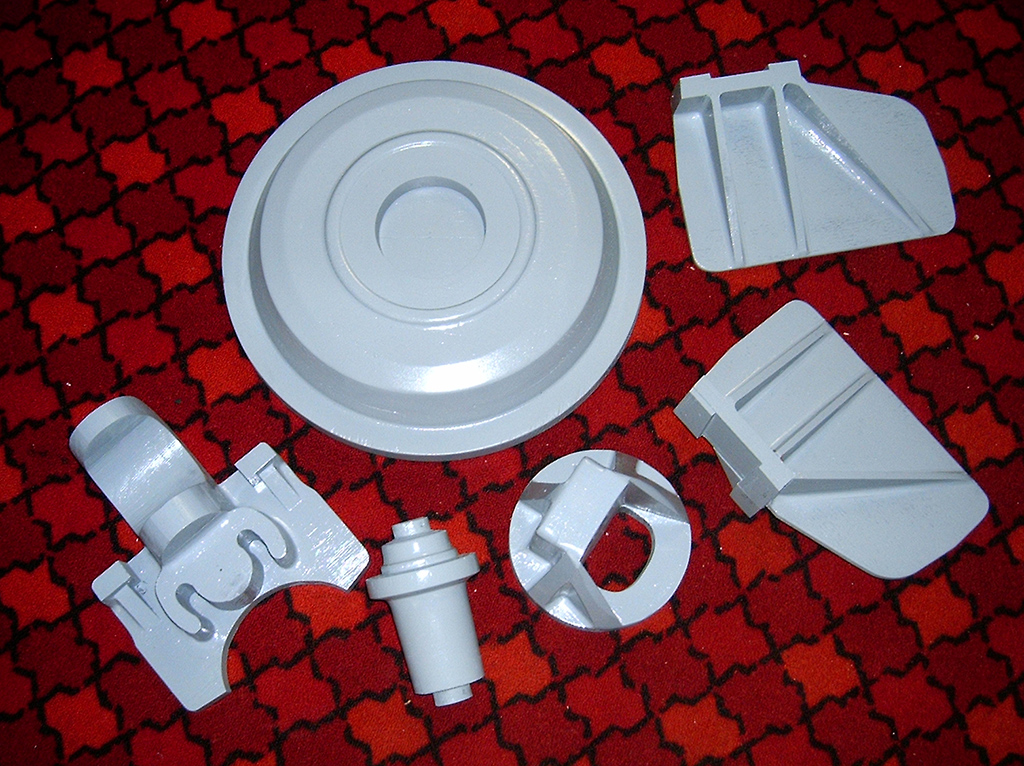
| A selection of finished casting patterns. |
 |
|
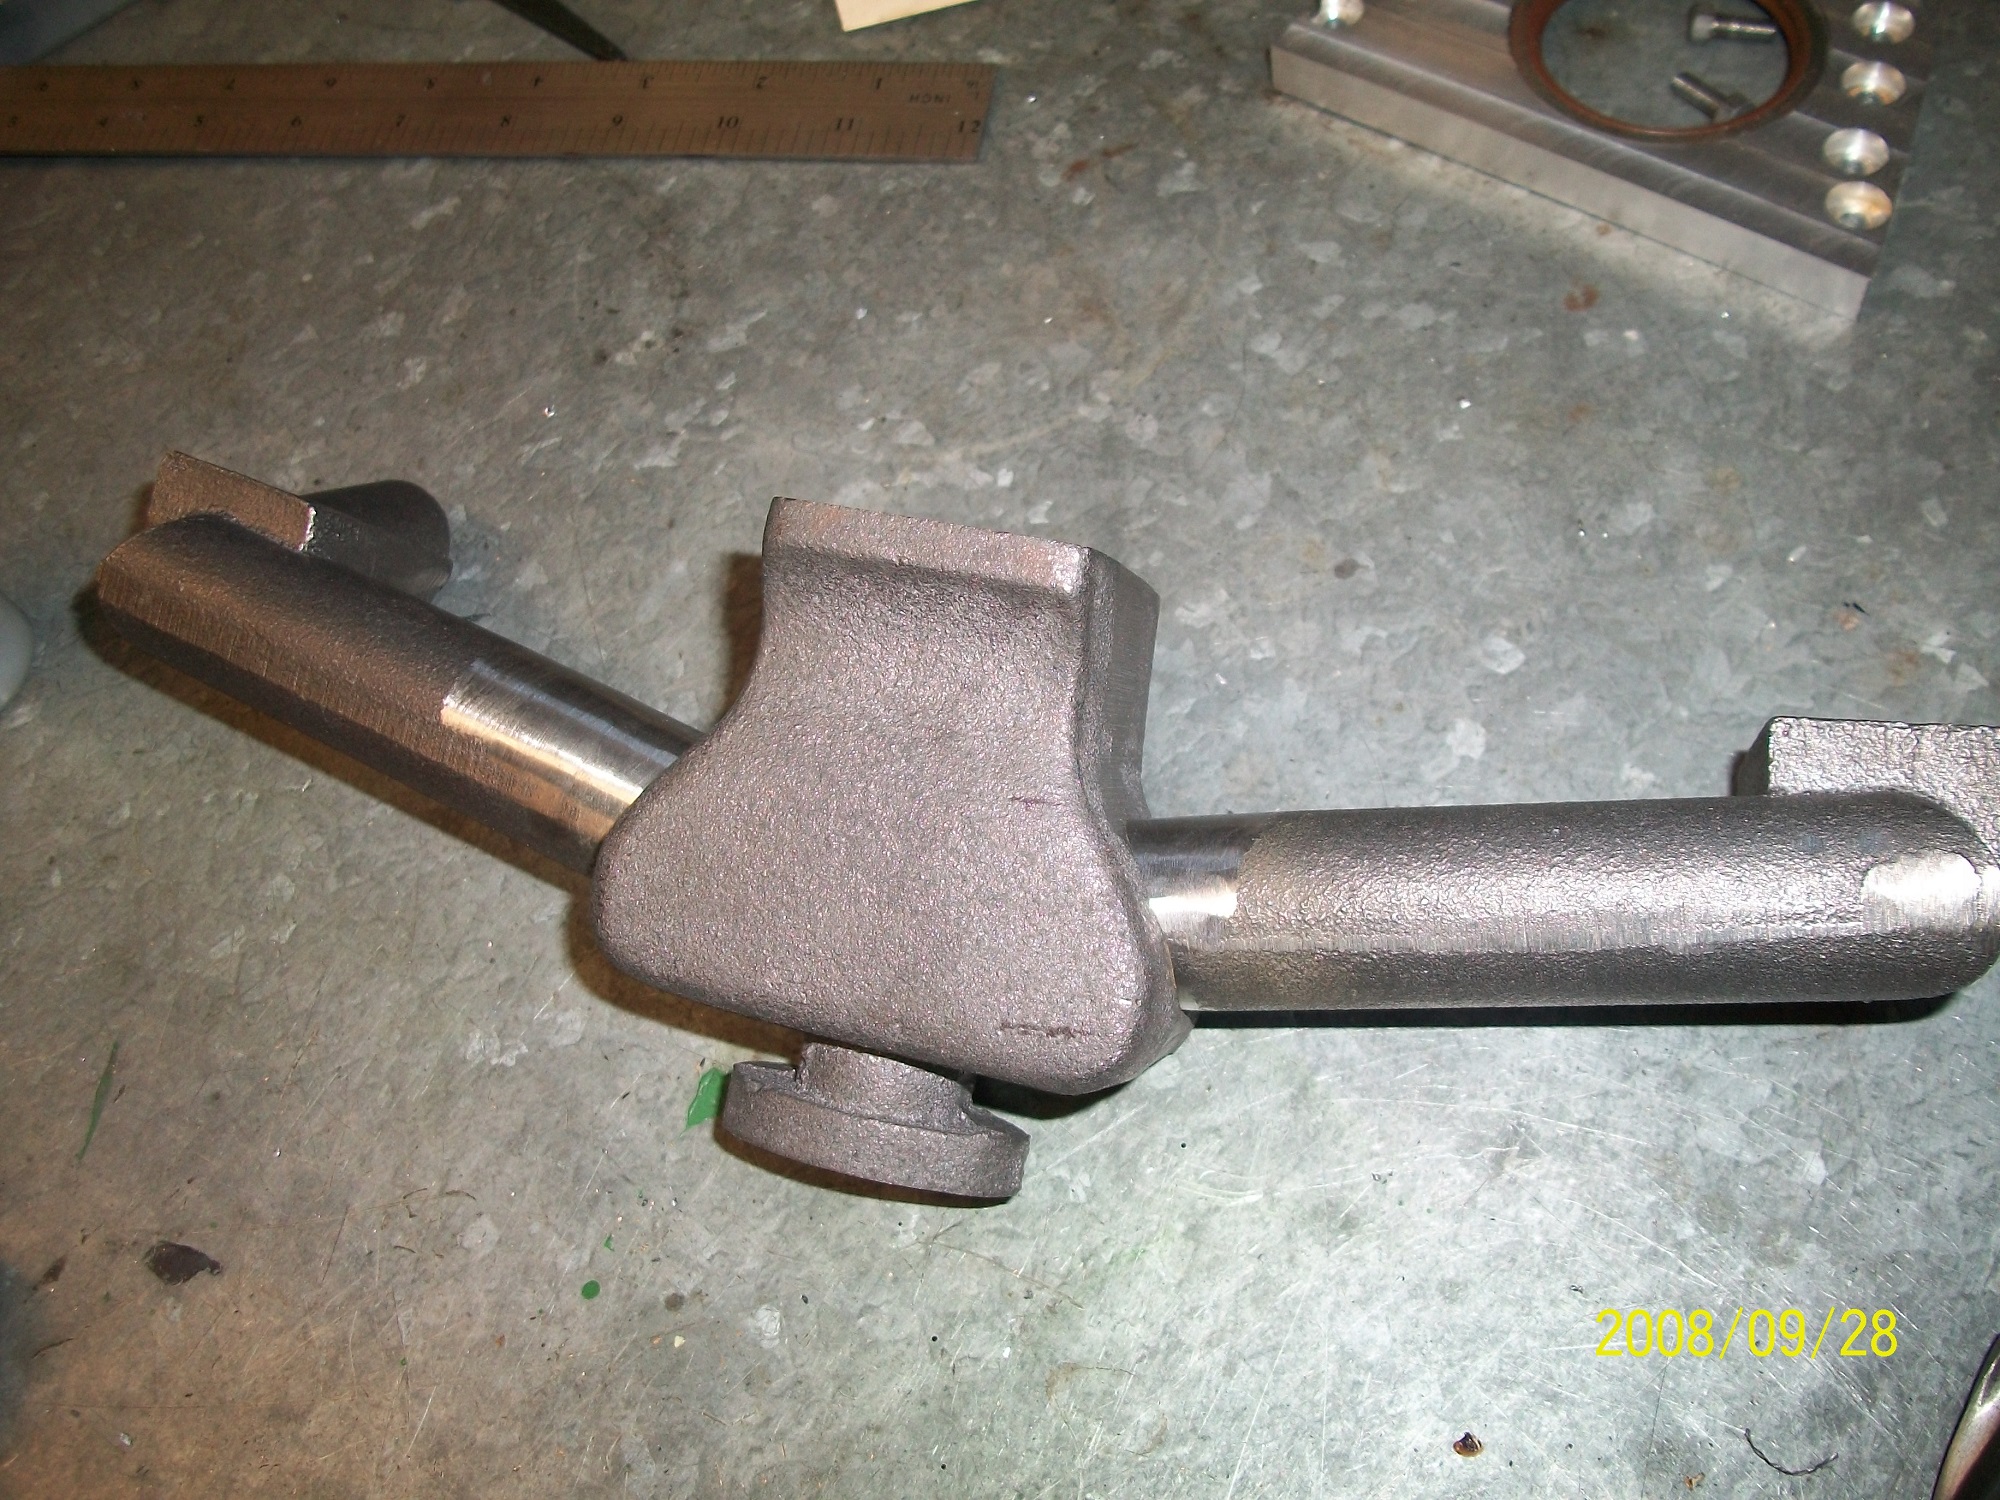
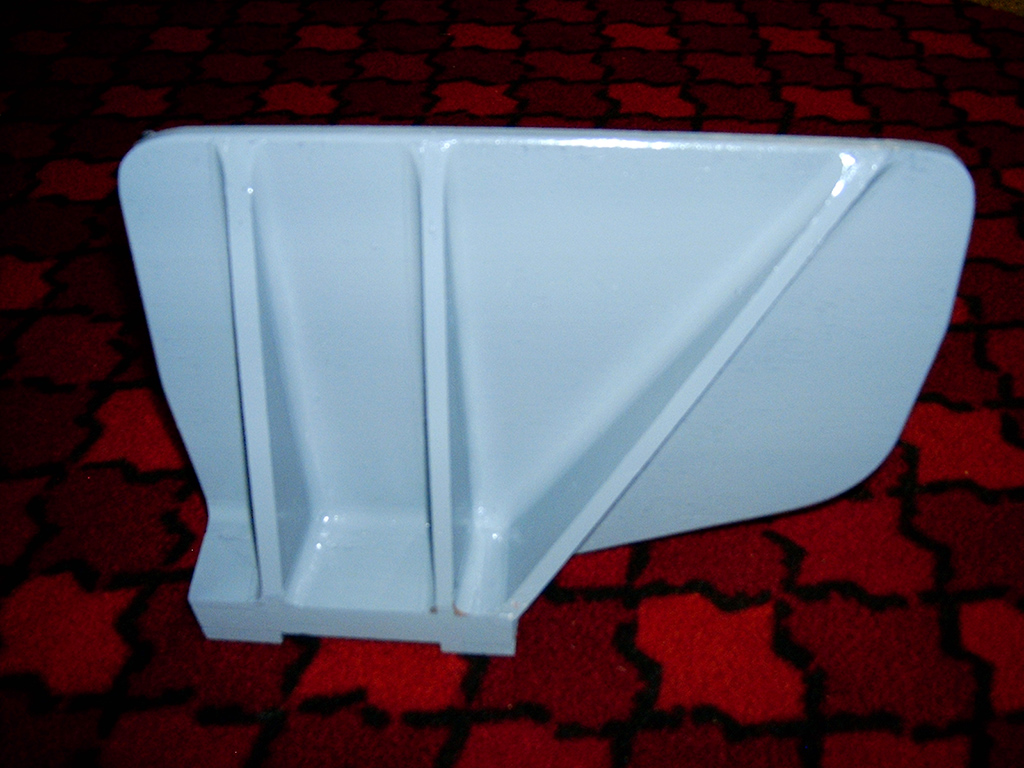
The first stages of a pattern for the axle carrier |
|
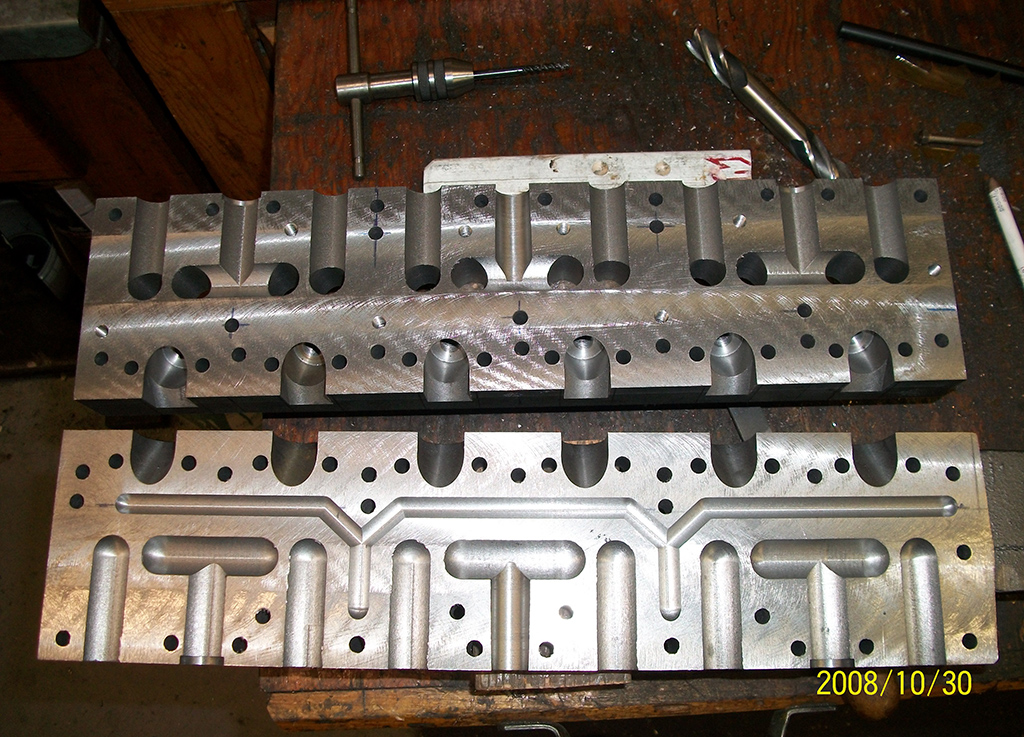
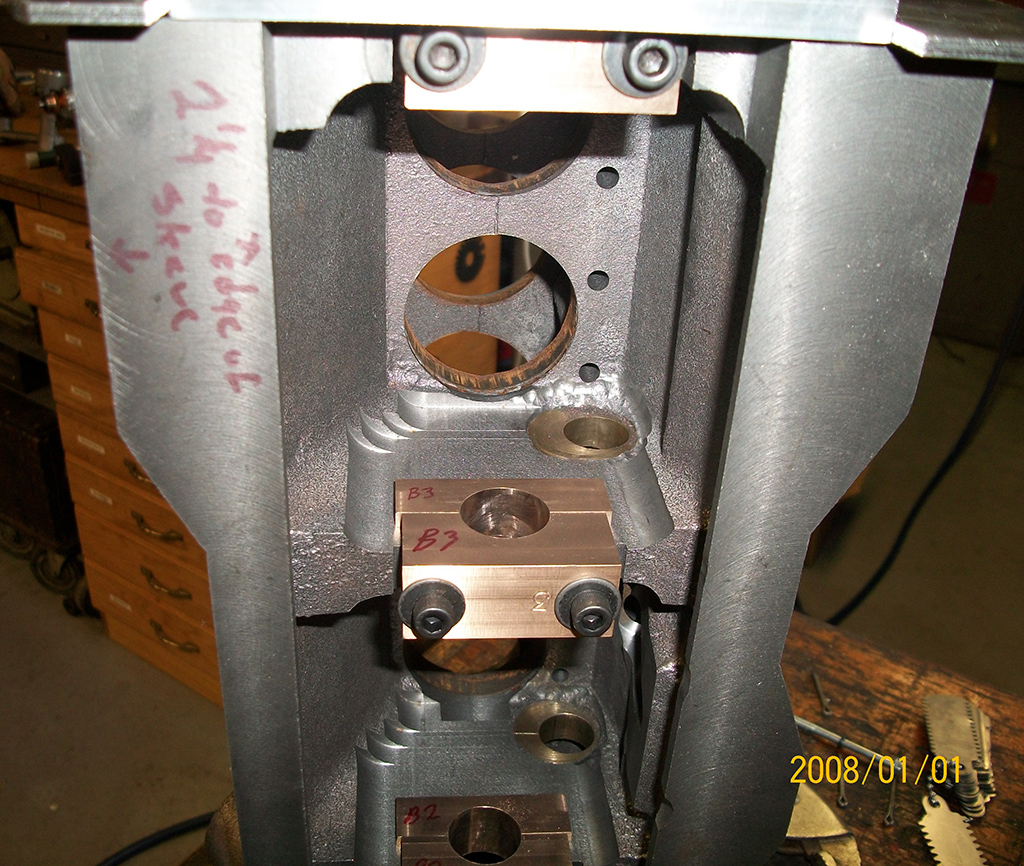
| Boring holes for the transmission shafts through two walls |
 |
|
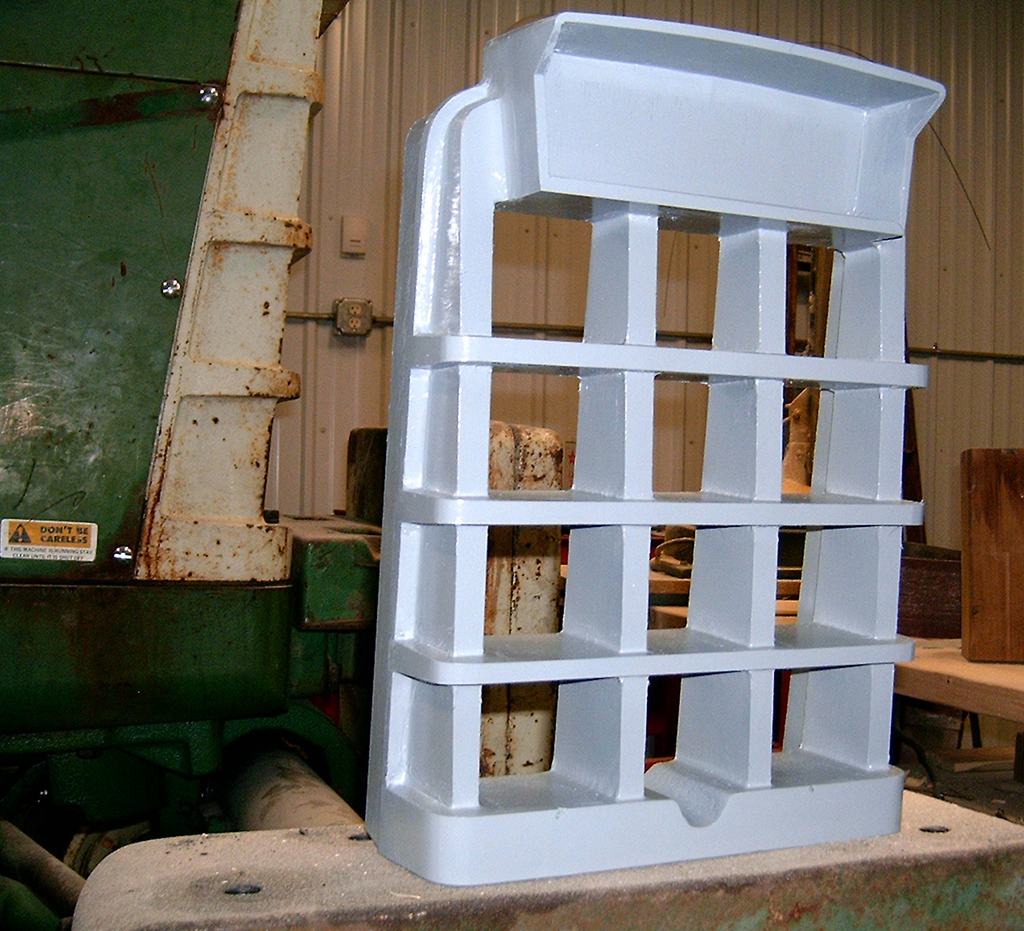
The left hand fender mount pattern |
|
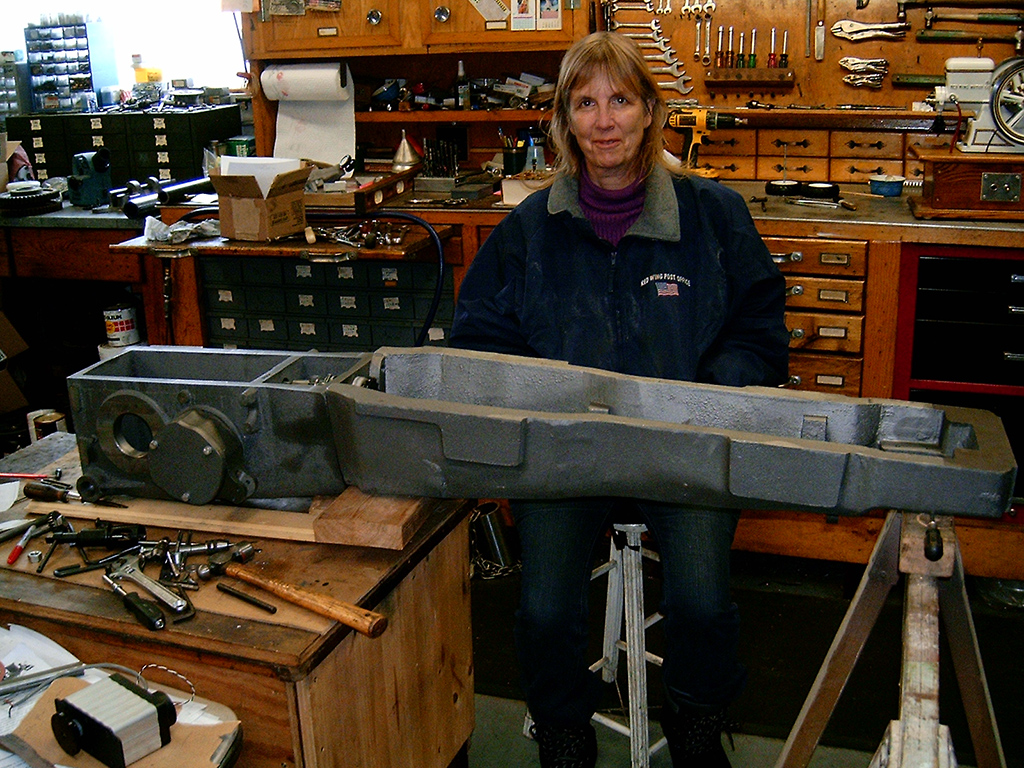
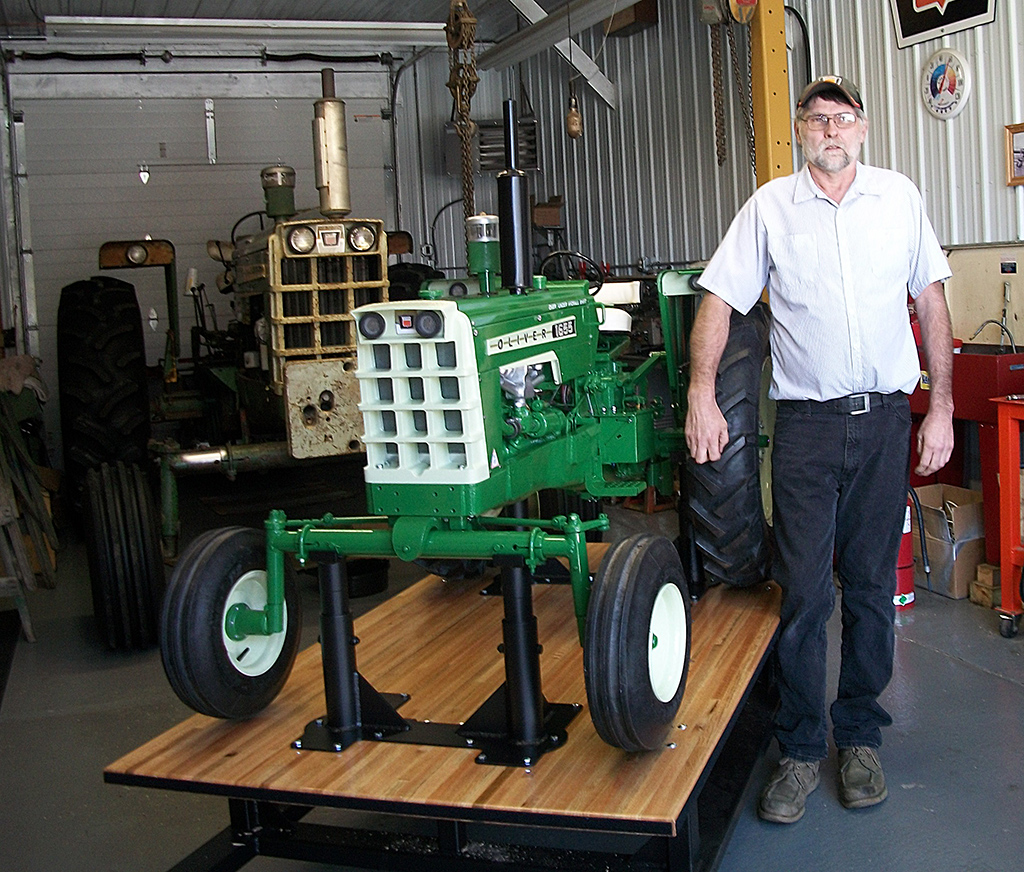
| Rich’s wife Jill poses with the tractor |
 |
|
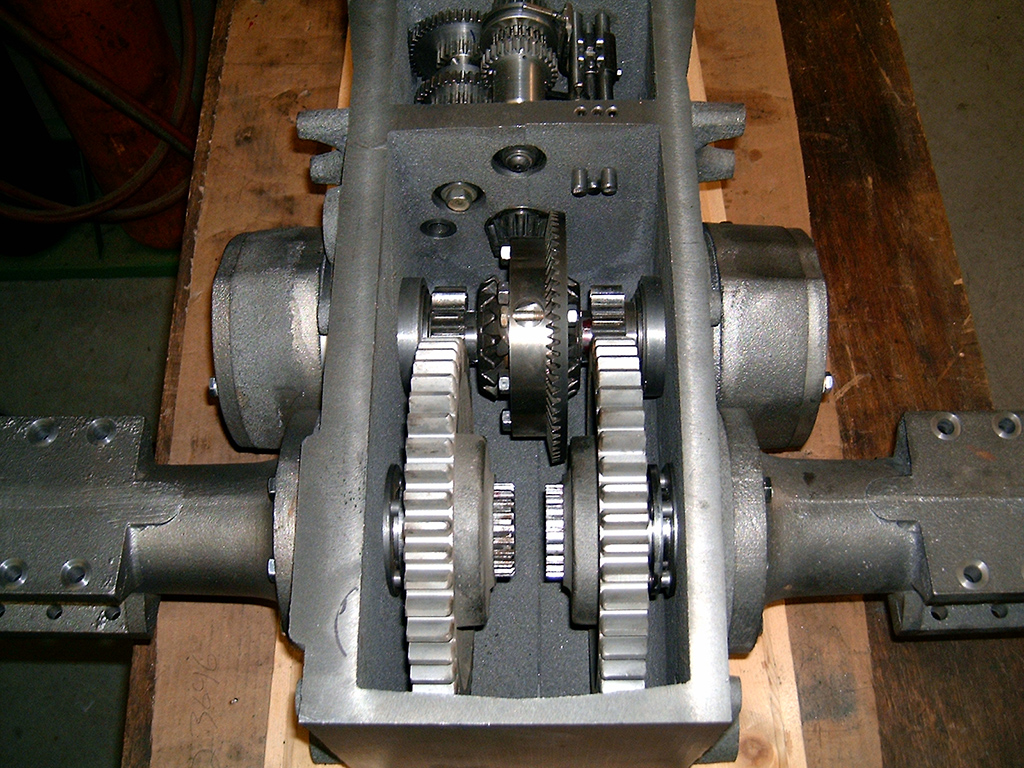
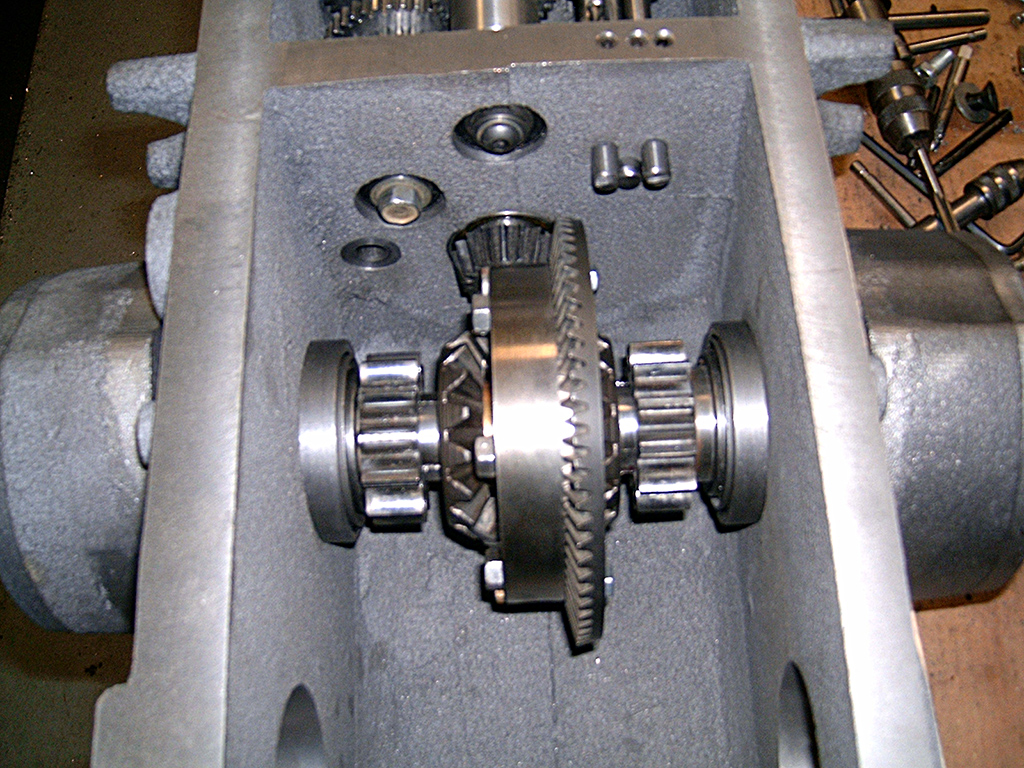
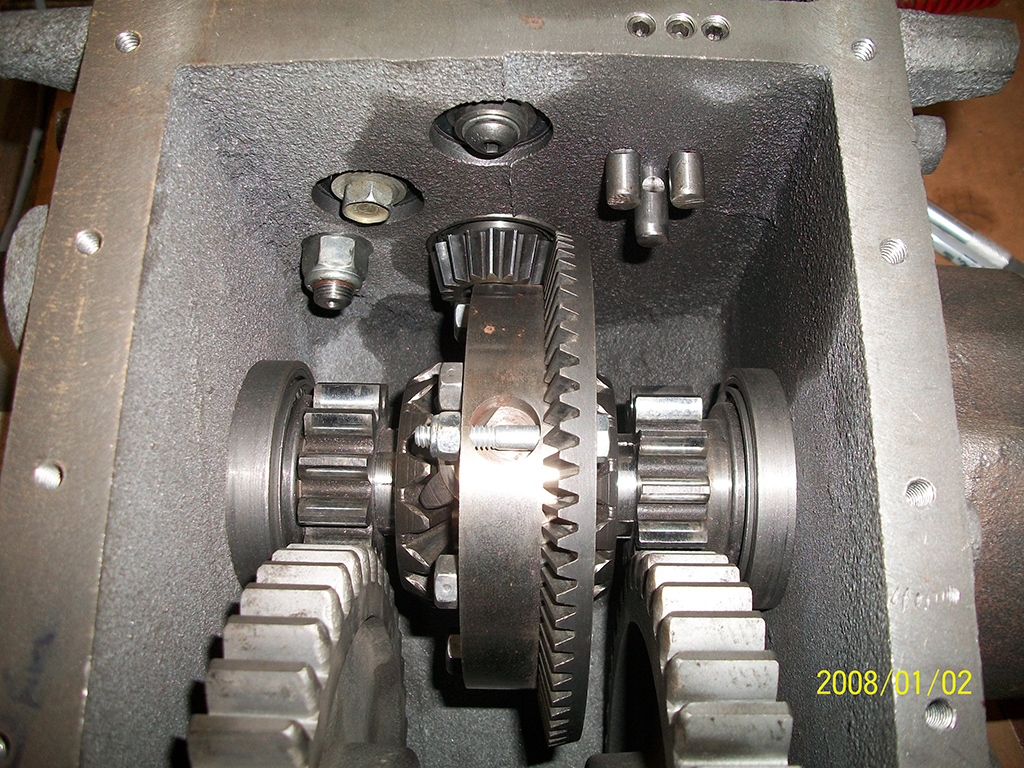
Differential gears are set to proper backlash |
|
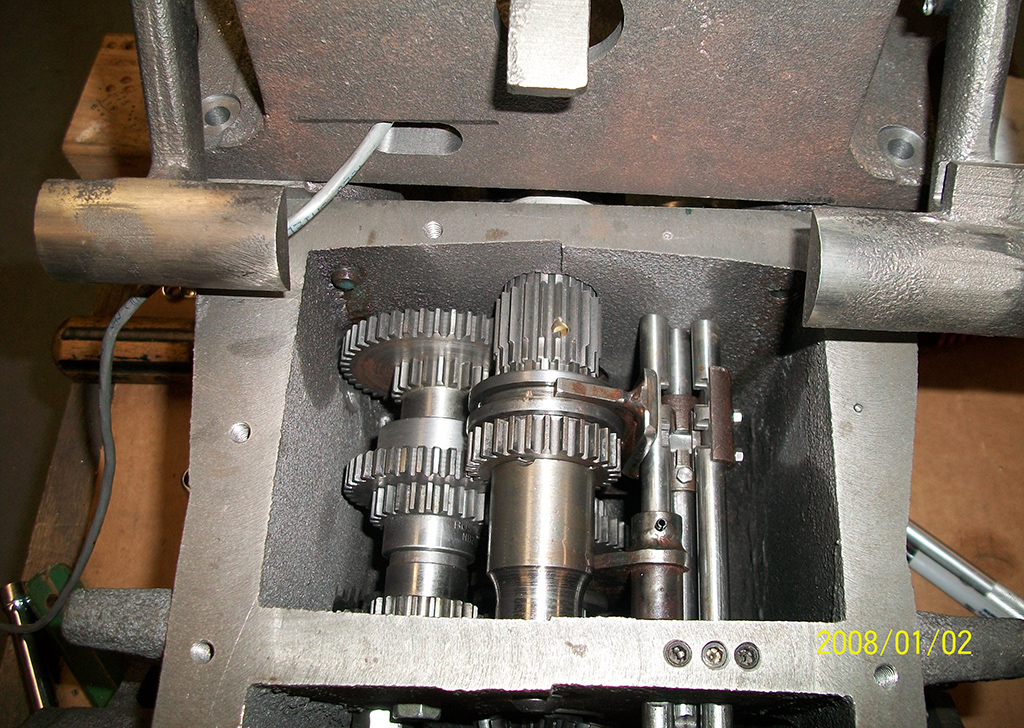
| The full 6-speed transmission with sliding collars |
 |
|
Cutting the axle splines |
|
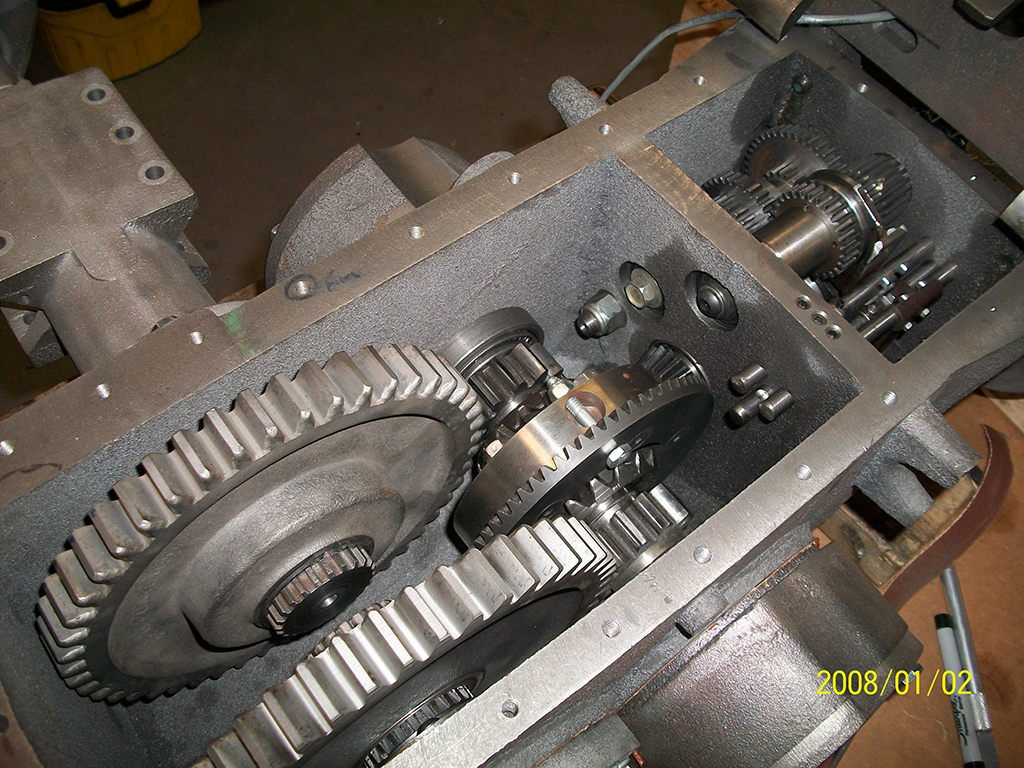
| Transmission, differential, bull gears all in place |
 |
|
Differential gears |
|
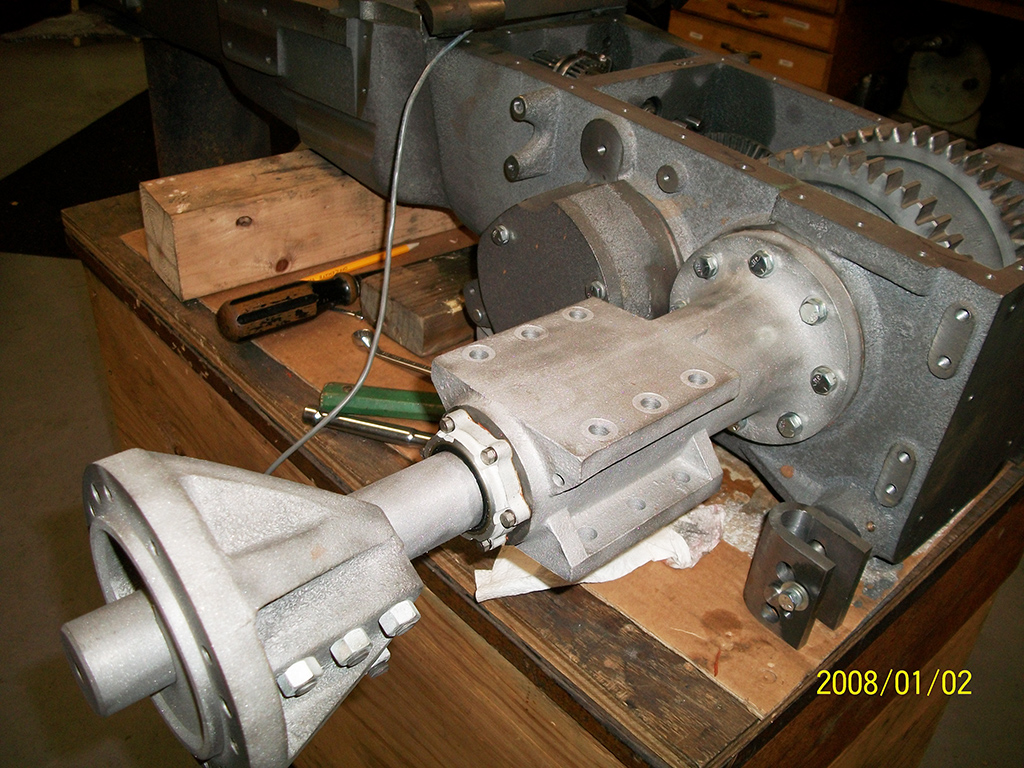
| The completed transmission and rear end with axles installed |
 |
|
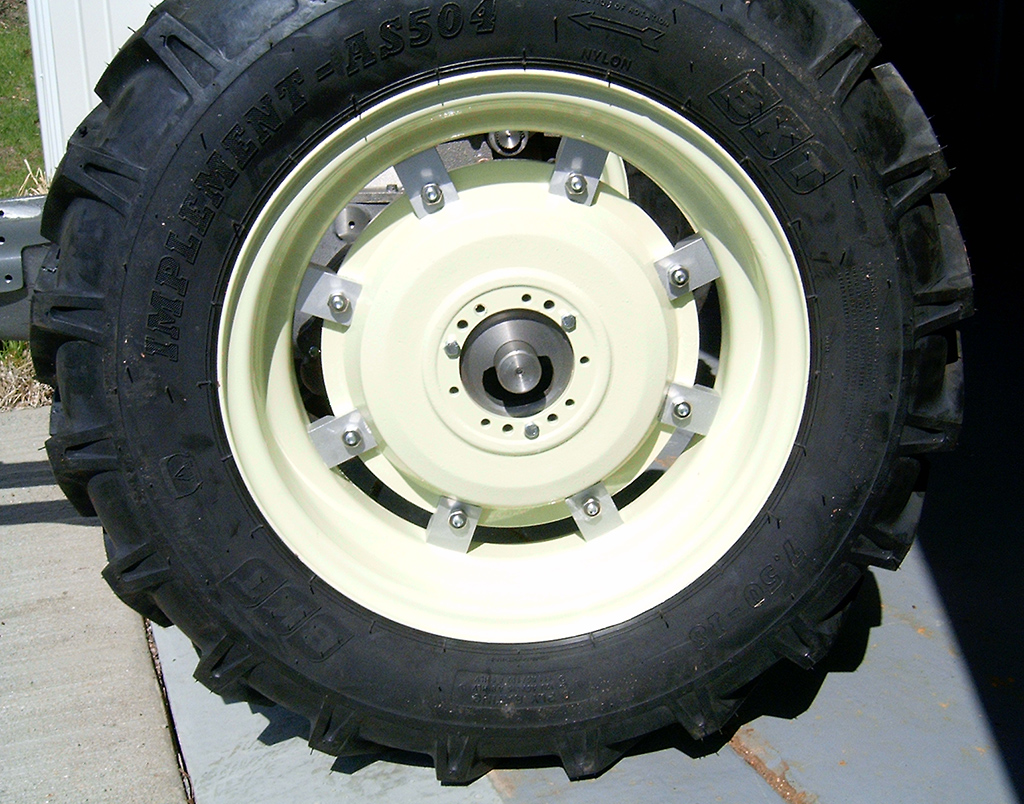
Axle carrier and wheel hub in place |
|
| The start of a pattern to cast the hydraulic housing |
.jpg) |
|
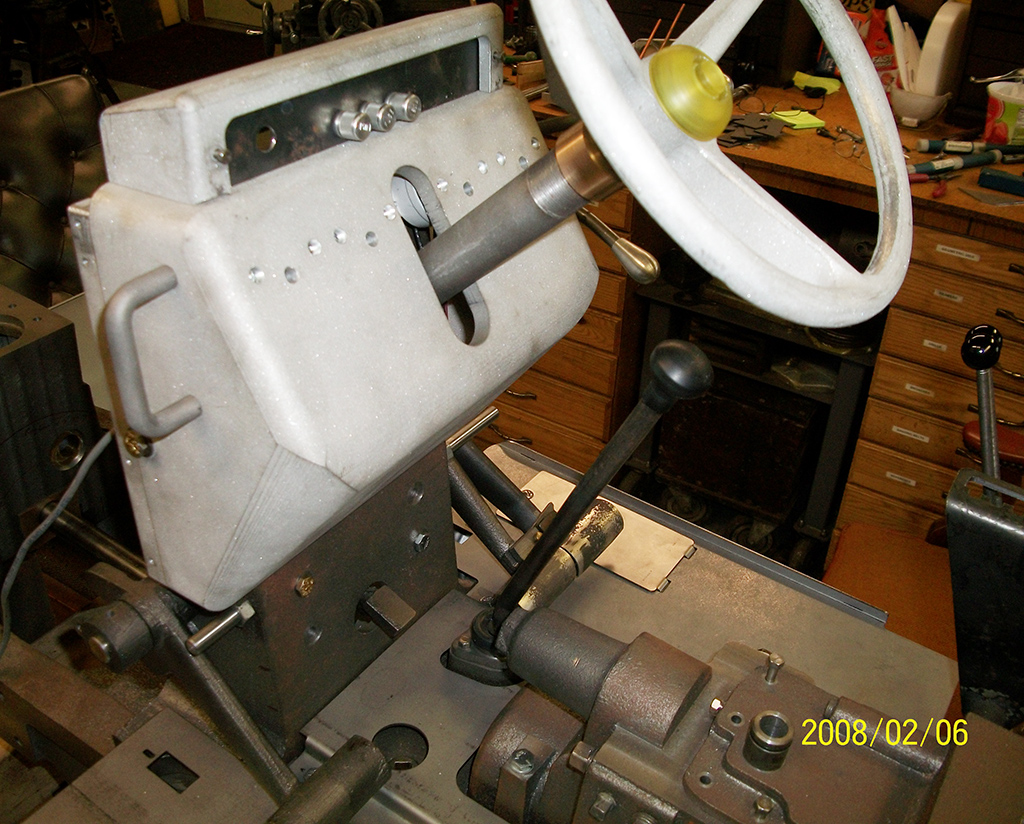
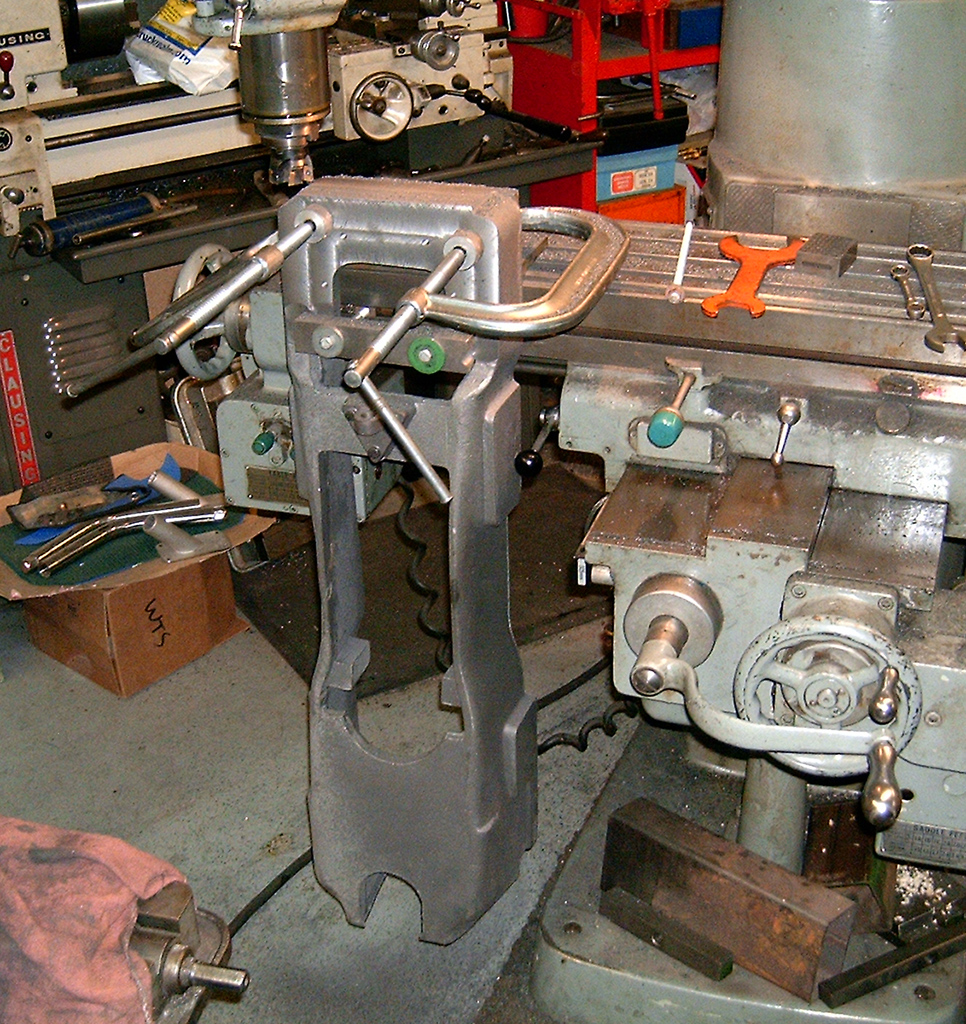
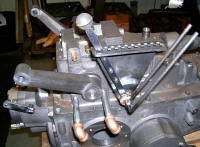
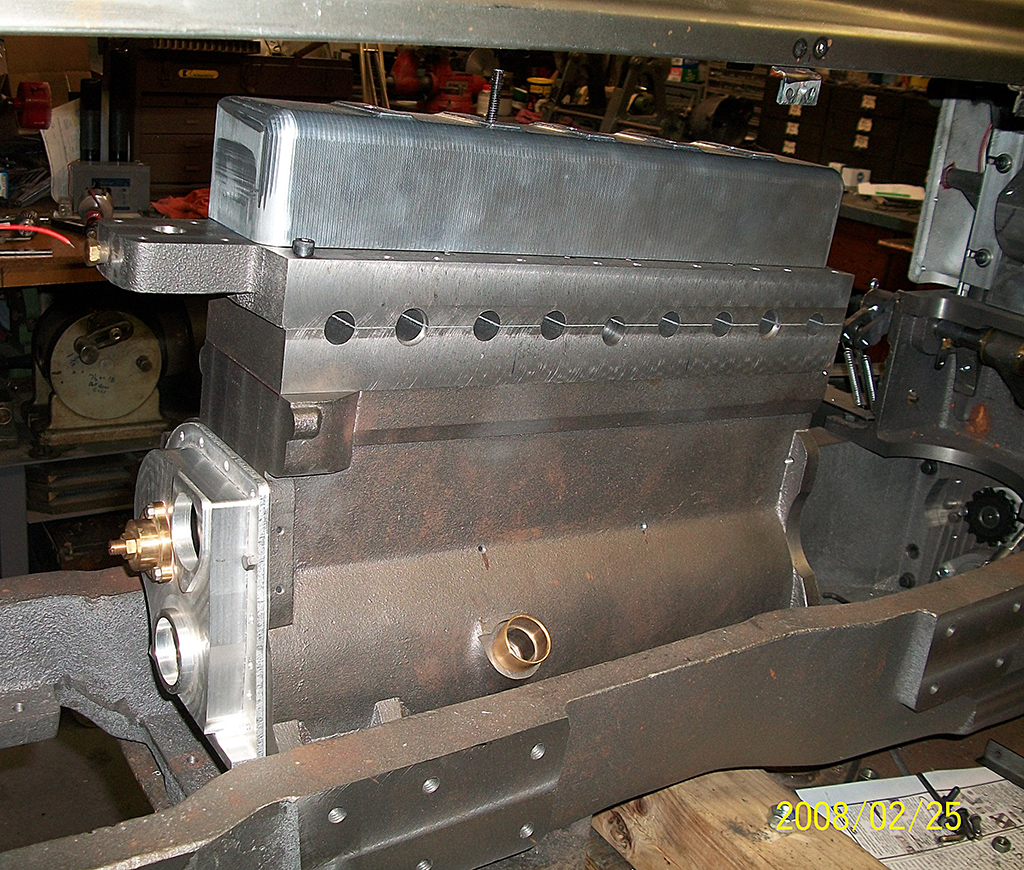
Machining the front face of the frame stretches the limits of the milling machine. |
|
| Rear wheel assembly |
 |
|
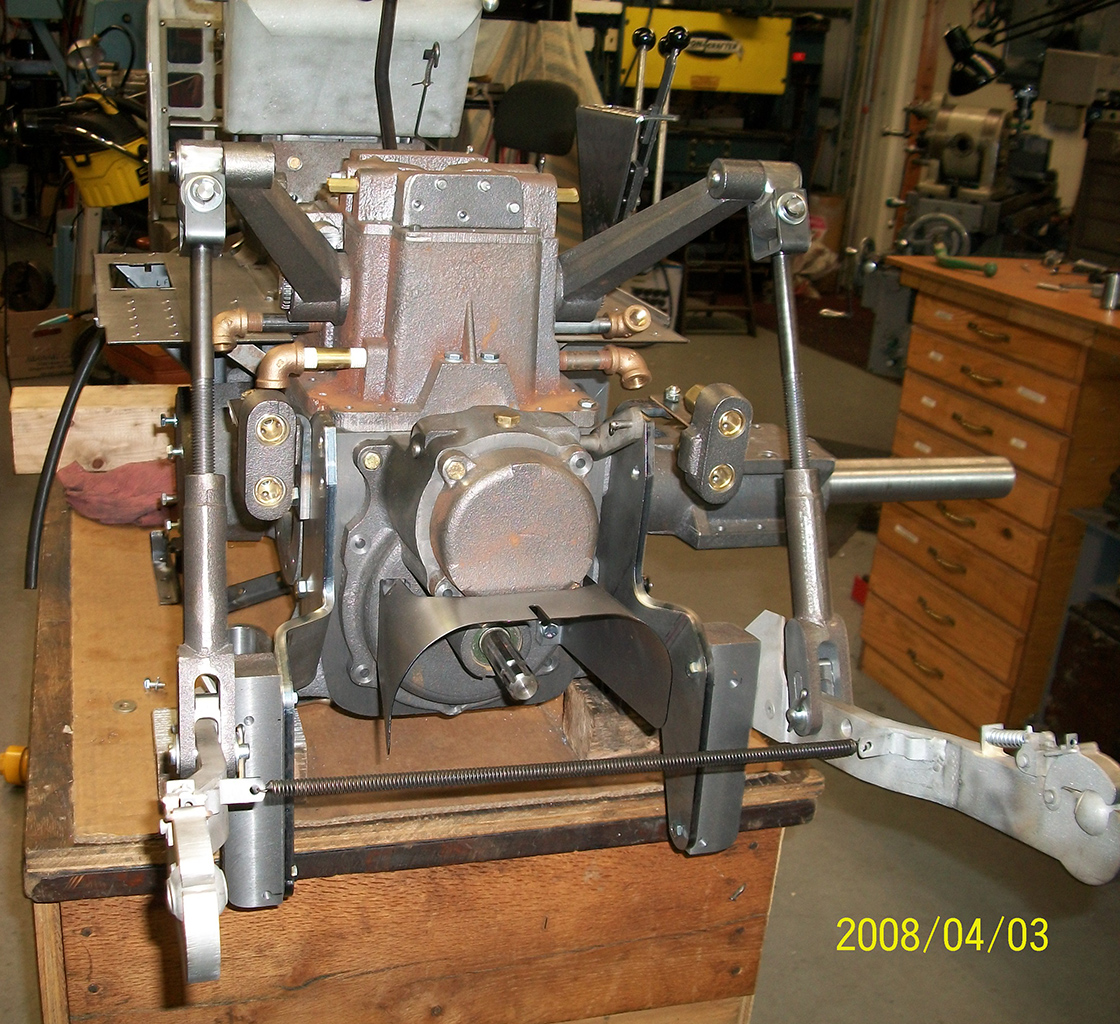
Hydraulic actuating levers |
|
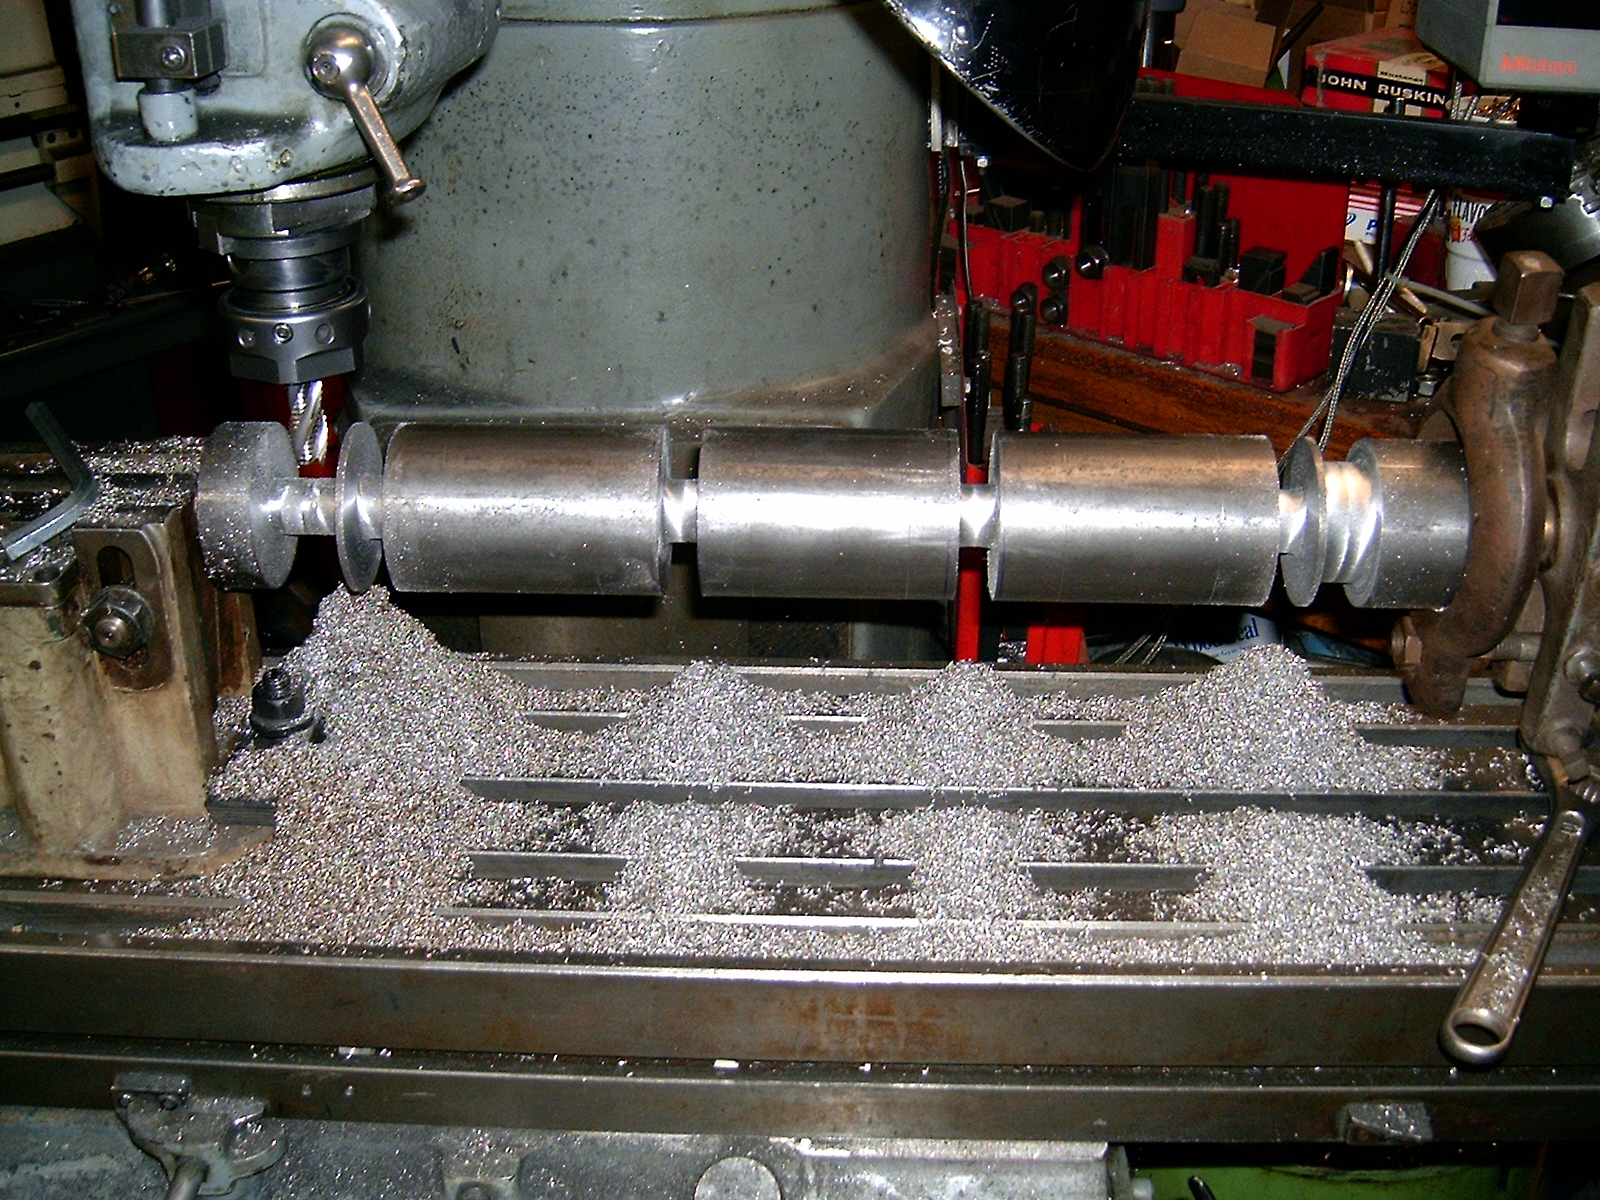
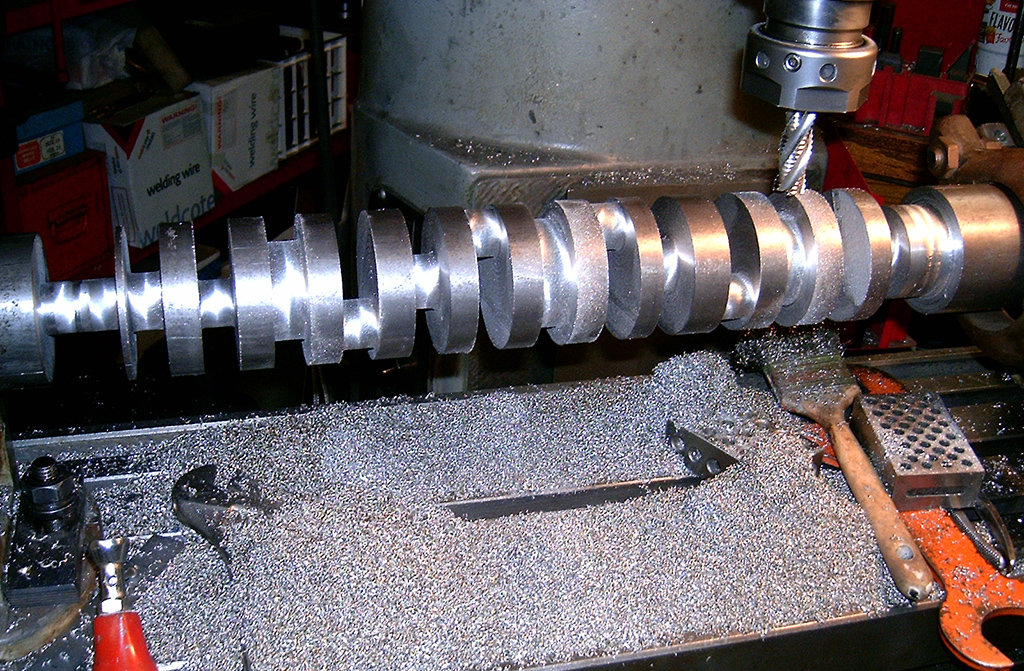
| Starting to rough cut the crankshaft on the mill |
 |
|
Main bearings in place |
|
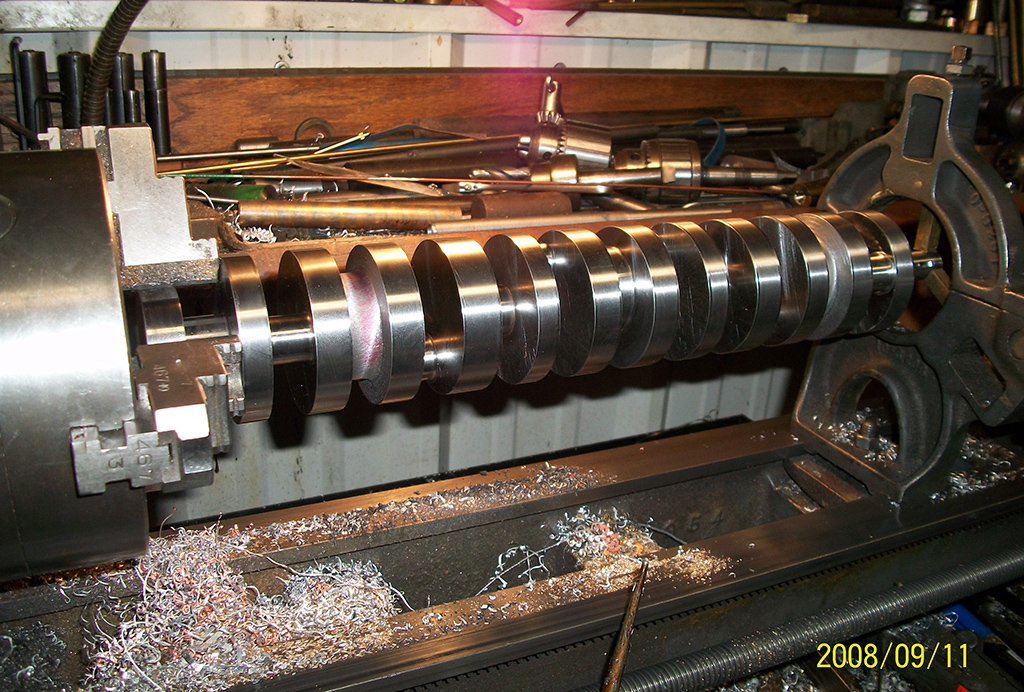
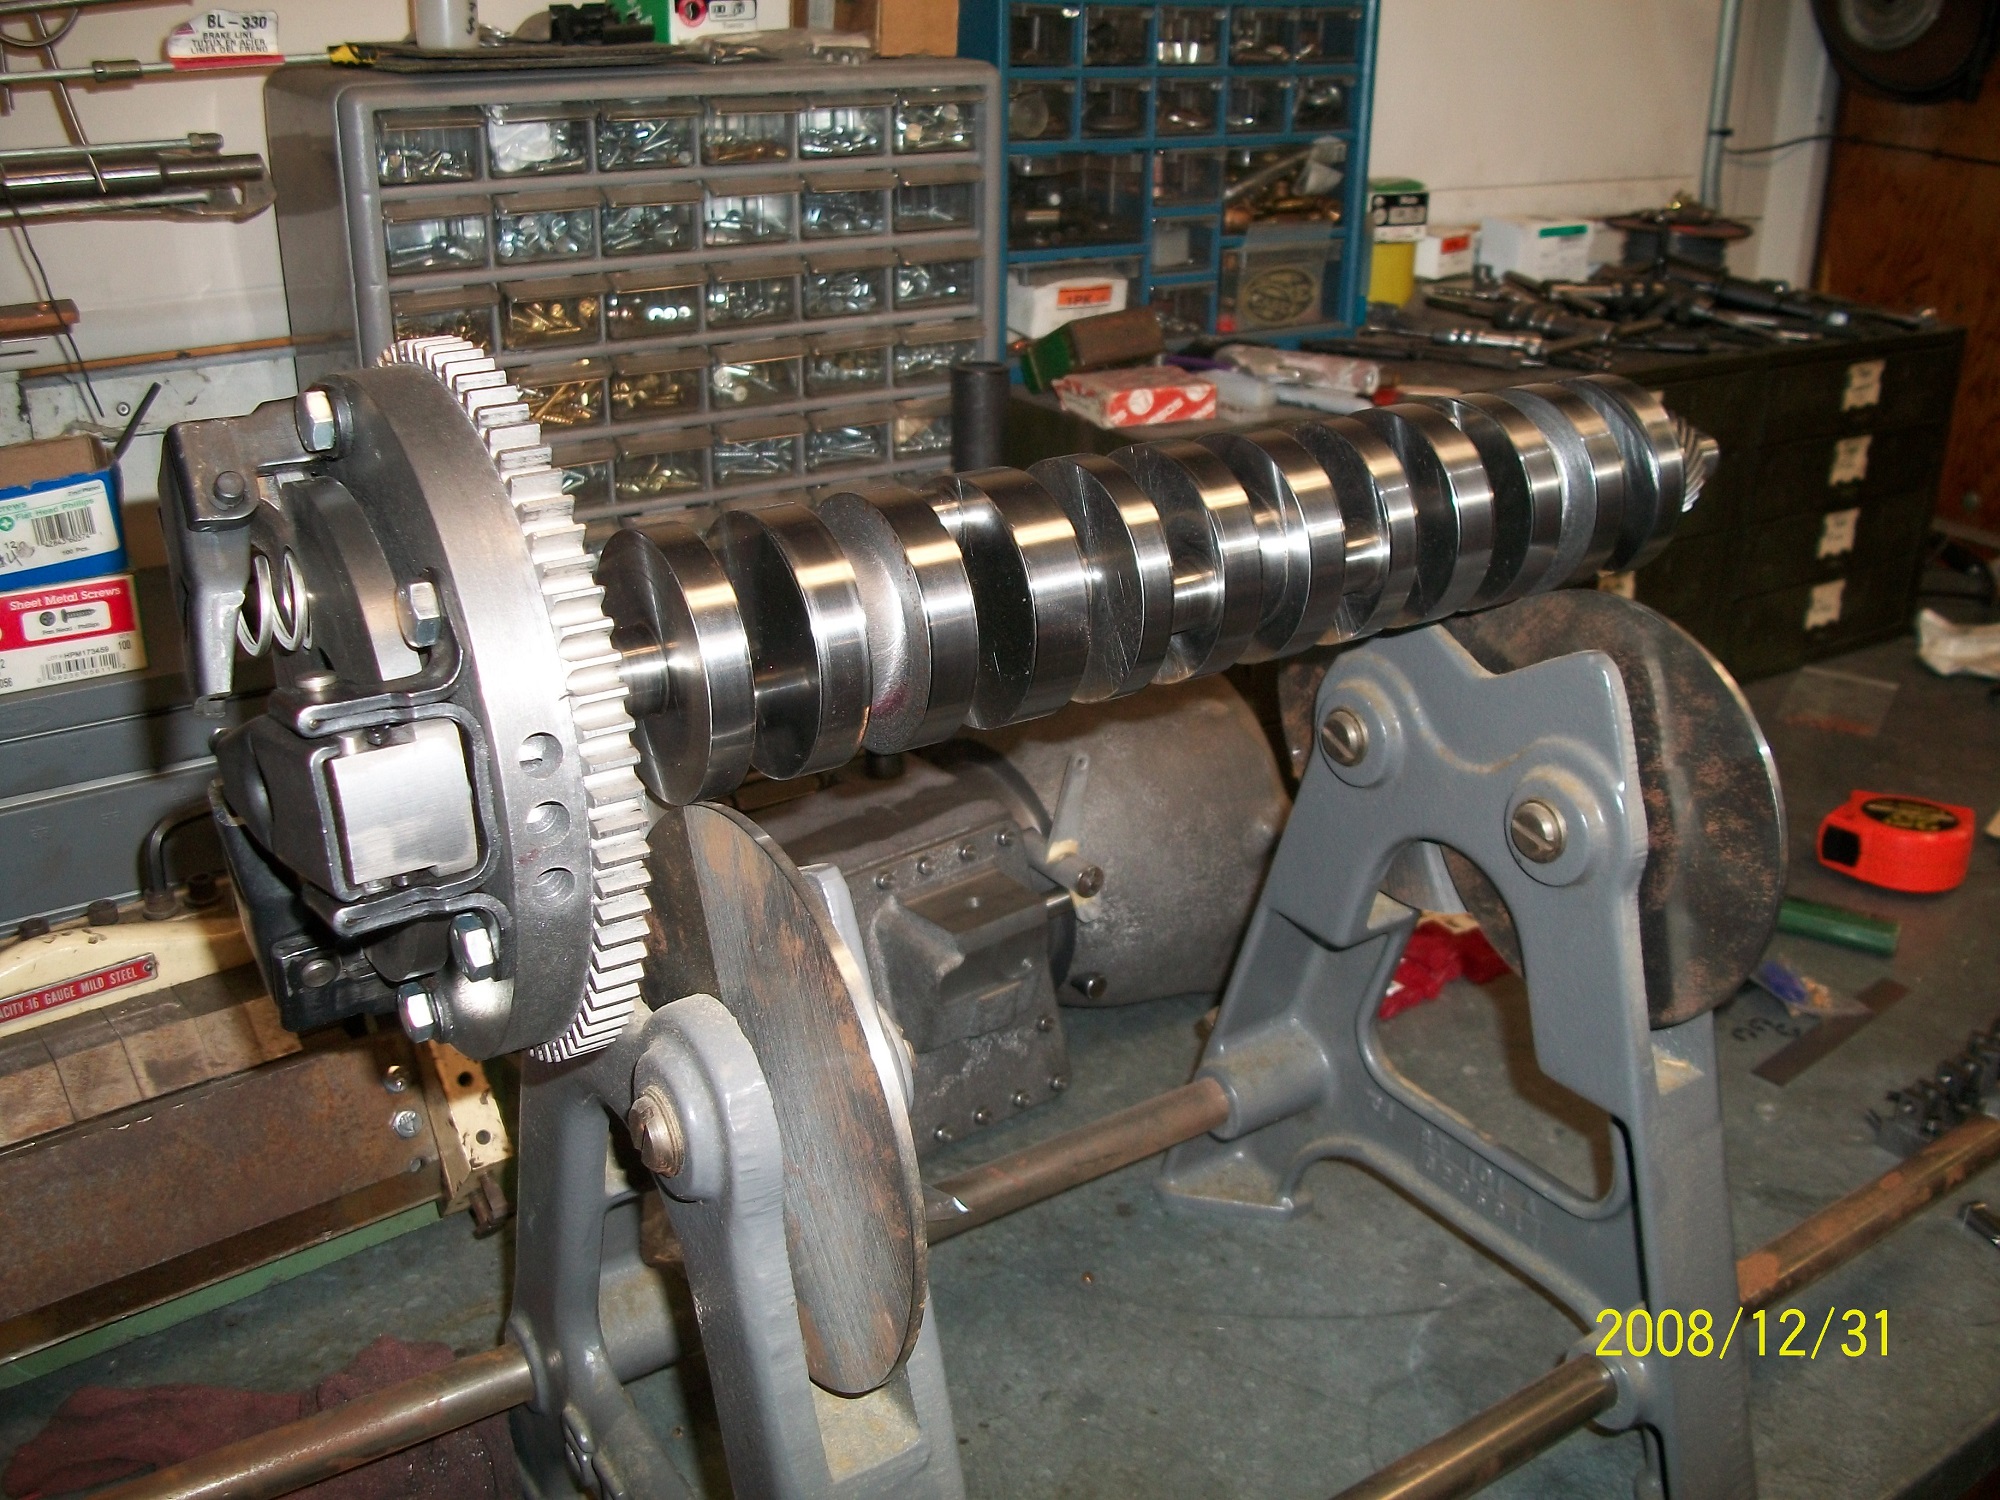
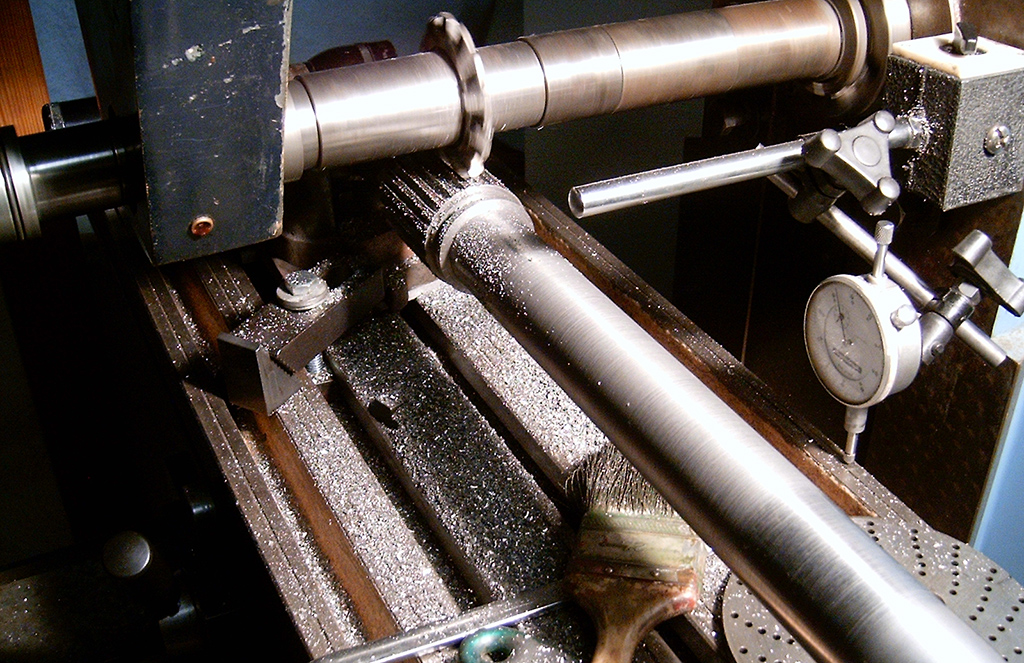
| Polishing the crankshaft |
 |
|
Cutting the crankshaft |
|
| Balancing the crankshaft, flywheel and clutch assembly |
 |
|
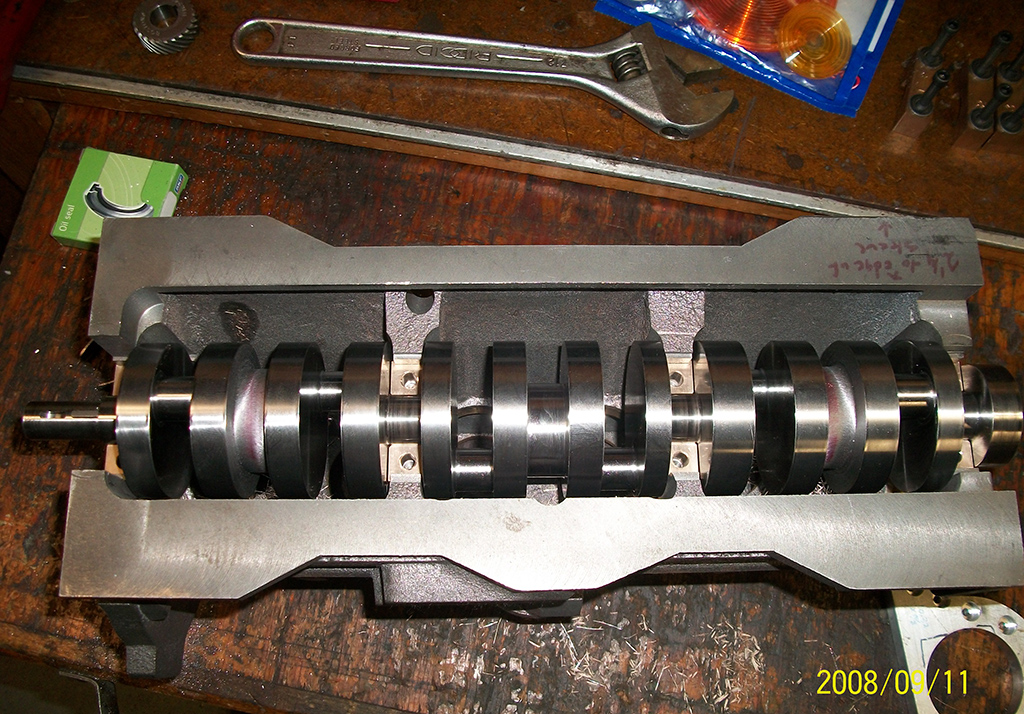
The finished crankshaft is laid into the block |
|
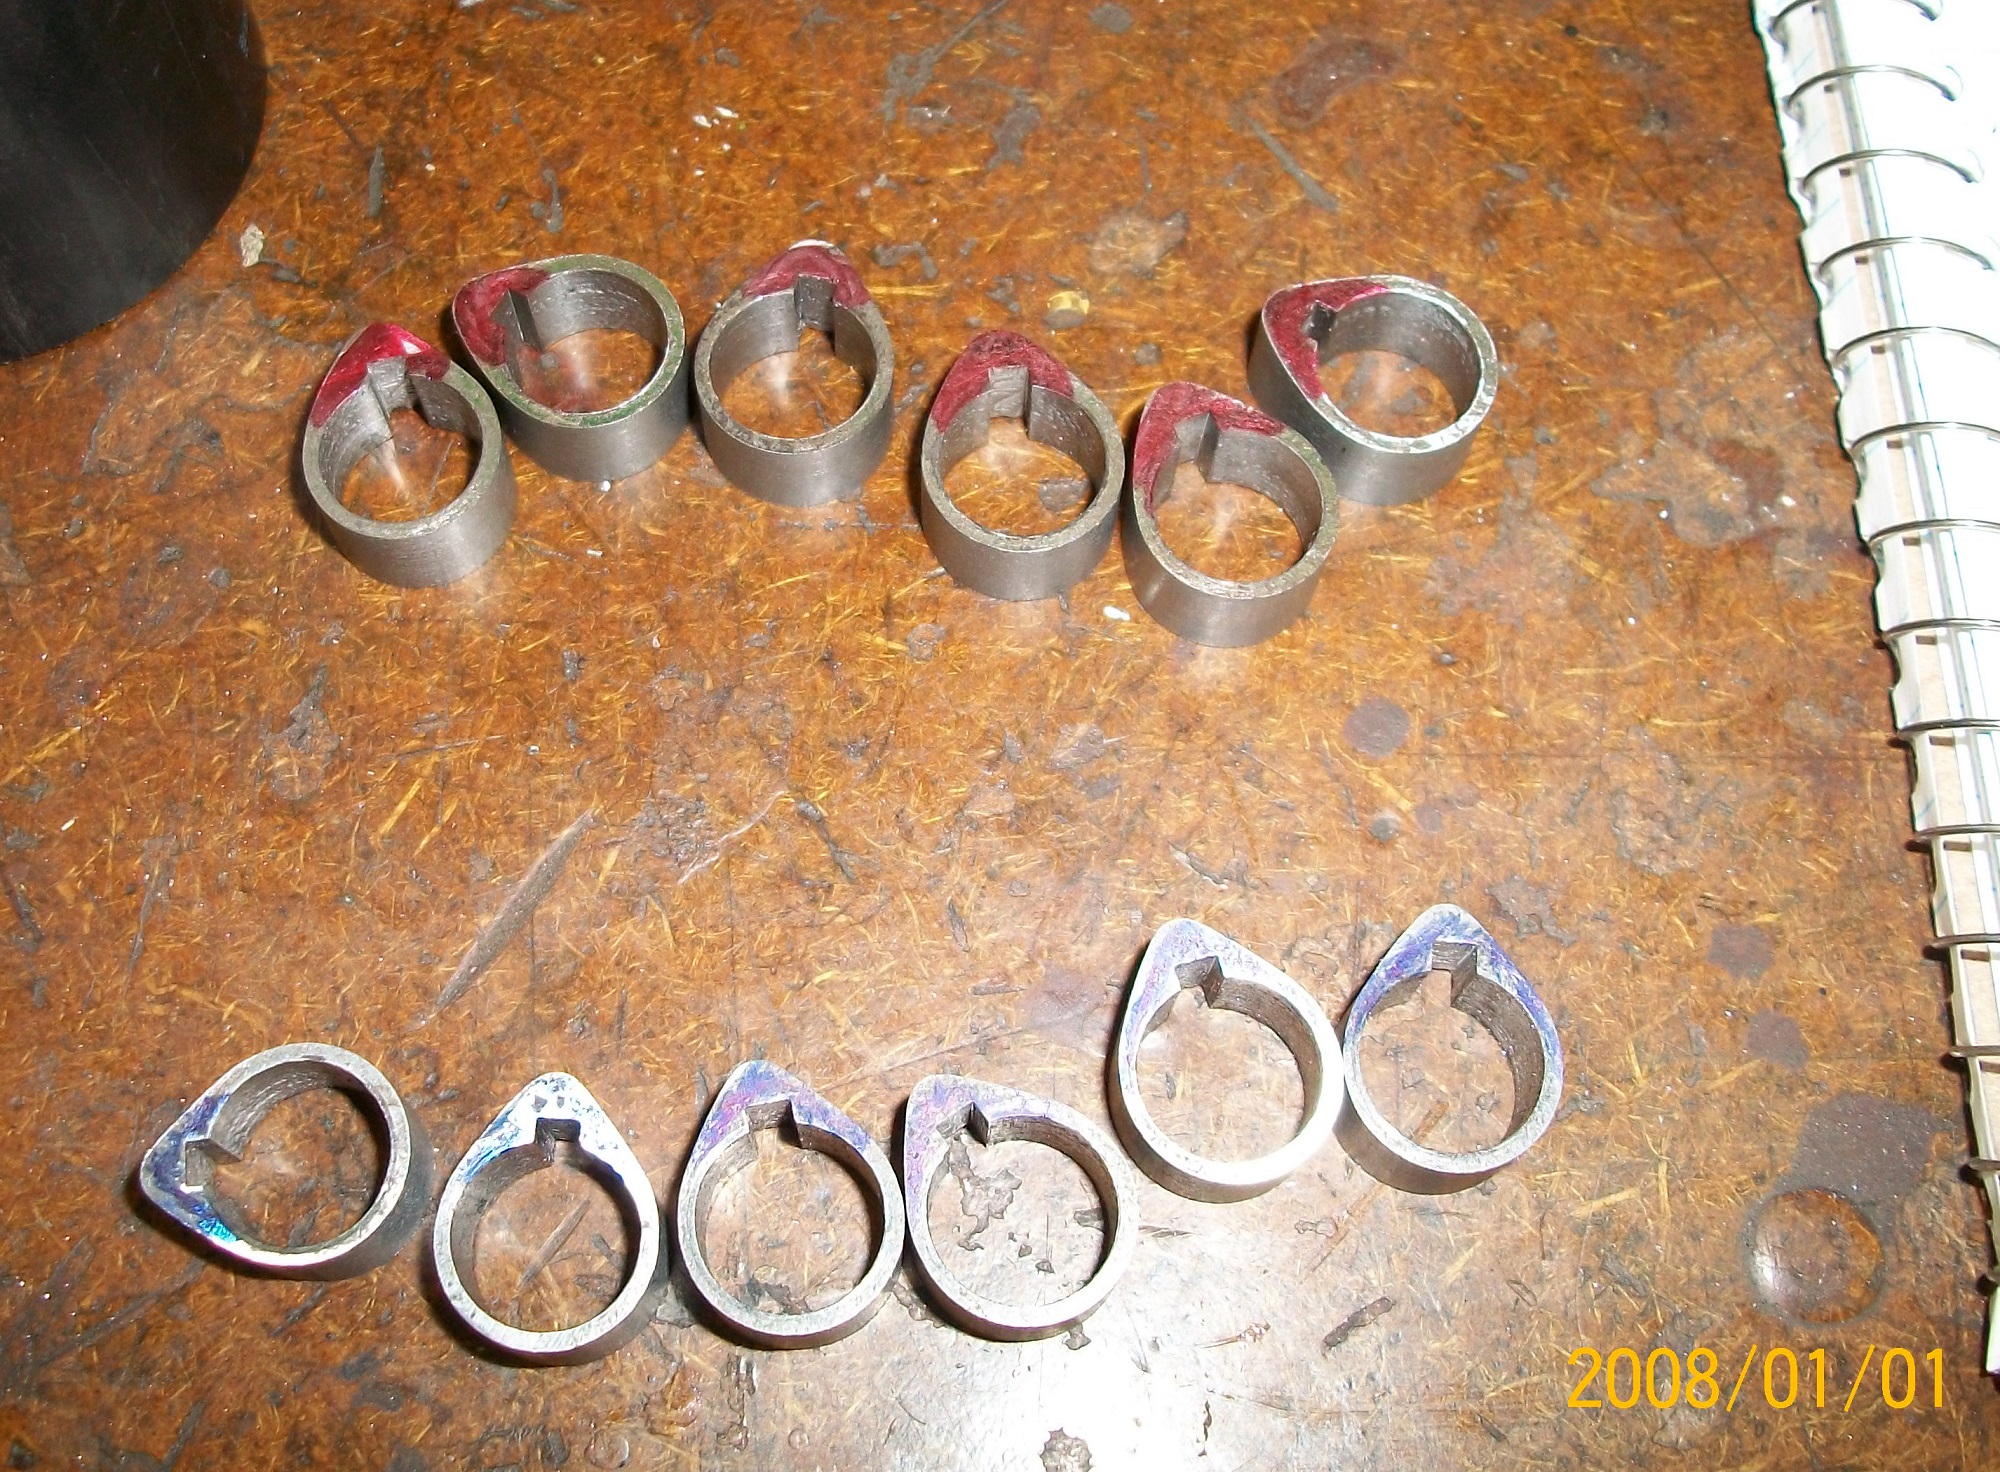
| Cam lobes before installation on camshaft. |
 |
|
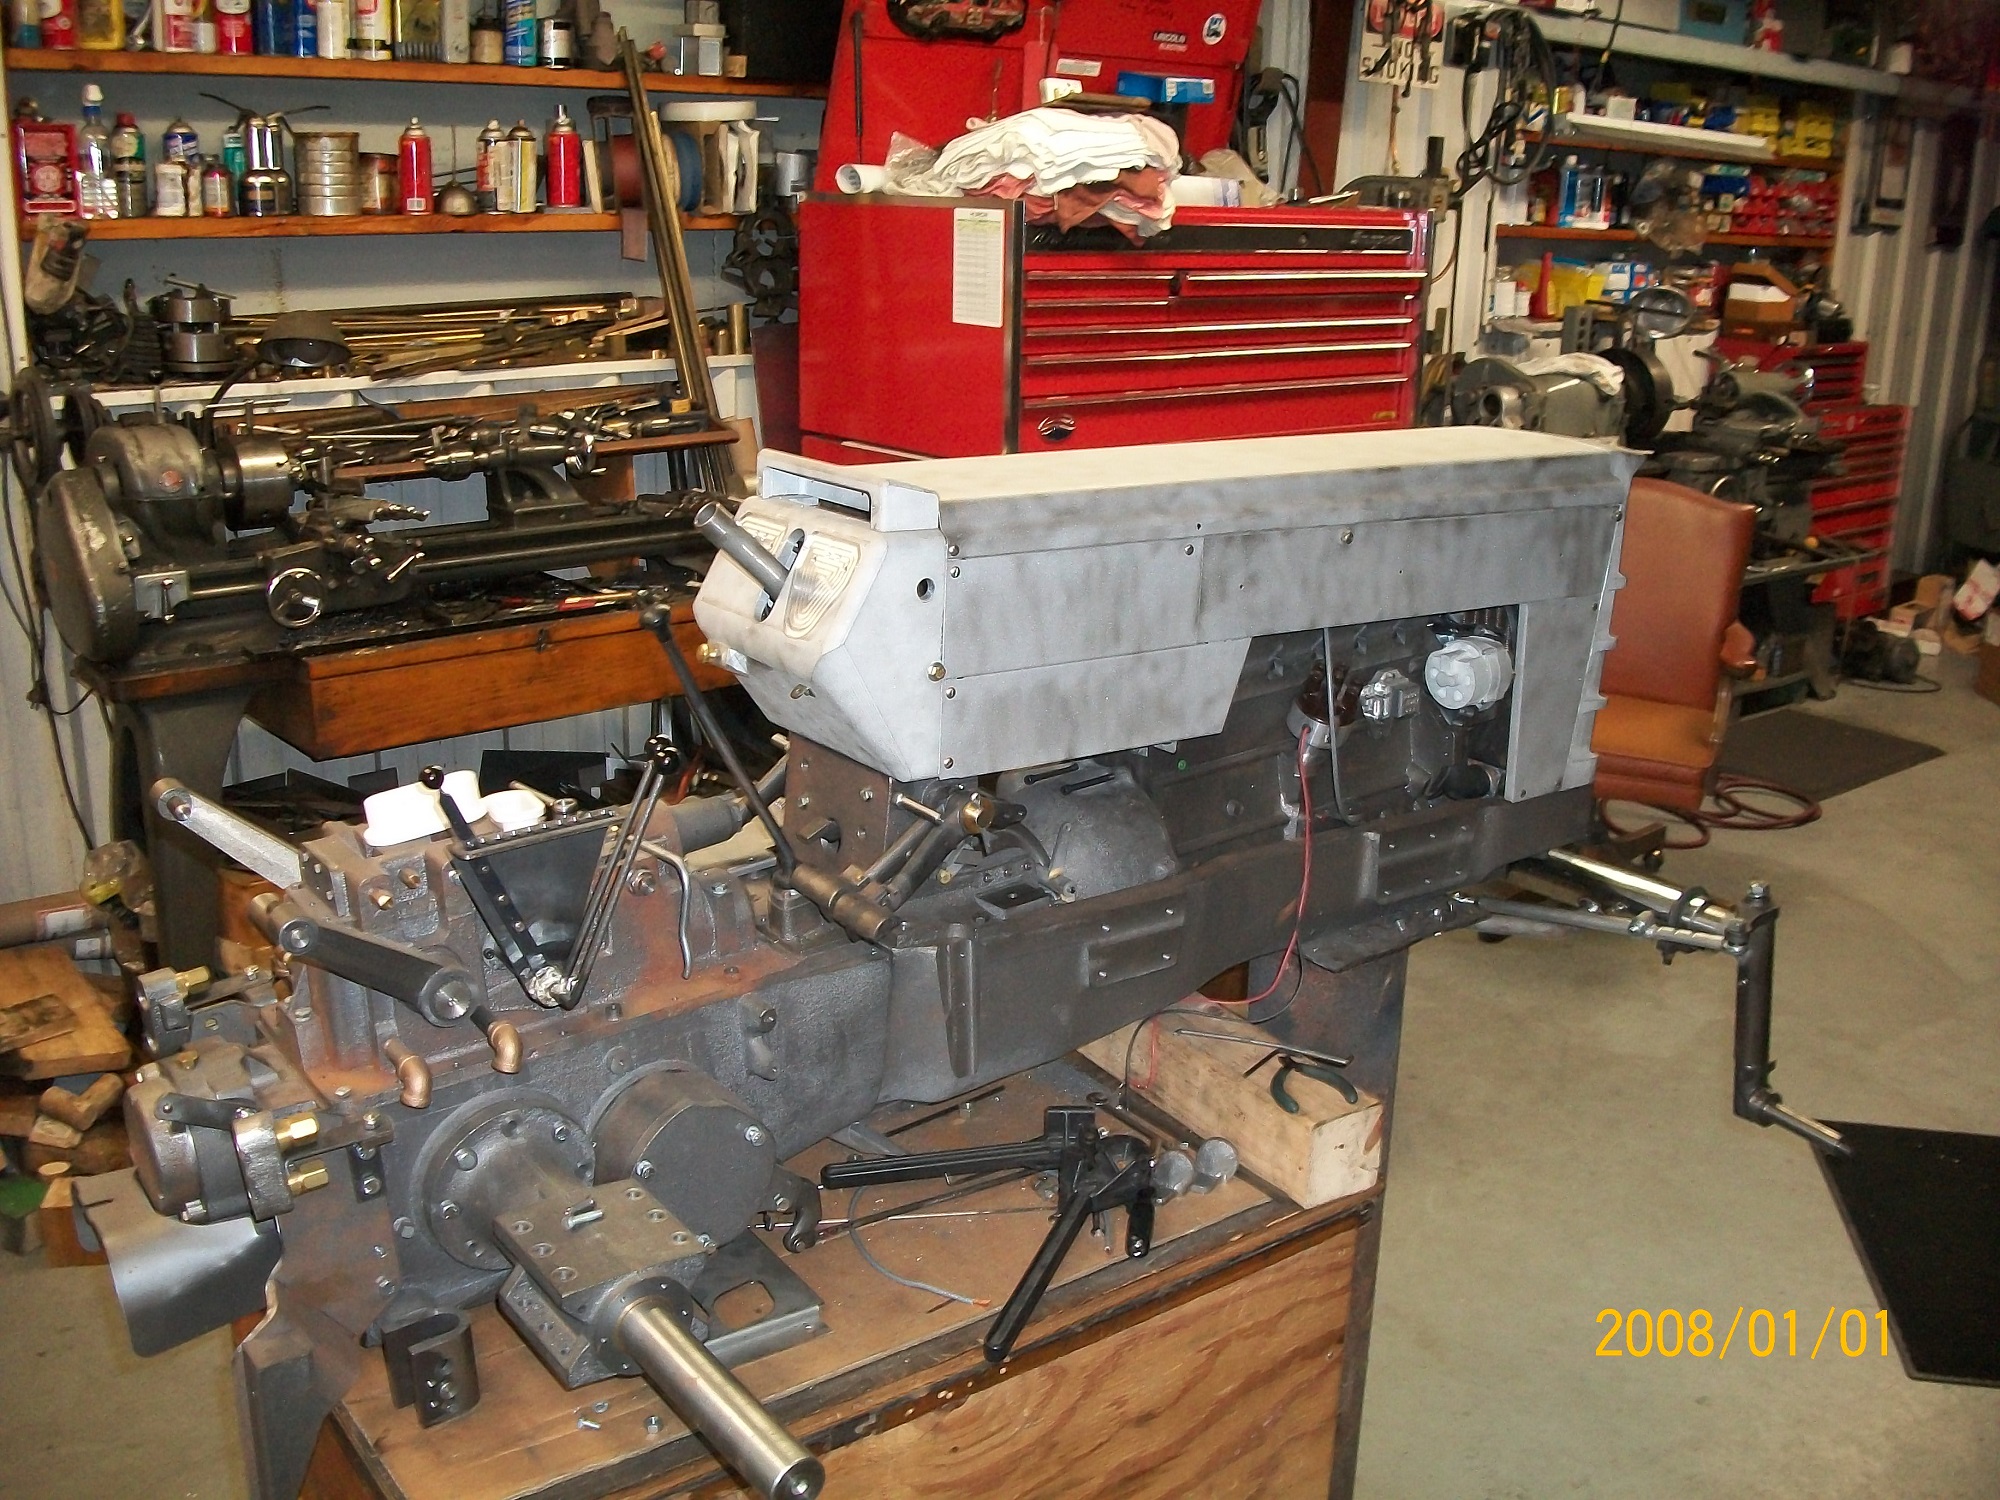
Engine block and head set in place on the frame |
|
| The over/under transmission |
 |
|
The completed camshaft (bottom) is compared to the full-size original. |
|
| The cylinder head is made up from two pieces. |
 |
|
Machining the bell housing |
|
| The assembled cylinder head |
 |
|
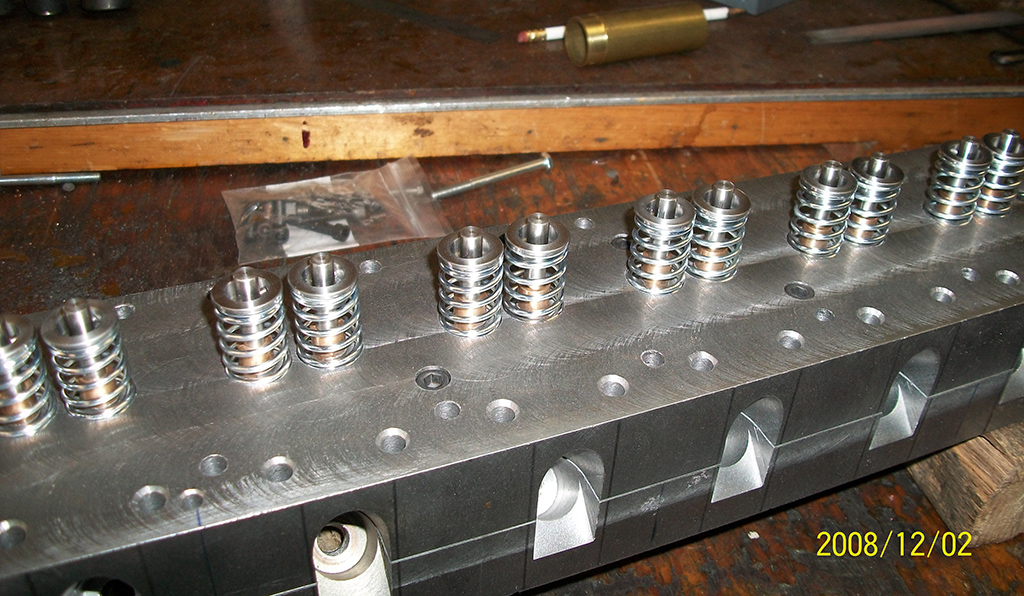
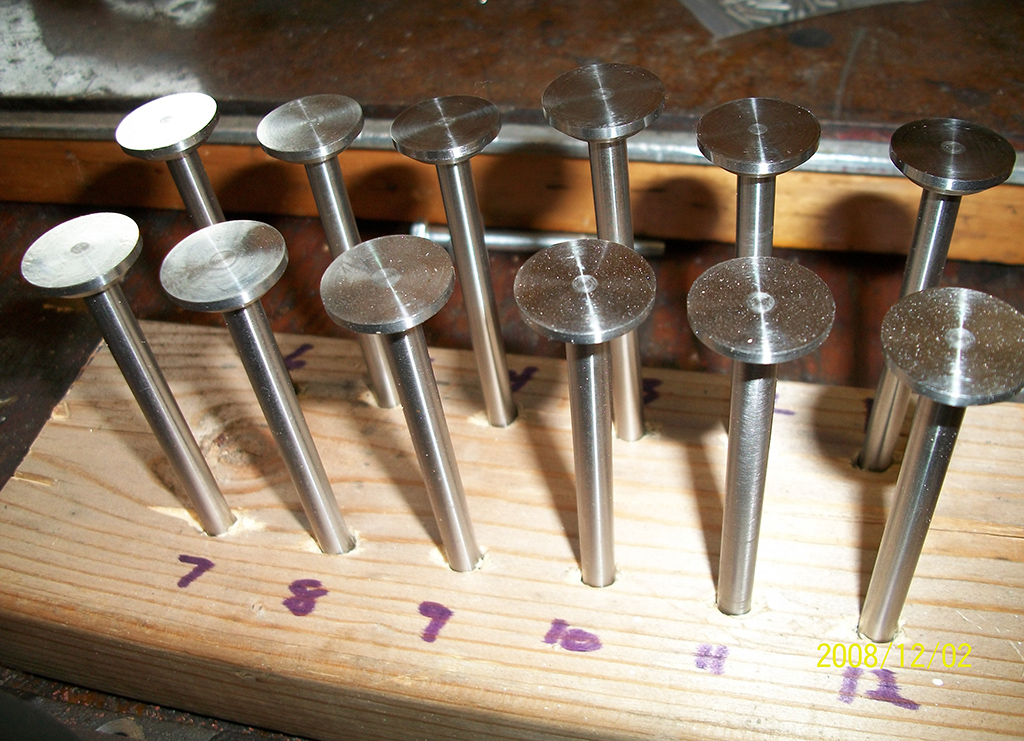
The finished valves |
|
| CNC Machining the outside of the valve cover. |
 |
|
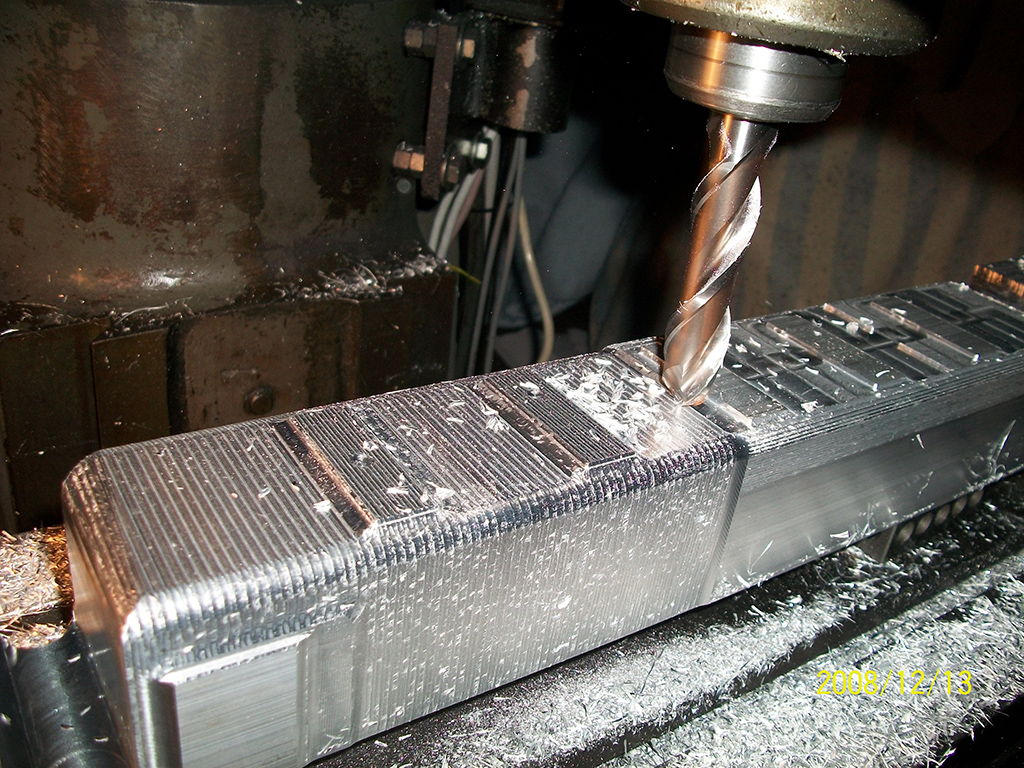
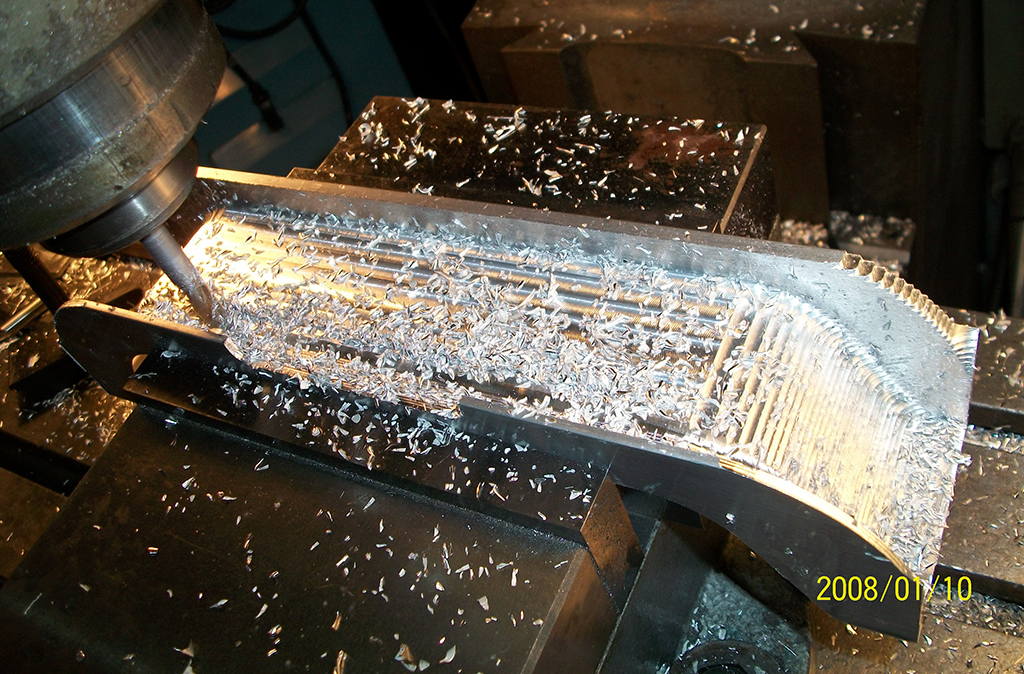
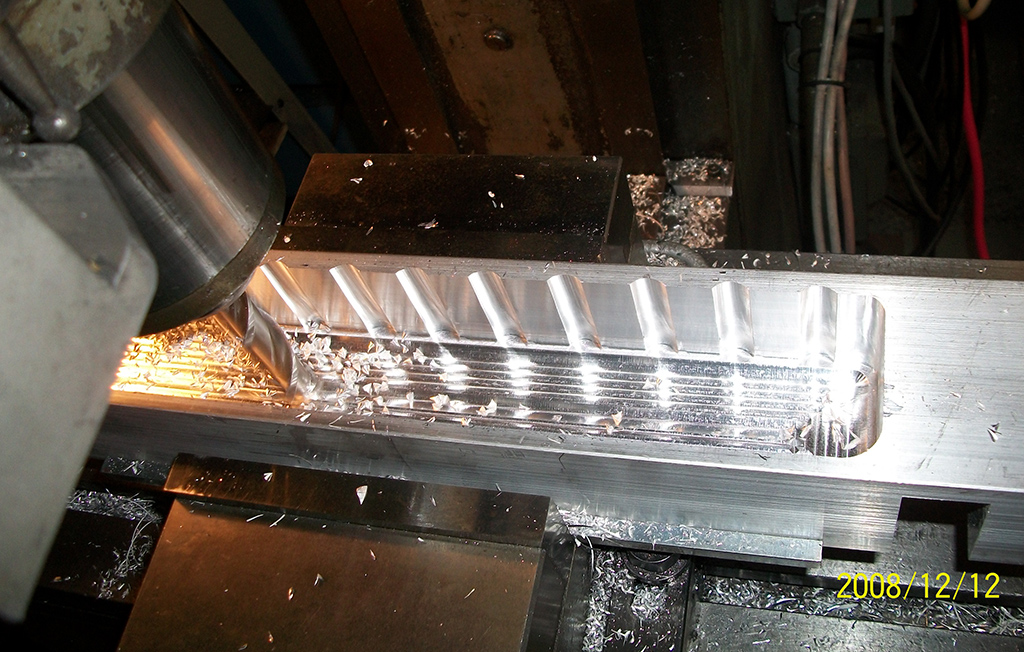
Roughing in the inside of the valve cover, which is being machined from a solid block of aluminum. |
|
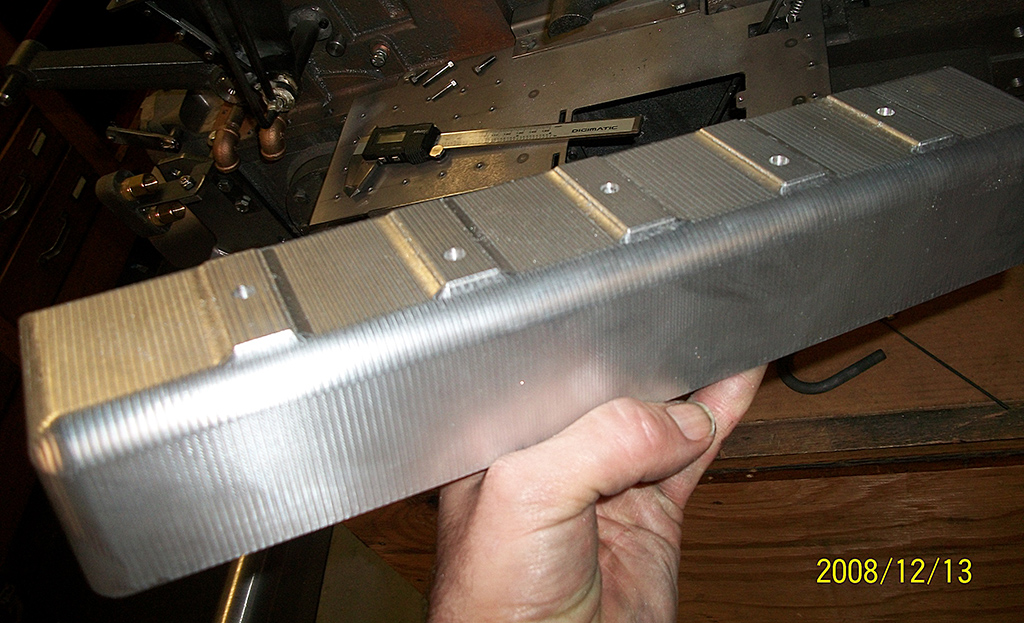
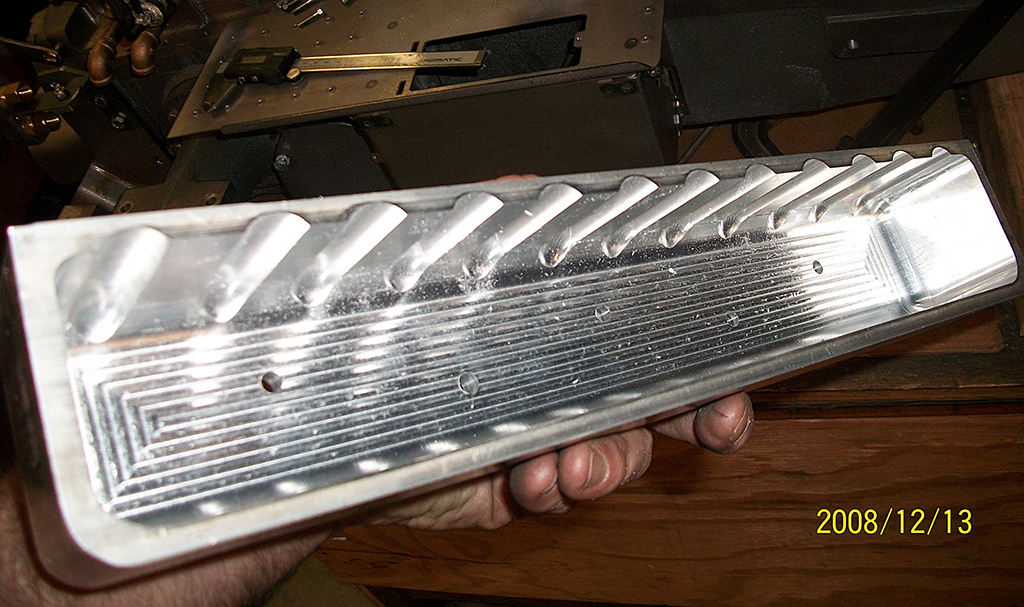
| The finished valve cover |
 |
|
Another view of the finished valve cover |
|
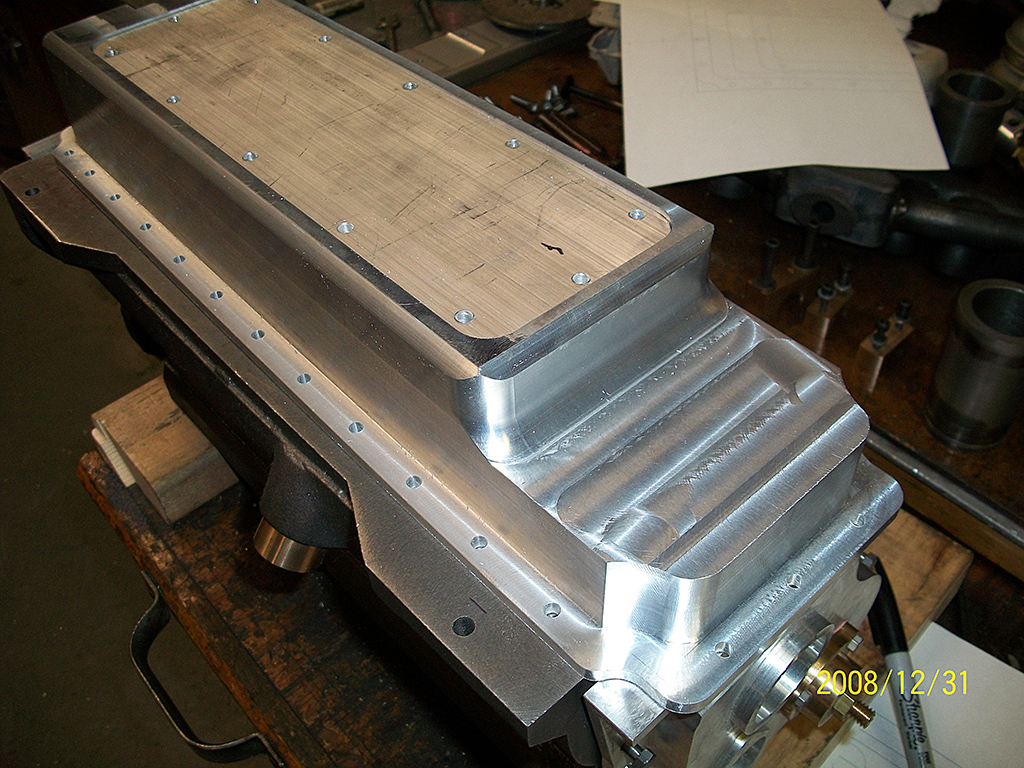
| Cutting the outside of the oil pan, which is CNC machined from solid stock |
 |
|
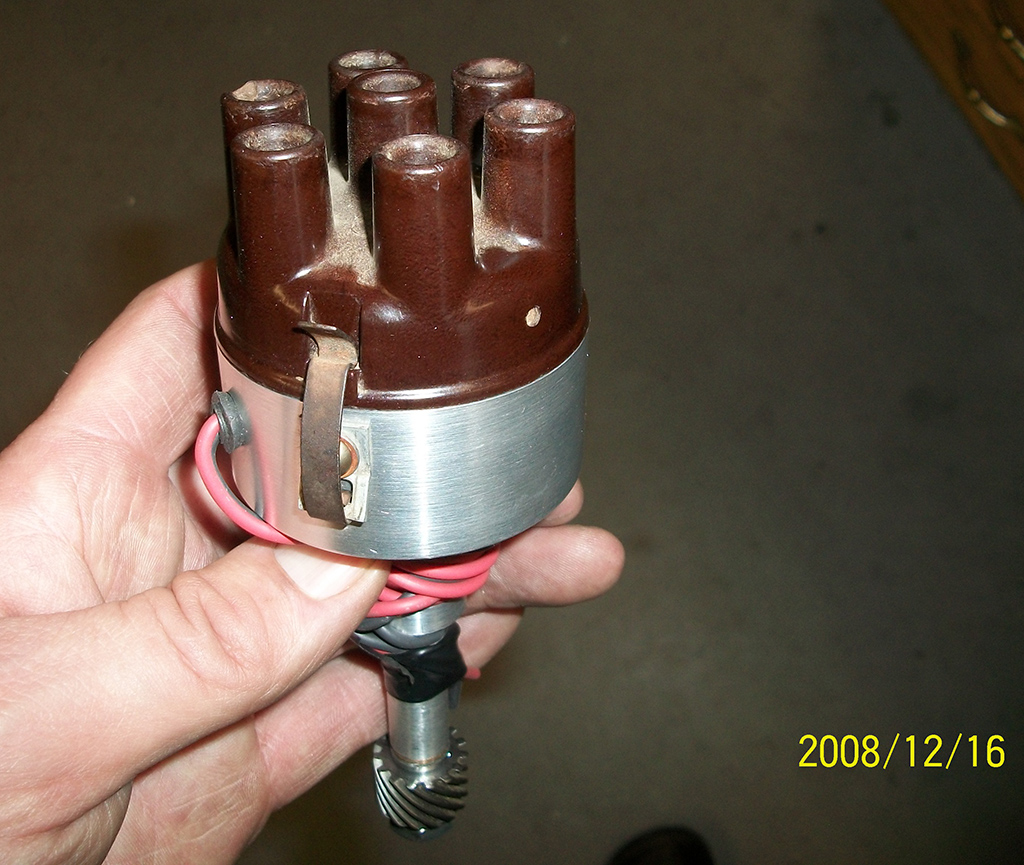
The finished distributor. The cap is from a 1932 Chevy |
|
| The intake manifold castings assembled |
 |
|
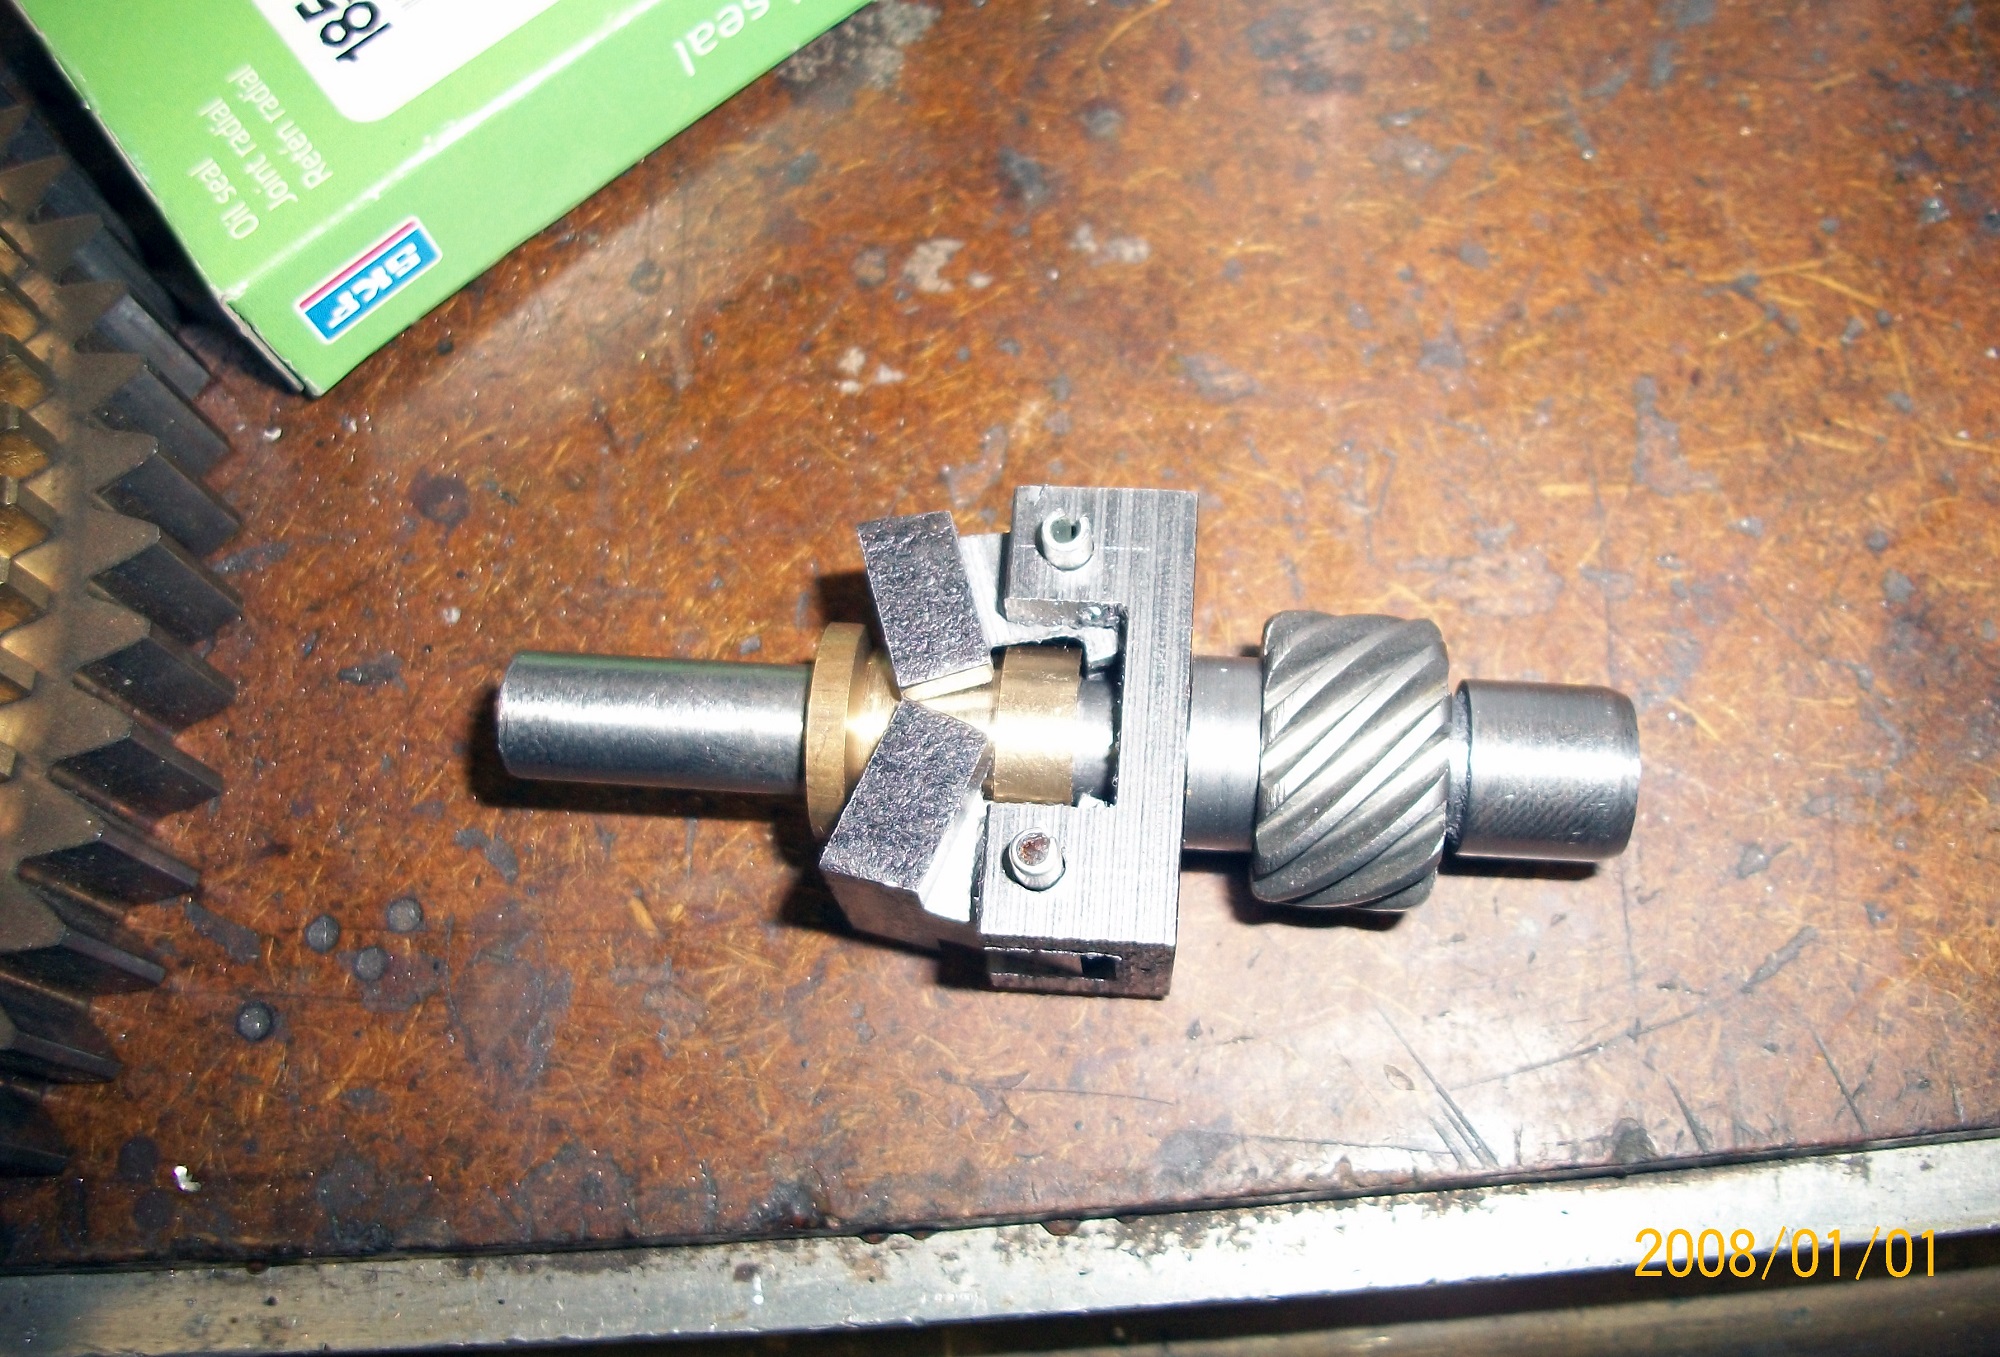
Governor |
|
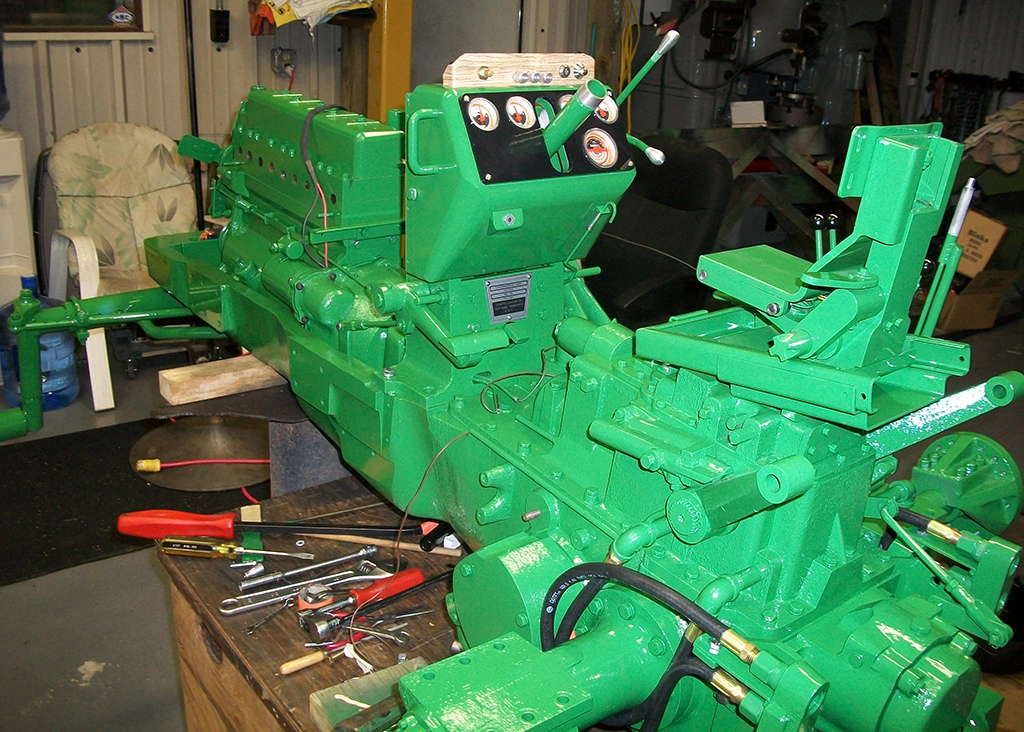
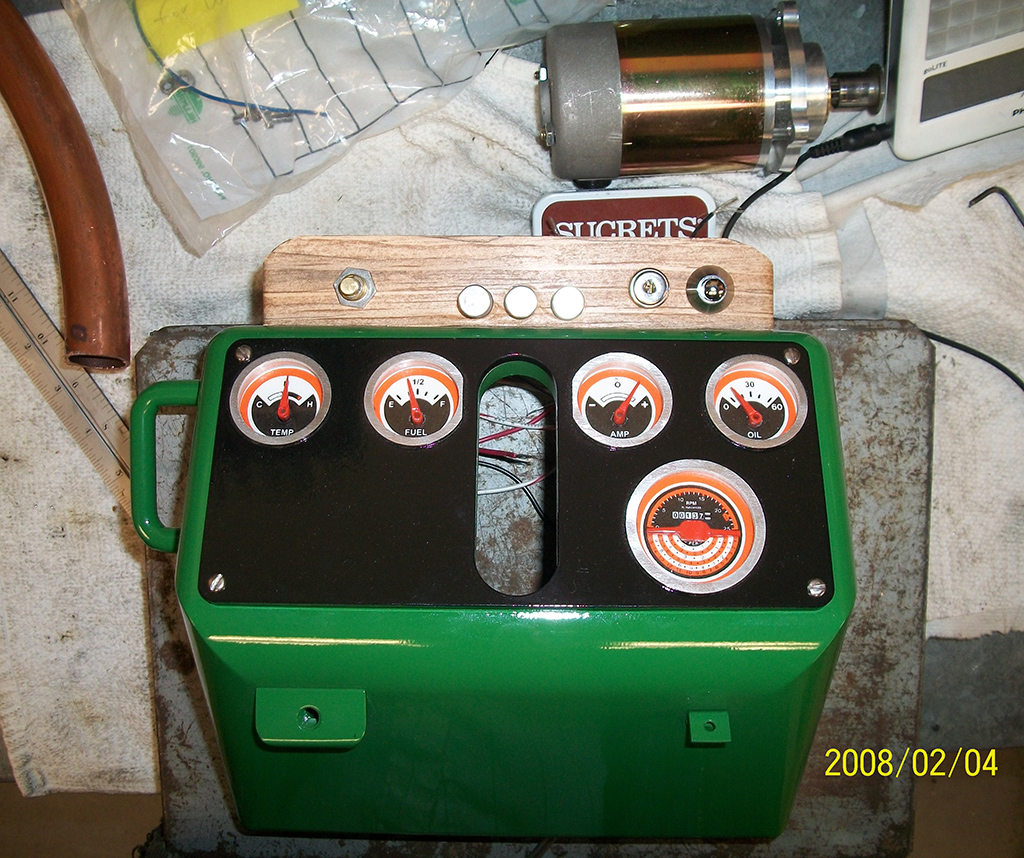
| Dash almost finished |
 |
|
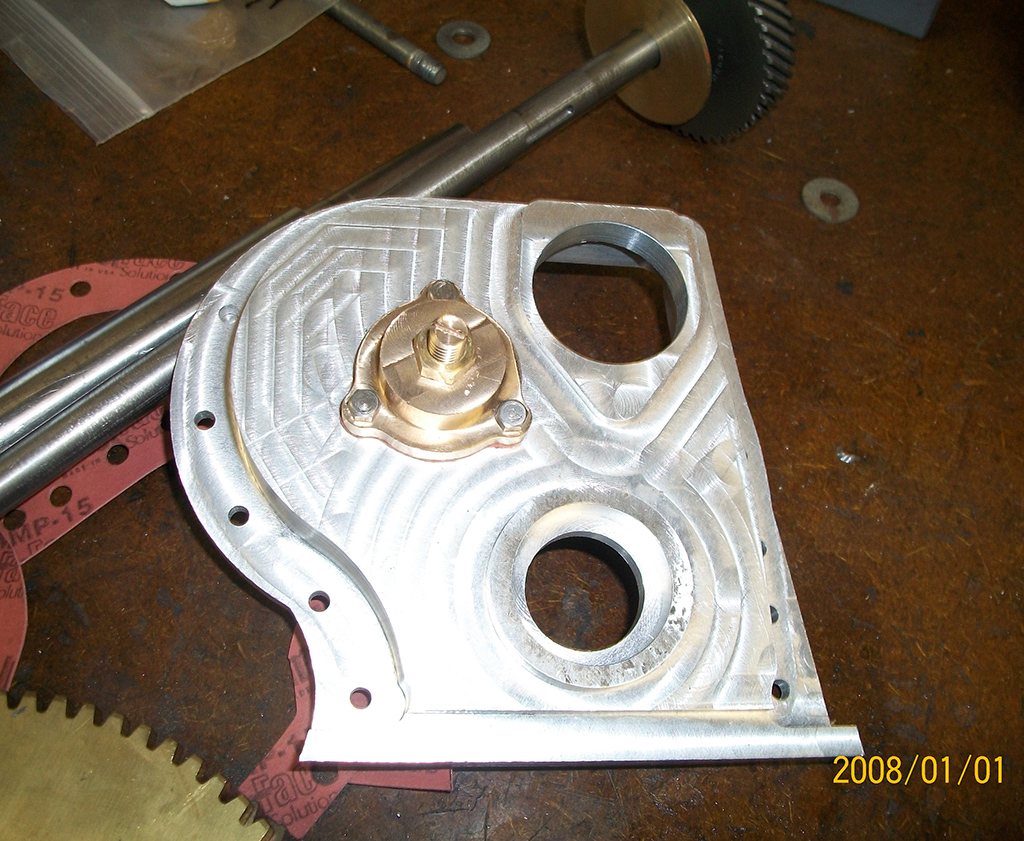
Timing cover |
|
| Rear view of the tractor with one axle carrier in place |
 |
|
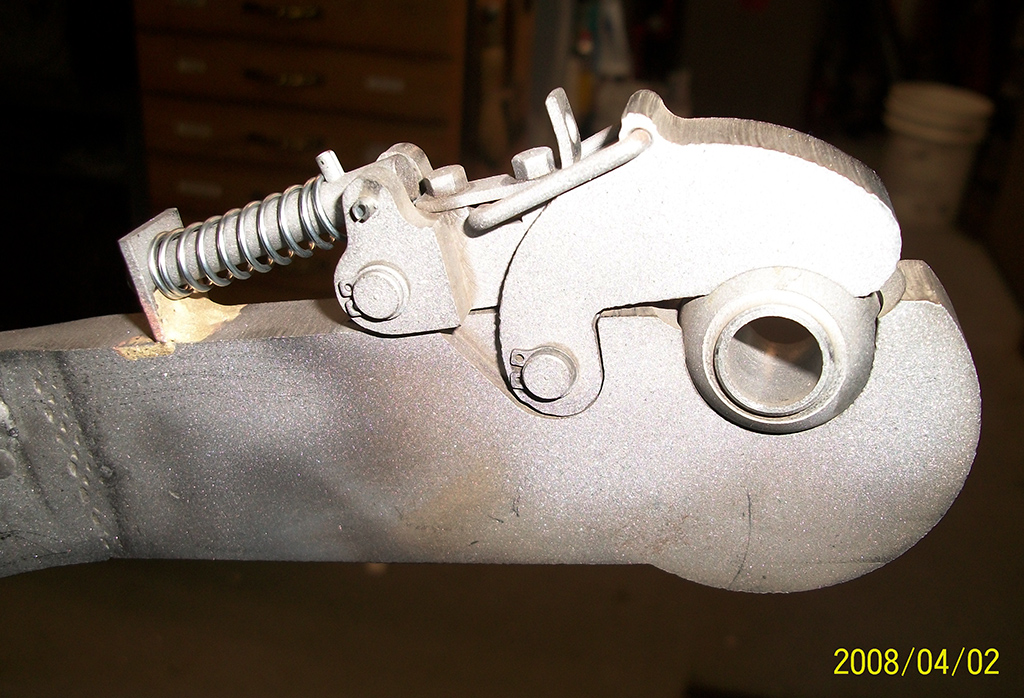
The assembled 3-point hitch latch mechanism |
|
| Freshly painted rear fenders |
 |
|
The full-size and half-size battery boxes are compared |
|
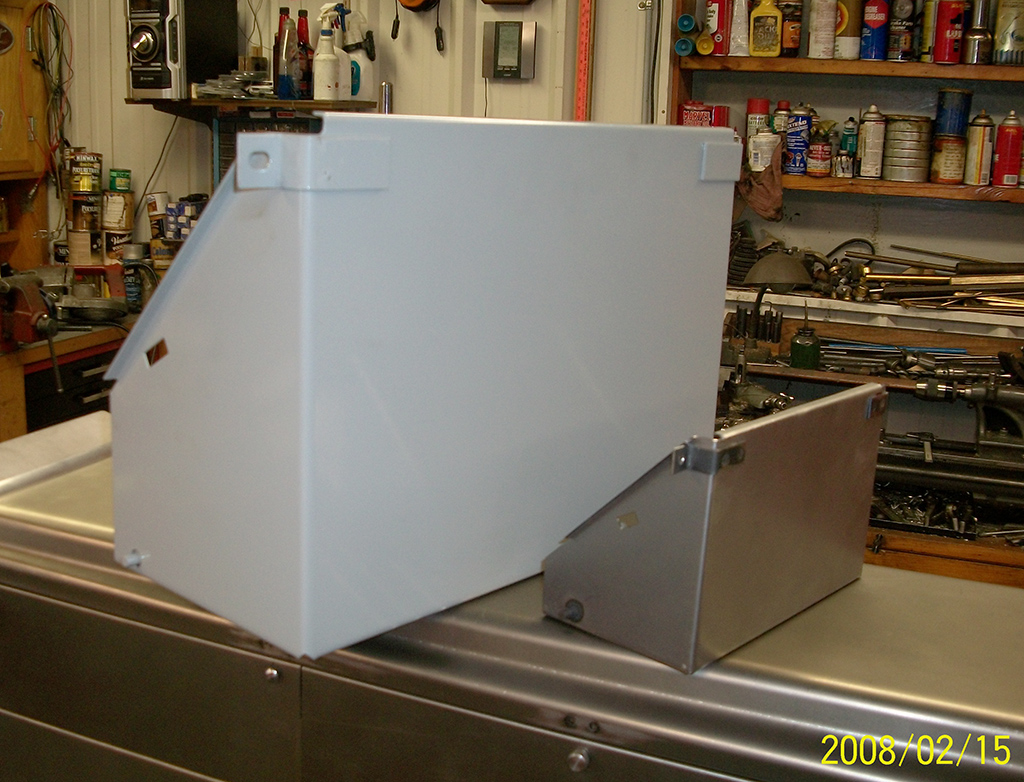
| Freshly sandblasted hood |
 |
|
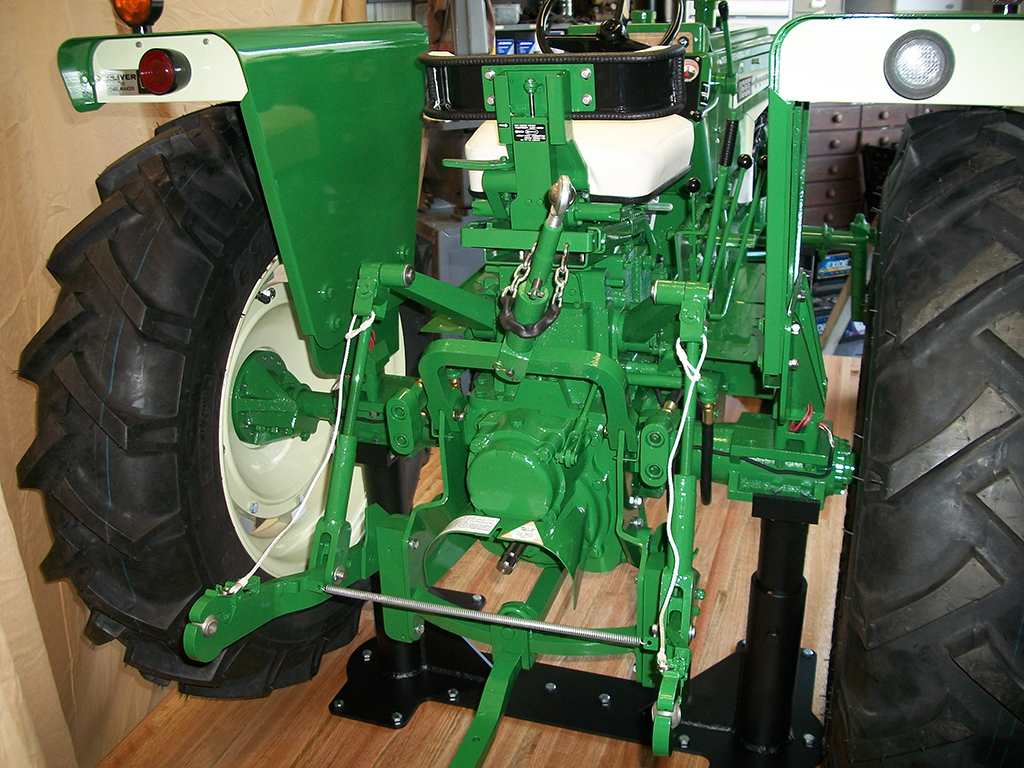
Scratch built headlights and flashers are attached. The right rear fender has a clear floodlight that shines backwards toward the field for night work. The left rear is a red light for road use. A switch on the dash makes the selection. |
|
| Freshly sandblasted hood |
 |
|
Freshly sandblasted hood |
|
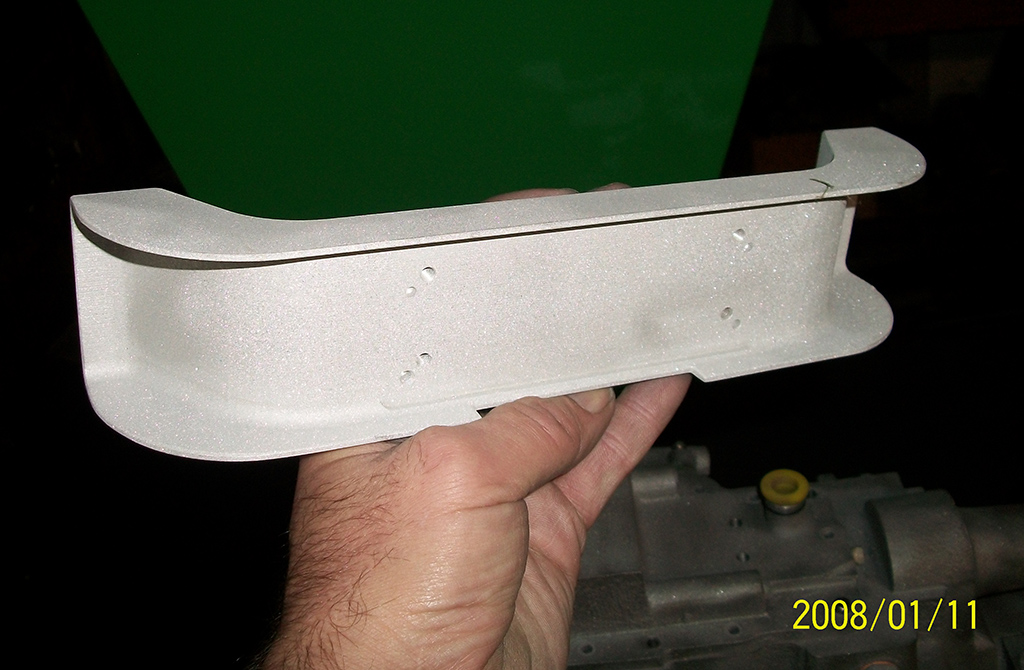
| Roughing out the seat back from solid stock |
 |
|
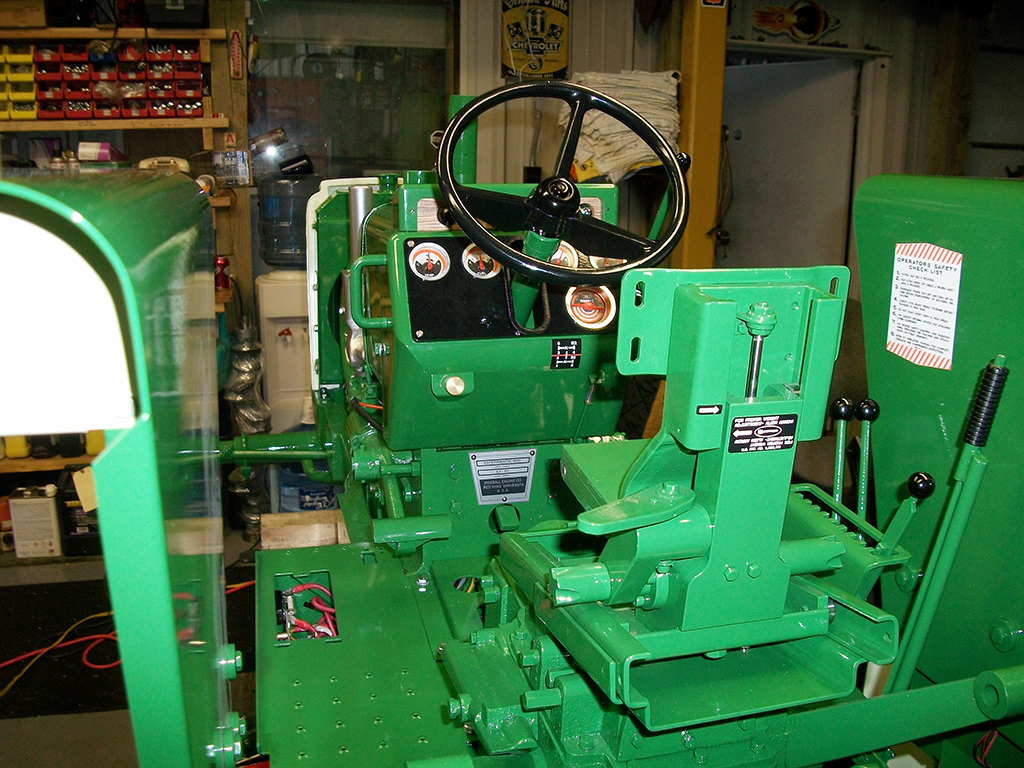
The completed dash with working instruments |
|
| A pop can is set on the frame as a size comparison. |
 |
|
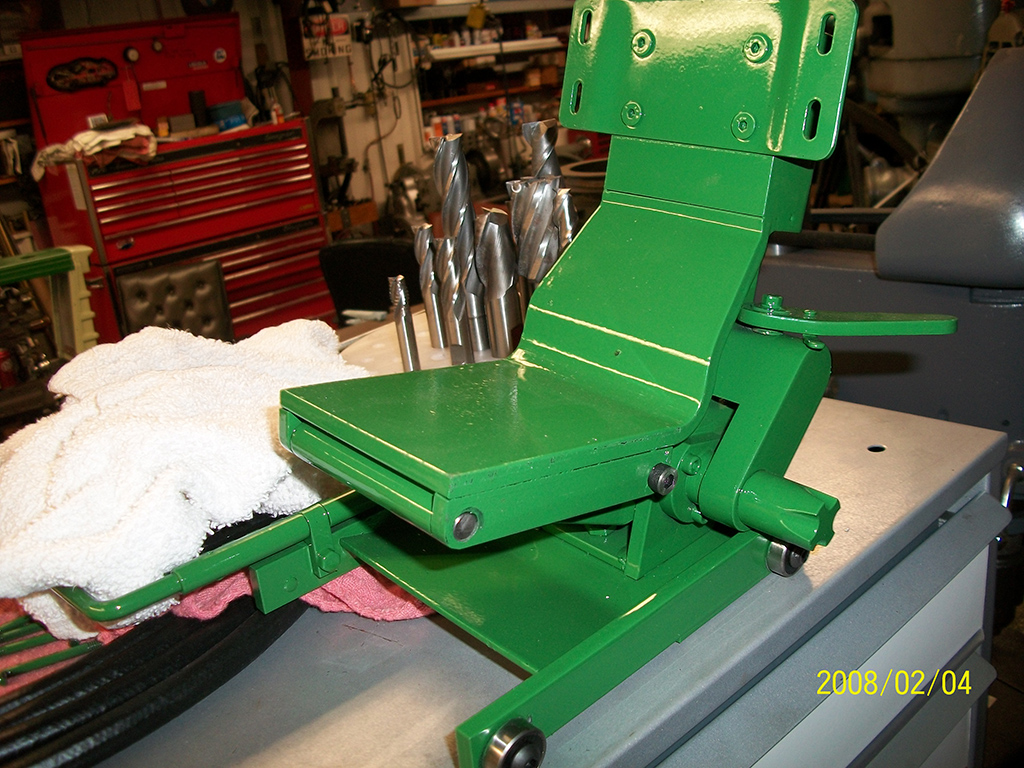
The finished seat back awaiting upholstery |
|
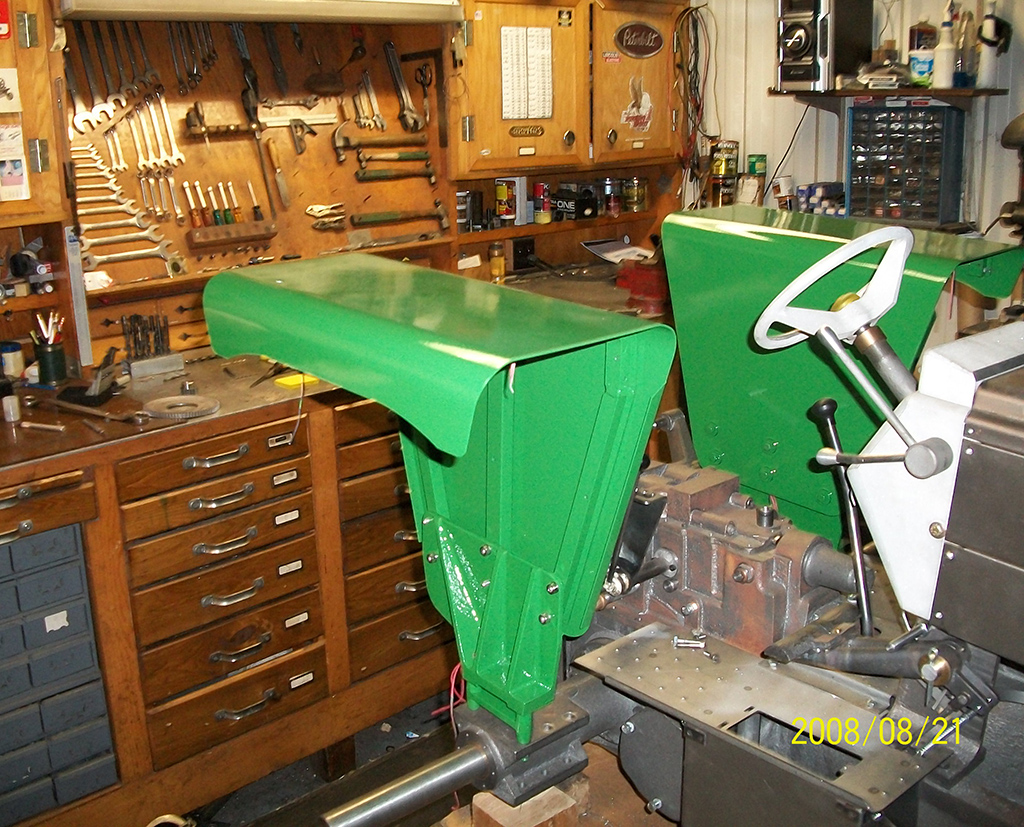
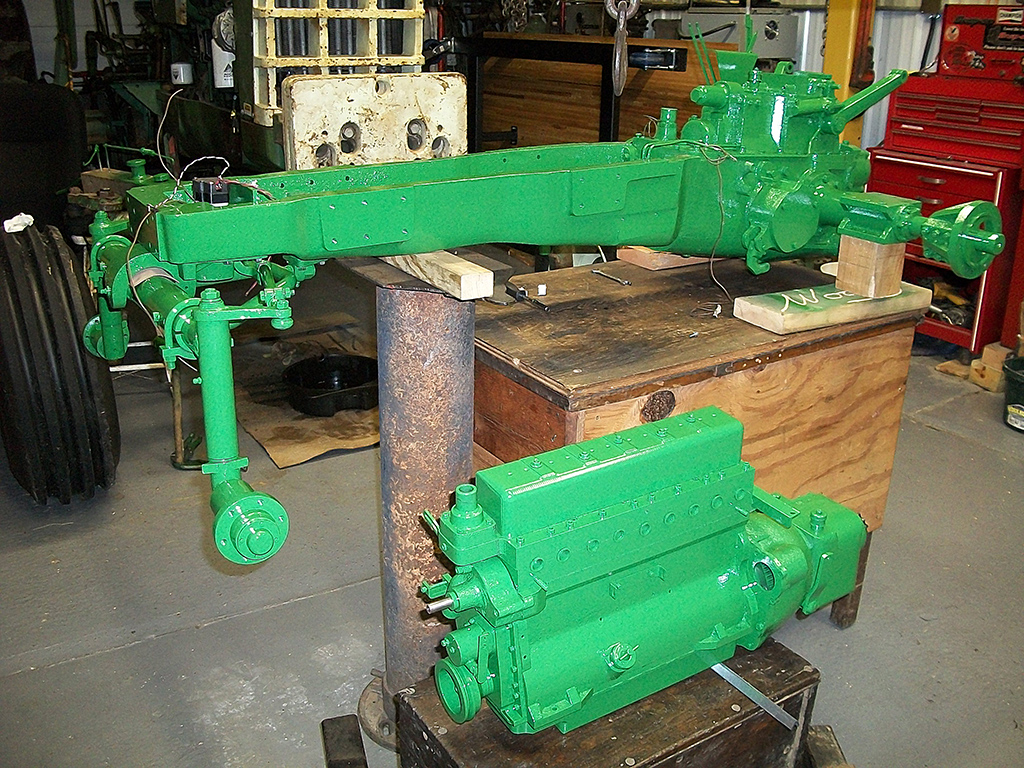
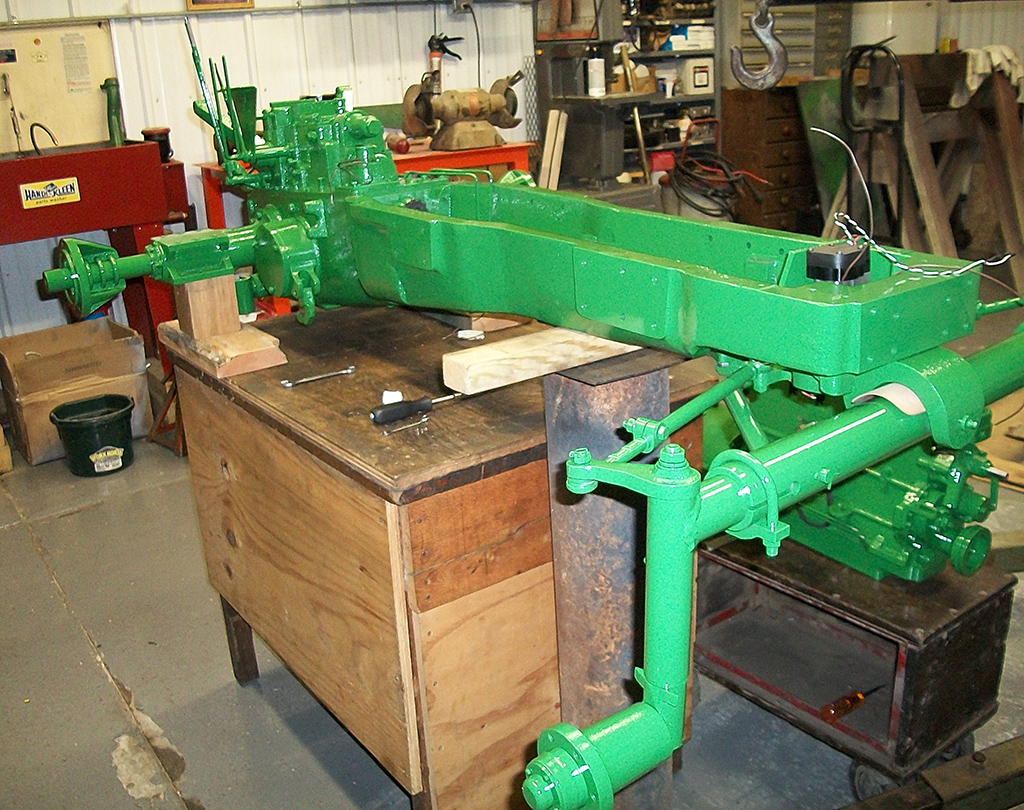
| Freshly painted engine and frame |
 |
|
Freshly painted frame and axles |
|
| The dash with serial number tag attached |
 |
|
Completed seat suspension |
|
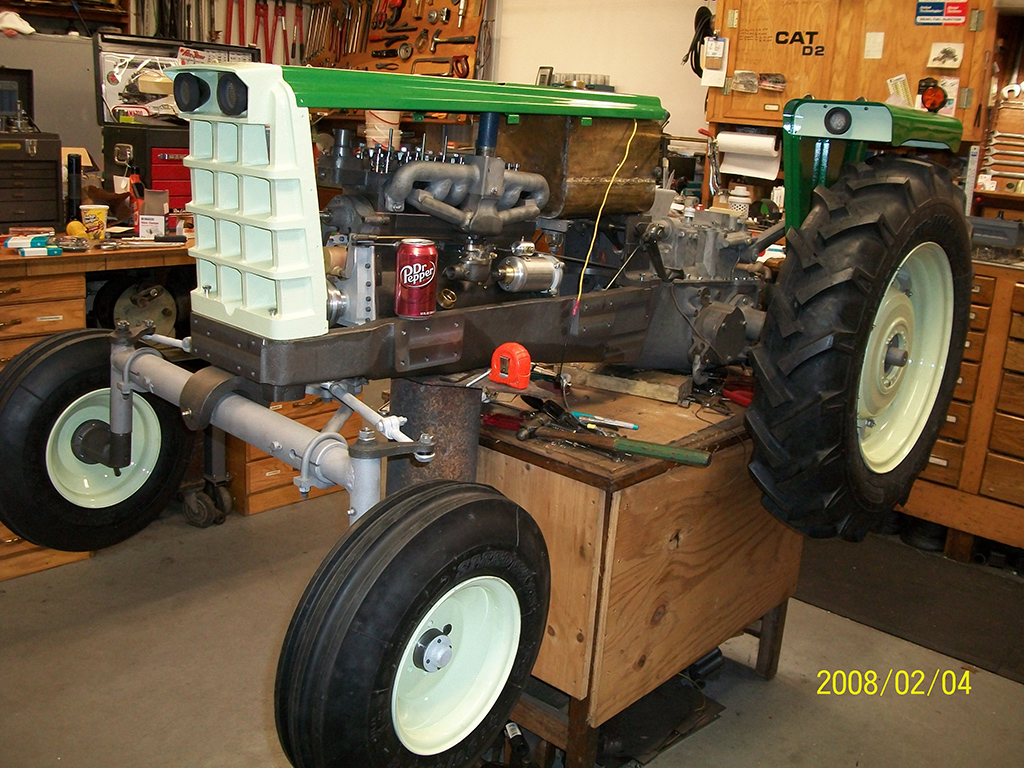
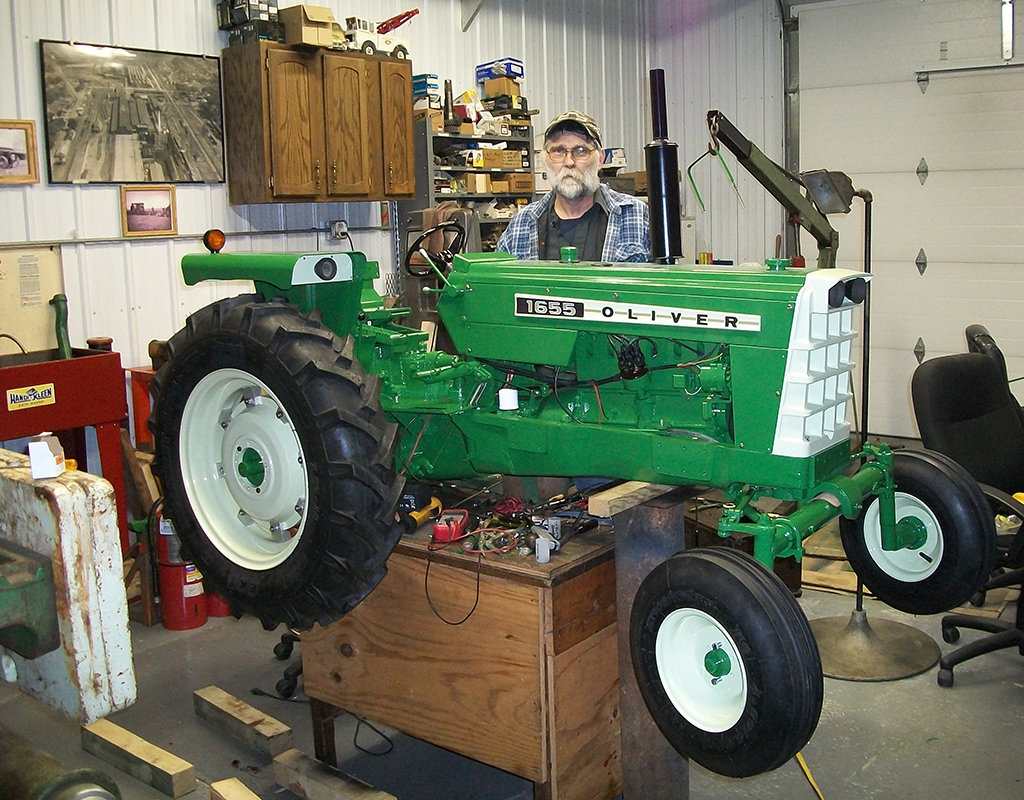
| Rich with the nearly complete tractor. Several parts still need to be attached. |
 |
 |
Back view | |
| The full-size tractor can be seen in the background |
 |
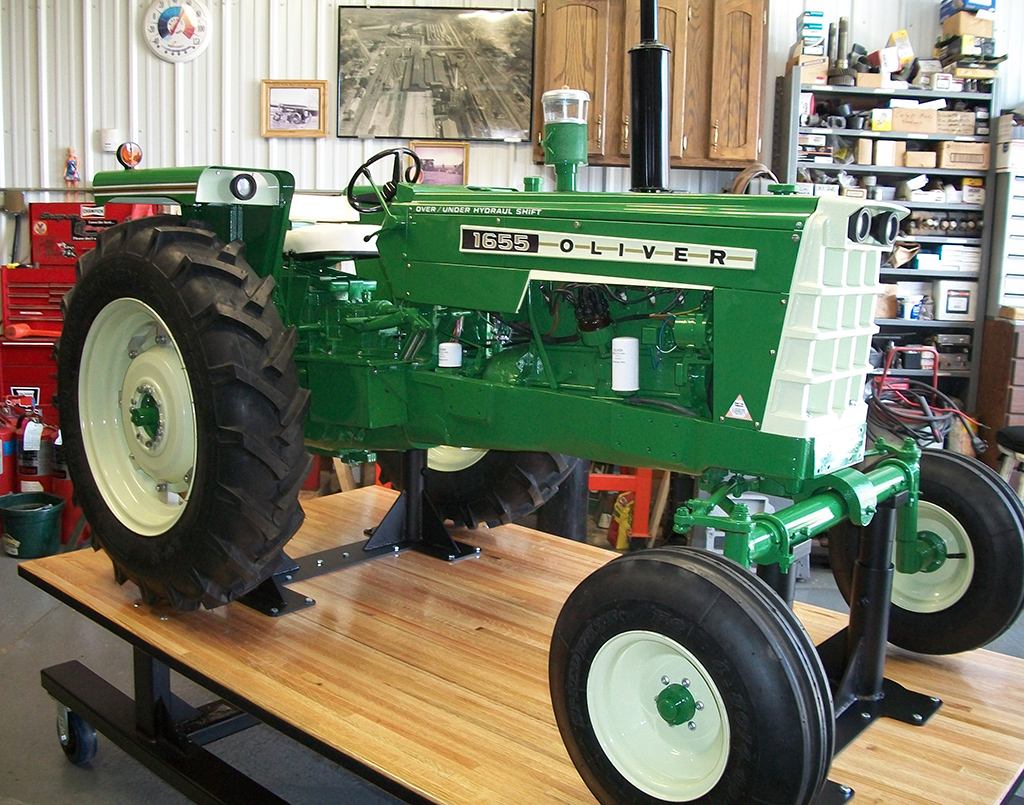 |
The finished tractor on its custom stand. The completed tractor is on jack stands so it can be run in place. Note the photo of the old Oliver factory on the wall in the upper left. | |
| A rear view |
 |
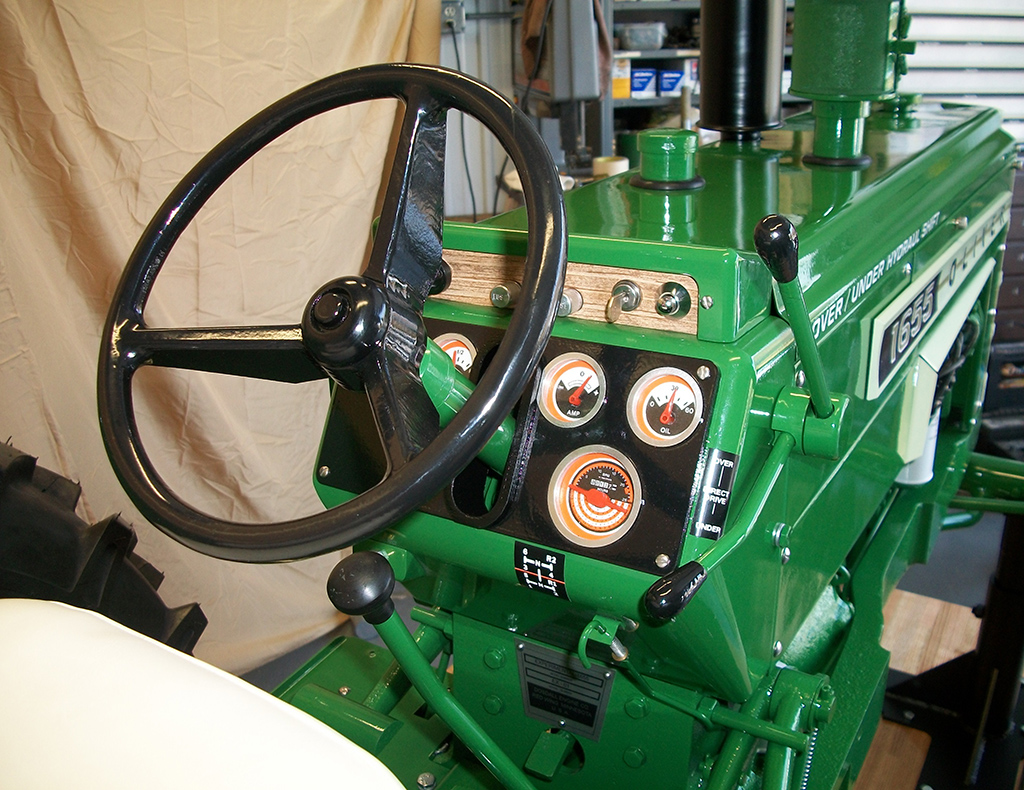 |
The dash with all decals in place | |
|
|
|
|||
.jpg)


|
New
Submissions Welcomed |
|
|
RETURN TO MUSEUM HOME PAGE
Copyright (c) 2019, The Joe Martin Foundation for Exceptional Craftsmanship. All
rights reserved. |